 Building the perfect robot for the right job.
If you’re new to robotics, LEGO makes it easy to build robots.
Even if you think you’ve outgrown LEGOs, take a second look at the inventions below that I’ve created. Many scientists and engineers got their start building with LEGOs! My kids and I share many LEGO sets together, and my absolute favorite is the 1999 Lego Mindstorms set.
We still use it to build and program robots today! But don’t feel limited to this set, as it’s hard to find nowadays. Use this page as a source of inspiration for your own inventions. Although these are images and not videos, do you think you can still figure out how they move?
 Tabletop Cleaner
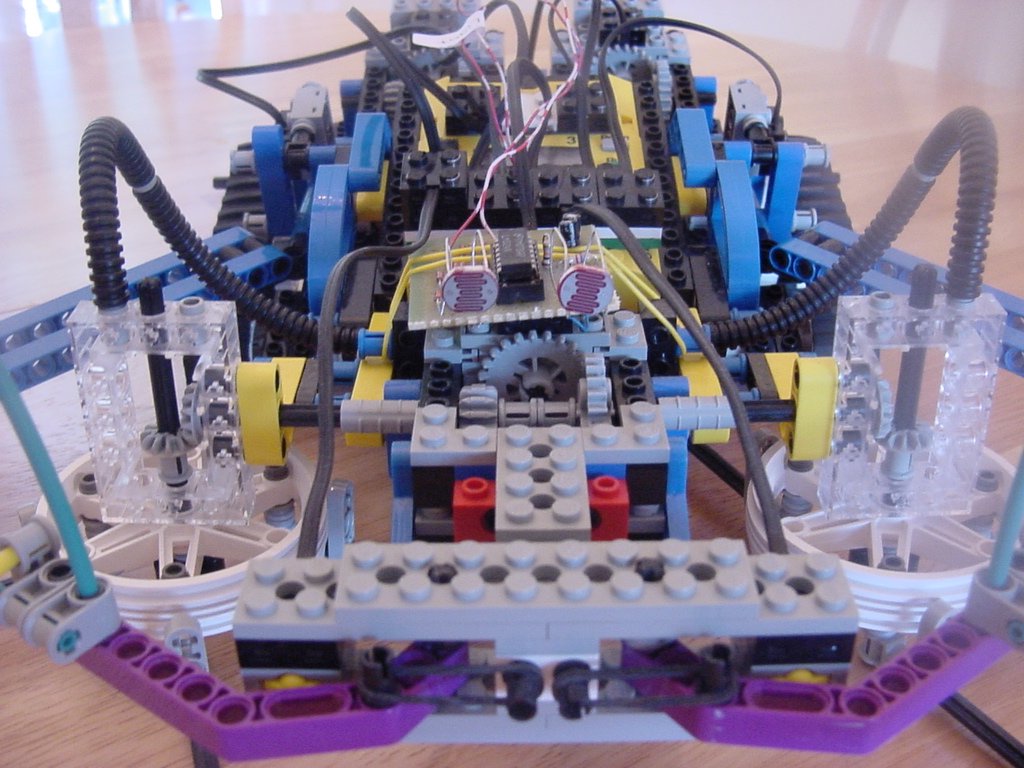
A combination of the Ultimate Builder’s Set and my own creativeness and a differential light sensor (see below under “sensors”), this little guy can stay on a tabletop with right and left edge detectors, rear edge detector, and avoid obstacles with a left and right bump touch sensors, and can track a beam of light or find a light source using Michael Gasperi’s differential light detector. Using six sensors mulit-plexed into three available input ports on one RCX, a little creative programming, and three motors (one for the brushes, two for the drive) makes for a cool project!
 The Claw IV
One of the first things I’ve built from the Mindstorms box: I added pneumatics and a ball, and suddenly I have a 4-axis grabber arm with a pneumatic claw that picks up balls from one location and deposits them to the target every single time! I must add that if it were strictly open-loop program, it would miss after the second or third try, as it never quite comes back to the same spot. This MEGA CLAW uses four sensors, five motors (three for the three-axis movement, one to operate the pneumatics valve, one as a pump to keep the air tank stocked), one RCX, and one Scout (to handle the extra motor ports). Sensors detect the mechanical limits of the arm.
I initially wanted to make a 5 or 6-axis arm, but decided to wait until I understood how to get these pieces to fit together more efficiently.
 Max the Hexapod
I was so intrigued by the idea of a six-legged walker that I went right to the source – Flik by Nick Donaldson and Hexapod by JP Brown and made JP’s posted version of a single RCX Hexapod. It worked wonderfully! It took every last LEGO piece I owned to put Max together, as he’s a rather large robot – over 2 feet long, not including the whiskers.
 |
 |
| Aft Articulation Point |
Forward Articulation Point |
Killough Platform

This is a Killough drive system from Macs Robotics Page. This platform can simultaneously rotate while driving forward. Think of how an office chair’s wheel base rotates around while you push the chair across the
room.

Same assembly three times make up the structure of this amazing robot platform.

Synchronous Drive Platform

This is a Synchro motor drive system also inspired by Building Robots with LEGO Mindstorms by Mario Ferrari et al. The coolness behind this system is the robots ability to turn its wheels in place without
turning the platform – hence this robot does not have a “front”, “rear”, “left”, or “right” – it goes in all directions!

Wheel assembly – each wheel is powered and can change orientation.

Top view – note that this robot was built upside-down!!

Tricycle Drive

Yet another Building Robots with LEGO Mindstorms inspired design. I did not have an RCX free when I built this, so I plugged it into the Scout and made both motors go forward. What was interesting about this was the vehicle initially went straight, then slowed and turned, then reversed direction in the turn, went backward, and began to turn again. One motor controls the drive, and the other controls the front wheel’s orientation. So when someone asks, “Can you build a car to go forward and reverse without reversing the motors?” you can say “Yes!”

Twelve-Legged Robot

This robot was inspired by Building Robots with LEGO Mindstorms by Mario Ferrari et al. The idea is to make a walker platform stable enough to turn tight corners while line-tracking. The only improvement I would do next time is to couple the motors (independent motors – one per side – in above photo) so it does not have a gradual turn while it walks!

MIBO

From Jin Sato’s book, The Master’s Technique, we created MIBO, a LEGO version of SONY’s AIBO – a robotic dog that can sit, shake (sort of), and shuffle along the floor. He barks (more like a beep, really), and is lots of fun!!! We’re adding non-LEGO parts, such as a wireless camera and sound sensor for further abilities for MIBO. (Chasing ball and following a whistle?) We’re really excited about MIBO and thank Jin Sato for all his hard work!

SHRIMP
The SHRIMP is a high-mobility wheeled rover designed by the Autonomous Systems Lab in Lausanne, Switzerland. This innovative rover is capable of climbing over objects 2.5 times its wheel diameter!
Whiz
Whiz is a “whiz with sensors!” robot geared for a complex game of RoboTag. This amazing robot is capable of exploring and reacting to its environment! Whiz is loaded with a differential light sensor to seek and find
light, a sound sensor to detect and react to sharp sounds, a line-detecting sensor mounted on the front for staying on a tabletop or within a black-outlined rink, and it can avoid obstacles by knowing which bumper – front or back – is triggered.
Close-up views of the cool stuff:

Differential Light Sensor
|

Sound Sensor
Due to port limitations, I’ve plugged in a relay to switch between the sound and differential light sensor. The following ports are connected:
| Input 1 |
Touch Sensors (both) |
| Input 2 |
LEGO Light Sensor |
| Input 3 |
Differential Light Sensor and Sound Sensor |
| Out A |
Left Motor |
| Out B |
Relay and LEGO Lamps (optional) |
| Out C |
Right Motor |

Front View(Two “eyeballs” are CdS light detectors in the differential light sensor) |

Rear View (see the microphone?) |

Top View (Blue box on left side is the relay) |

Right Profile (Rear -> Front)
|

Left Profile (Front -> Rear)
|
 |
 |
Homebrew Sensors & Actuators
These sensors were adapted from Extreme Mindstorms: An Advanced Guide to Lego Mindstorms by Dave Baum, Michael Gasperi, Ralph Hempel and Luis Villa. Many thanks to all these wonderful inventors for their genius!
 |
This differential light sensor (as described in great detail in Michael Gasperi’s section of the book mentioned above) does a wonderful
job of being a “smart sensor”. What would normally take 2 of your 3 sensor input ports to tell which way a light source is (to the left or right), this one tells you the difference and takes only 1 input port! You don’t need the full capacity of the LM324N – if you have a 358 handy, use it. The larger the CdS photocells, the
better it reacts. This sensor is excellent for tracking a light source!! Currently used on Whiz. |
A sound sensor initially seemed like a silly idea – especially when Michael Gasperi pointed out that it turned your expensive LEGO robot
into a clapper. But then, during a game of RoboTag, we realized that it might not be such a bad idea. It would be handy to have
one robot beep and the other listen and search for it. It worked pretty well for our application, and allowed us to use multiple robots
to search for different characteristics (light, sound, touch, temperature…). Currently used on Whiz. |
 |
 |
I just had to know what was inside the expensive little light sensor that comes with the RIS. I was very excited when I found the schematic
online and went to work right away. I am lucky enough to have a lot of parts on hand, and have noted some standard parts you can use if
you don’t have the oddball ones mentioned in the schematic. Works great!! (Not currently used on Whiz) |
I figured, if the sensor above can see light, why not add in IR capabilities and find out if it can see the difference between white and
black? Take out the phototransistor (the transistor in the schematic without a base) and insert an IR detector. Add in the LED everyone’s
always taking out – but be sure it’s an IR or visible red LED (red LEDs often also emit in the IR range, and you can see if they are on). If
you wrap the detector in electrical tape to shield it from side-lighting from the LED, it works more accurately. It has a drop 15-20 (out of
100) between black and white, depending on your lighting conditions. Good enough for line-tracking! (Not currently used on Whiz) |
 |
 |
If you’re short on input ports, and you’ve got two touch sensors to wire to only one port, consider this: wouldn’t it be nice if the
RCX read one value for one sensor, and a different value for the second sensor? To make one sensor read differently than another when both
are plugged into the same input, you’ll need to make a special wire for the connection. Solder in a 22k resistor at the end of one of the
wire leads just before it goes onto the electric plate, and your touch sensor will read about 50, whereas your straight connection (using the
black wires that came with your RIS set for connecting sensors) will read 100. When you program, pretend it’s a light sensor reading two different values. Currently used on Whiz. |


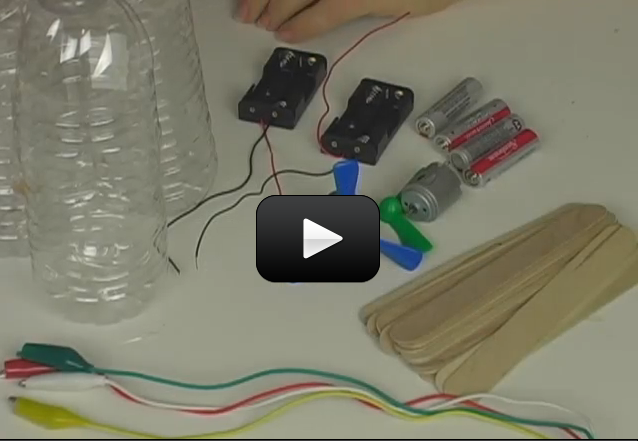
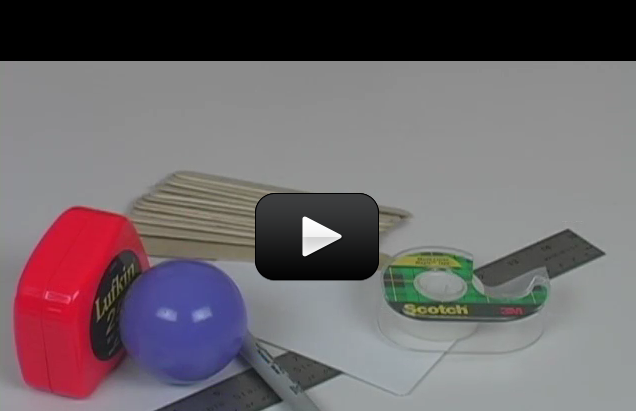
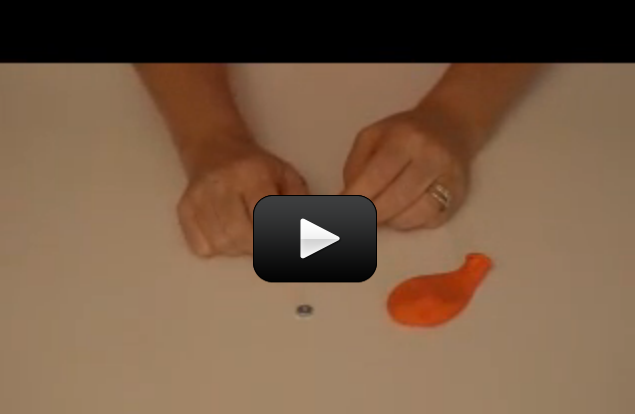
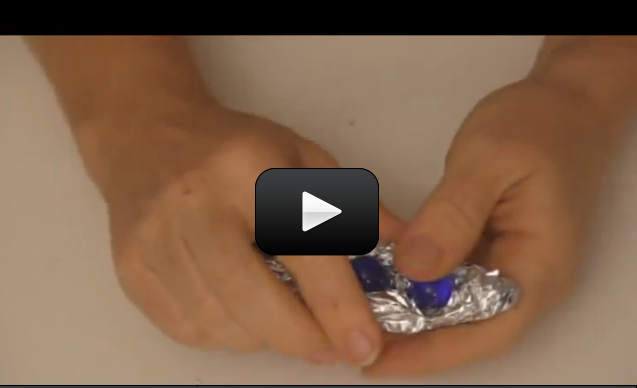
 Make yourself a grab bag of fun things to test: copper pieces (nails or pipe pieces), zinc washers, pipe cleaners, Mylar, aluminum foil, pennies, nickels, keys, film canisters, paper clips, load stones (magnetic rock), other rocks, and just about anything else in the back of your desk drawer.
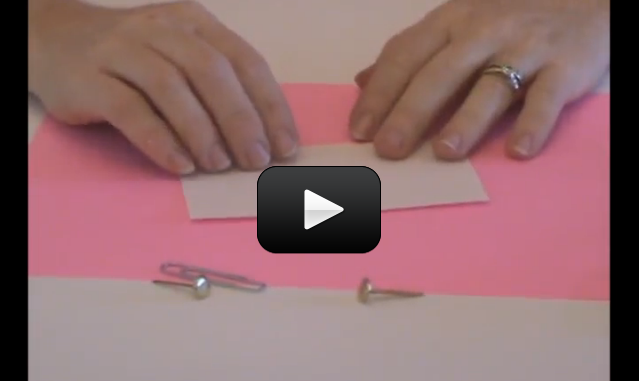
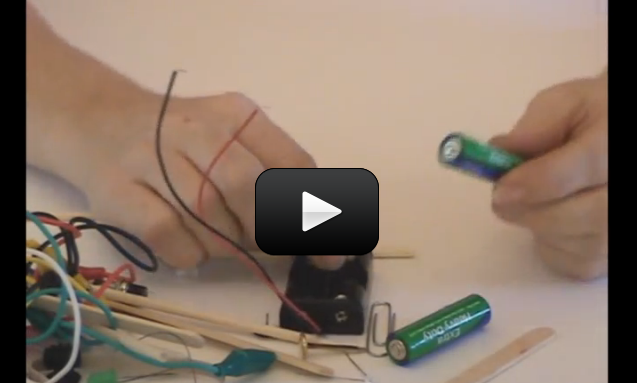
 When you turn on a switch, it’s difficult to really see what’s going on… which is why we make our own from paperclips, brass fasteners, and index cards.
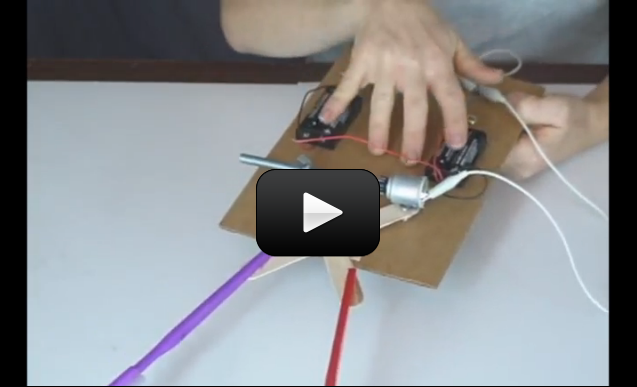
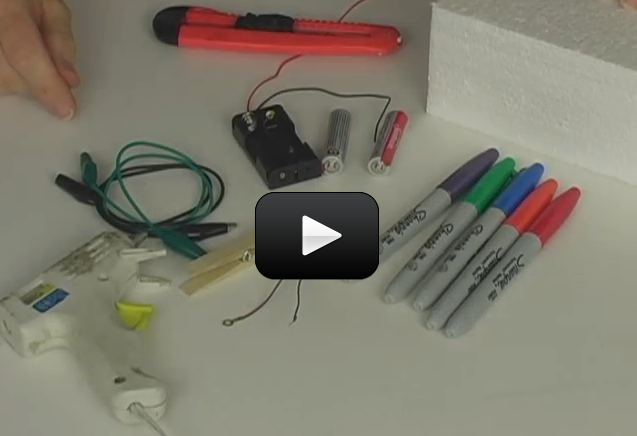
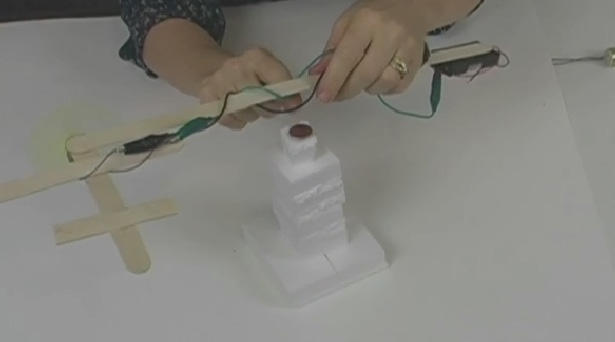
 Are cookies out of reach in your house? When I was a small kid, the top of the refrigerator seemed MILES away… until I built a robot arm out of toothbrushes, popsicle sticks, and cardboard to reach it for me!
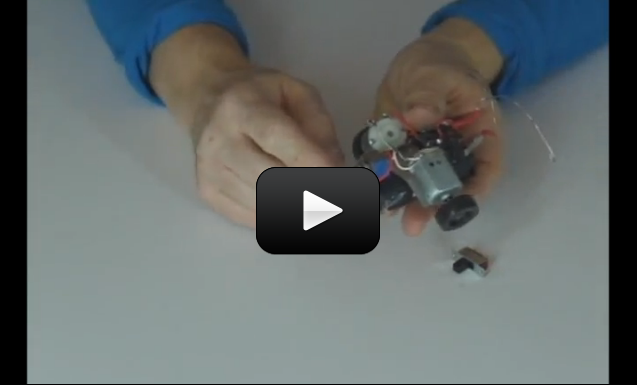
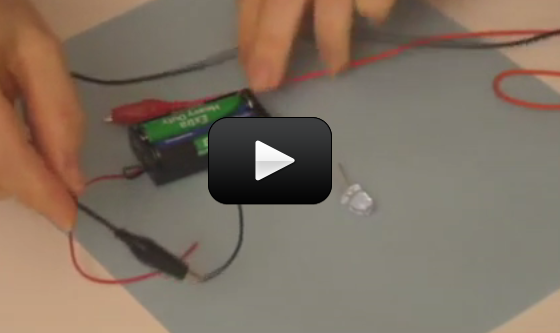
 This project is advanced students. If you like tiny robots, then this one is for you! Powered by cheap hobby motors, this fast little robot zips ’round and avoids obstacles using momentary switches and an idler wheel for a tail.
 This project is for advanced students.
 So now you know how to hook up a
 This simple FET circuit is really an electronic version of the
 Radio control (RC) is a 100 year-old technology. RC requires both a transmitter and a receiver. The control box sends commands to the robot the same way you change channels on the TV with the remote.
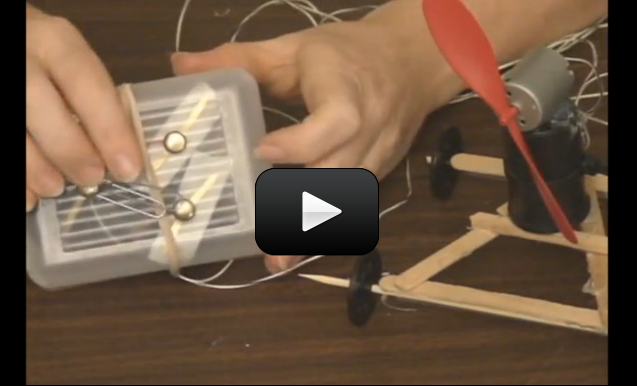
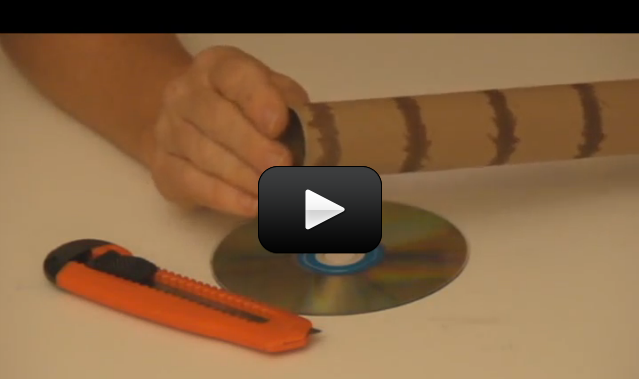
 Spectrometers are used in chemistry and astronomy to measure light. In astronomy, we can find out about distant stars without ever traveling to them, because we can split the incoming light from the stars into their colors (or energies) and “read” what they are made up of (what gases they are burning) and thus determine their what they are made of. In this experiment, you’ll make a simple cardboard spectrometer that will be able to detect all kinds of interesting things!
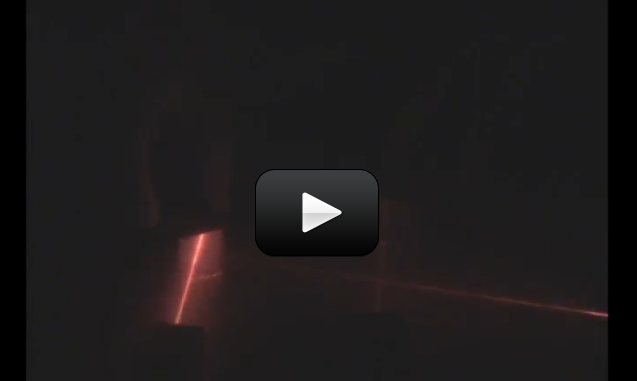

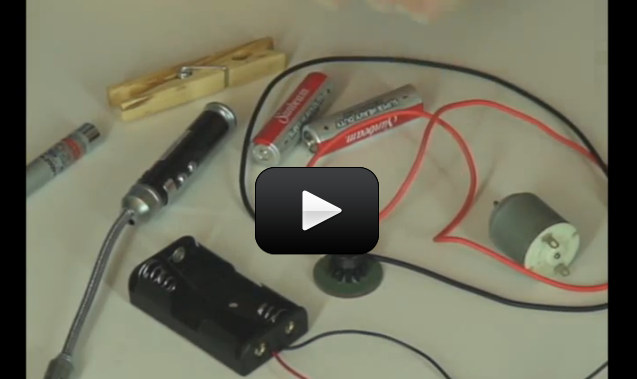
 What happens when you shine a laser beam onto a spinning mirror? In the
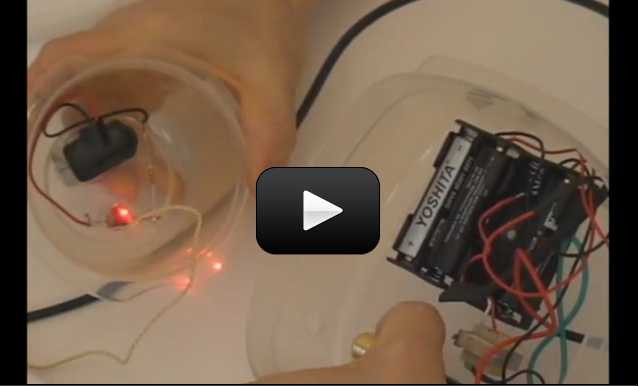
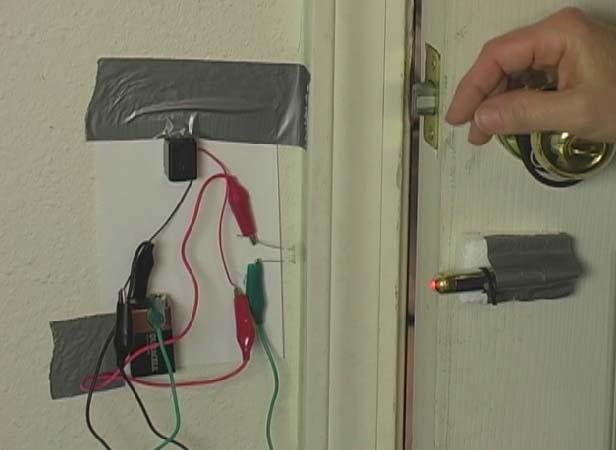
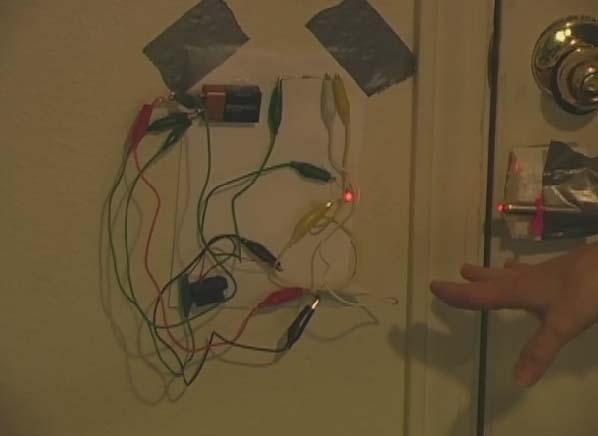
 This experiment is for advanced students.Did you know that when you talk inside a house, the windows vibrate very slightly from your voice? If you stand outside the house and aim a laser beam at the window, you can pick up the vibrations in the window and actually hear the conversation inside the house.
 This super-cool project lets kids have the fun of playing tag in the dark on a warm summer evening, without the "gun" aspect traditionally found in laser tag. Kids not only get to enjoy the sport but also have the pride that they build the tag system themselves - something you simply can't get from opening up a laser tag game box.
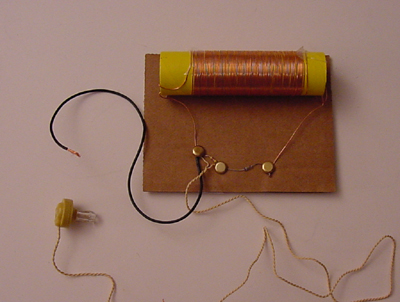
 In addition to laser experiments, I thought you’d like to learn how to pick up sound that’s traveling on a light wave. A crystal radio is among the simplest of radio receivers – there’s no battery or power source, and nearly no moving parts. The source of power comes directly from the radio waves (which is a low-power, low frequency light wave) themselves.


 The image shown here is a real picture of an aircraft as it breaks the sound barrier. This aircraft is passing the speed at which sounds travel. The white cloud you see in the photo is related to the shock waves that are forming around the craft as it moves into supersonic speeds. Because the aircraft is moving through air, which is a gas, the gas can compress and results in a shock wave.


 Sound can change according to the speed at which it travels. Another word for sound speed is pitch. When the sound speed slows, the pitch lowers. With clarinet reeds, it’s high. Guitar strings can do both, as they are adjustable. If you look carefully, you can actually see the low pitch strings vibrate back and forth, but the high pitch strings move so quickly it’s hard to see. But you can detect the effects of both with your ears.


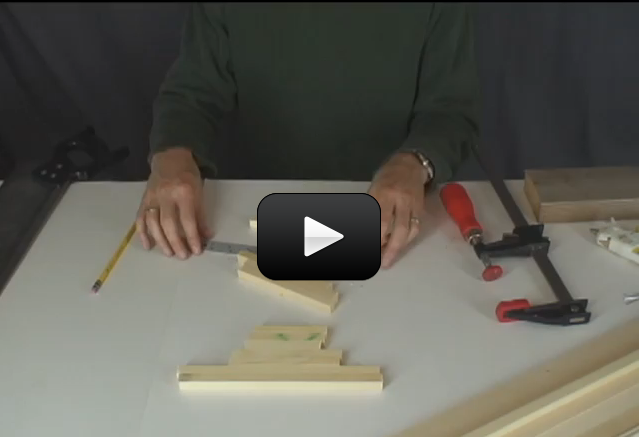
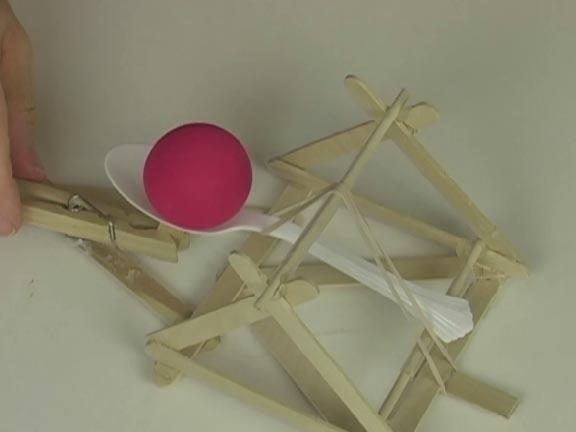
 This experiment is for Advanced Students. For ages, people have been hurling rocks, sticks, and other objects through the air. The trebuchet came around during the Middle Ages as a way to break through the massive defenses of castles and cities. It’s basically a gigantic sling that uses a lever arm to quickly speed up the rocks before letting go. A trebuchet is typically more accurate than a catapult, and won’t knock your kid’s teeth out while they try to load it.


 Sound is everywhere. It can travel through solids, liquids, and gases, but it does so at different speeds. It can rustle through trees at 770 MPH (miles per hour), echo through the ocean at 3,270 MPH, and resonate through solid rock at 8,600 MPH.

 The smallest thing around is the atom, which has three main parts – the core (nucleus) houses the protons and neutrons, and the electron zips around in a cloud around the nucleus.