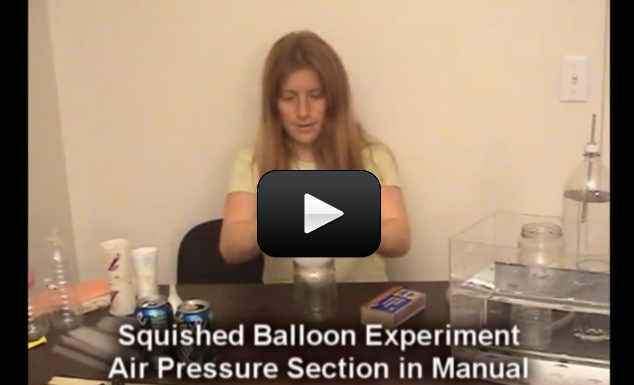
Click here for a printer-friendly version of this page.
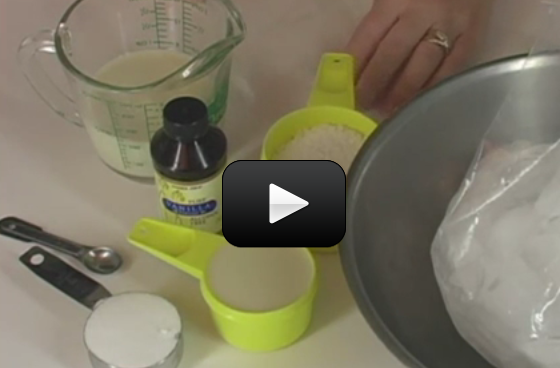
Objective You will learn about force, acceleration, velocity, and what scientist really mean when they say, “Try it again…and again…and again… until you get the result you want.” This lab uses the Iteration Technique to solving a problem, which is different than the Scientific Method, and actually much more widely used by engineers in the science field.
About the Experiment This lab is an excellent opportunity for kids to practice their resilience, because we guarantee this experiment will not work the first several times they try it. While you can certainly help the kids out, it’s important that you help them figure it out on their own. You can do this by asking questions instead of rushing in to solve their problems. For instance, when the marble flies off the track, you can step back and say:
“Hmmm… did the marble go to fast or too slow?”
“Where did it fly off?”
“Wow – I’ll bet you didn’t expect that to happen. Now what are you going to try?”
Become their biggest fan by cheering them on, encouraging them to make mistakes, and try something new (even if they aren’t sure if it will work out). One of the greatest gifts you can give your child is the expectation of their success.
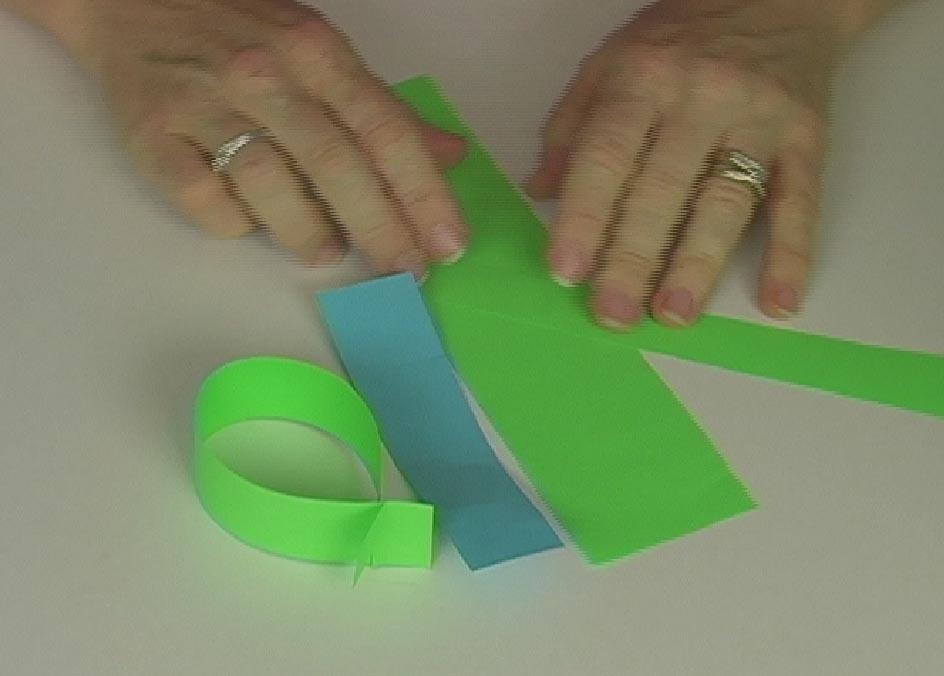
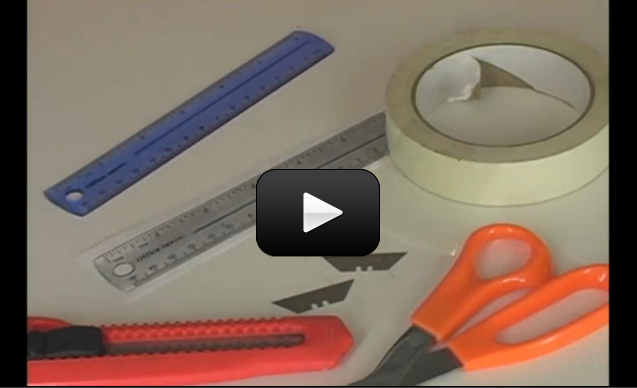
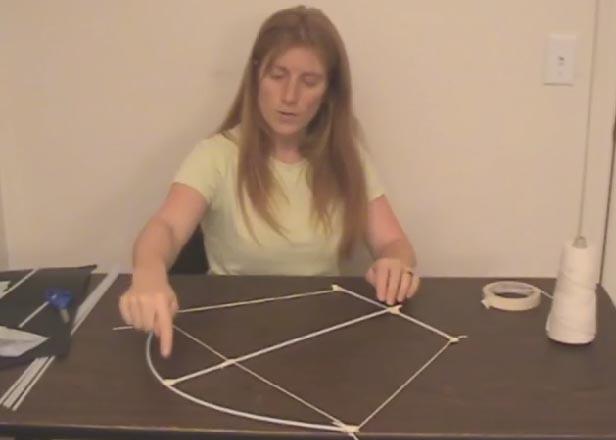
The How and Why To make the roller coasters, you’ll need foam pipe insulation, which is sold by the six-foot increments at the hardware store. You’ll be slicing them in half lengthwise, so each piece makes twelve feet of track. It comes in all sizes, so bring your marbles when you select the size. The ¾” size fits most marbles, but if you’re using ball bearings or shooter marbles, try those out at the store. (At the very least you’ll get smiles and interest from the hardware store sales people.) Cut most of the track lengthwise (the hard way) with scissors. You’ll find it is already sliced on one side, so this makes your task easier. Leave a few pieces uncut to become “tunnels” for later roller coasters.
The next step is to join your track together before adding all the features like loops and curves. Join two tracks together in butt-joint fashion and press a piece of masking tape lengthwise along both the inside and the underside of the track. A third piece of tape should go around the entire joint circumferentially. Make this connection as smooth as possible, as your high-speed marble roller coaster will tend to fly off the track at the slightest bump.
Loops Swing the track around in a complete circle and attach the outside of the track to chairs, table legs, and hard floors with tape to secure in place. Loops take a bit of speed to make it through, so have your partner hold it while you test it out before taping. Start with smaller loops and increase in size to match your entrance velocity into the loop. Loops can be used to slow a marble down if speed is a problem.
Camel-Backs Make a hill out of track in an upside-down U-shape. Good for show, especially if you get the hill height just right so the marble comes off the track slightly, then back on without missing a beat.
Whirly-Birds Take a loop and make it horizontal. Great around poles and posts, but just keep the bank angle steep enough and the marble speed fast enough so it doesn’t fly off track.
Corkscrew Start with a basic loop, then spread apart the entrance and exit points. The further apart they get, the more fun it becomes. Corkscrews usually require more speed than loops of the same size.
Jump Track A major show-off feature that requires very rigid entrance and exit points on the track. Use a lot of tape and incline the entrance (end of the track) slightly while declining the exit (beginning of new track piece).
Pretzel The cream of the crop in maneuvers! Make a very loose knot that resembles a pretzel. Bank angles and speed are the most critical, with rigid track positioning a close second. If you’re having trouble, make the pretzel smaller and try again. You can bank the track at any angle because the foam is so soft. Use lots of tape and a firm surface (bookcases, chairs, etc).
Troubleshooting Marbles will fly everywhere, so make sure you have a lot of extras! If your marble is not following your track, look very carefully for the point of departure – where it flies off.
- Does the track change position with the weight of the marble, making it fly off course? Make the track more rigid by taping it to a surface.
- Is the marble jumping over the track wall? Increase your bank angle (the amount of twist the track makes along its length).
- Does your marble just fall out of the loop? Increase your marble speed by starting at a higher position. When all else fails and your marble still won’t stay on the track, make it a tunnel section by taping another piece on top the main track. Spiral-wrap the tape along the length of both pieces to secure them together.
Why does the marble stick to the track? The faster the marble travels in a loop, the more it sticks to the track. This is the same pancake feeling you get when your body gets pulled into a tight turn (whether in a car or on a roller coaster). The faster and tighter the turn, the more the “pancake feeling”. That pancake thing is called acceleration. You’re feeling a pull away from the center of the loop, which will vary depending on how fast you are going, called centrifugal force.
That’s usually enough for kids. But if you really want to be thoroughly confused, keep reading about how centripetal and centrifugal forces are NOT the same thing:
What about centripetal force? Ah, yes… these two words constantly throw college students into a frenzy, partially because there is no clear definition in most textbooks. As I best understand it, centripetal (translation = “center-seeking”) force is the force needed to keep an object following a curved path. Remember how objects will travel in a straight line unless they bump into something or have another force acting on it (gravity, drag force, etc.)? Well, when you swing a bucket of water around, the force to keep the bucket of water swinging in a curved arc is the centripetal force, which can be felt in the tension experienced by the handle (or your arm, in our case). Swinging an object around on a string will cause the rope to undergo tension (centripetal force), and if your rope isn’t strong enough, it will snap and break, sending the mass flying off in a tangent (straight) line until gravity and drag force pull the object to a stop. This force is proportional to the square of the speed… the faster you swing the object, the higher the force.
Centrifugal (translation = “center-fleeing”) force has two different definitions, which also causes confusion. The inertial centrifugal force is the most widely referred to, and is purely mathematical, having to do with calculating kinetic forces using reference frames, and is used with Newton’s laws of motion. It’s often referred to as the ‘fictitious force’.
The other kind, reactive centrifugal force, happens when objects move in a curved path. This force is actually the same magnitude as centripetal force, but in the opposite direction, and you can think of it as the reaction force to the centripetal force. Think of how you stand on the Earth… your weight pushes down on the Earth, and a reaction force (called the “normal” force) pushes up in reaction to your weight, keeping you from falling to the center of the Earth. A centrifugal governor (spinning masses that regulate the speed of an engine) and a centrifugal clutch (spinning disk with two masses separated by a spring inside) are examples of this kind of force in action.
One more example: Imagine driving a car along a banked turn. The road exerts a centripetal force on the car, keeping the car moving in a curved path (the “banked” turn). If you neglected to buckle your seat belt and the seats have a fresh coat of Armor-All (making them slippery), then as the car turns along the banked curve, you get “shoved” toward the door. But who pushed you? No one – your body wanted to continue in a straight line but the car keeps moving in your path, turning your body in a curve. The push of your weight on the door is the reactive centrifugal force, and the car pushing on you is the centripetal force.
What about the fictitious (inertial) centrifugal force? Well, if you imagine being inside the car as it is banking with the windows blacked out, you suddenly feel a magical ‘push’ toward the door away from the center of the bend. This “push” is the fictitious force invoked because the car’s motion and acceleration is hidden from you (the observer) in the reference frame moving within the car.

 The image here is the 2003 Gibbs Aqauda at full speed in deep water! It looks like it’s just skipping along the surface, doesn’t it?
 The Aquada car uses a 160 hp engine for land and a compact jet that produces 2,000 pounds of thrust. It broke the record for crossing the English Channel by four whole hours (third image below with the orange boat in the background).
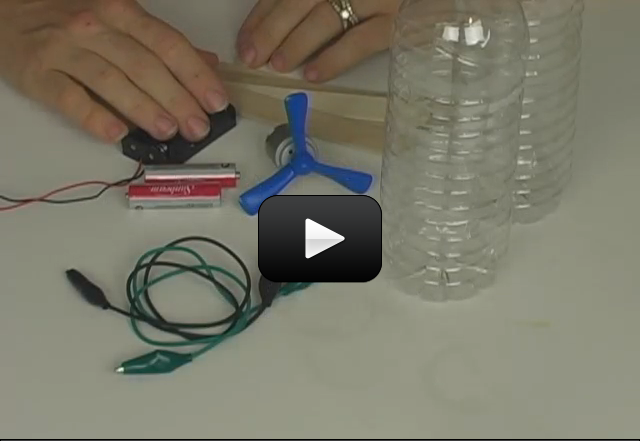
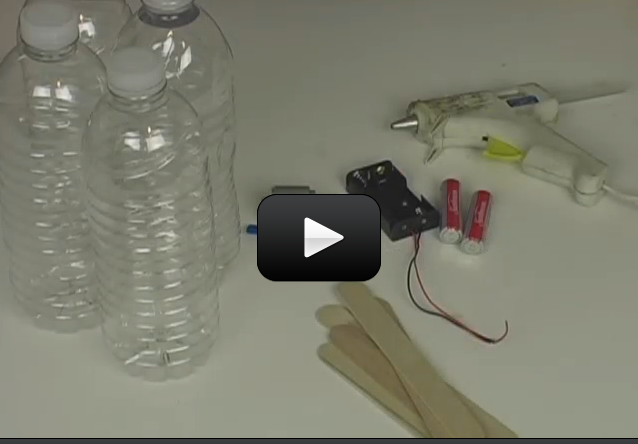
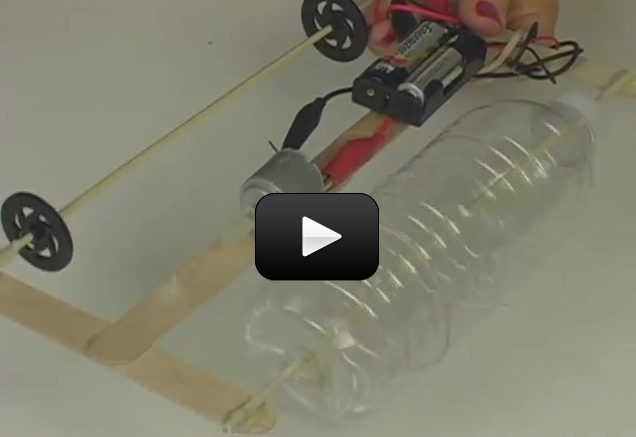
 We’re going to build our own model, though not with a jet engine. We’re going to use a motor, wheels, floats, and wires to build a real working model you can use in the tub tonight. Our model is also going to have a transmission that will enable you to get two different speeds using very simple materials. Are you ready? Here’s what you need to do:


 This project is for advanced students. Make sure you’ve completed the
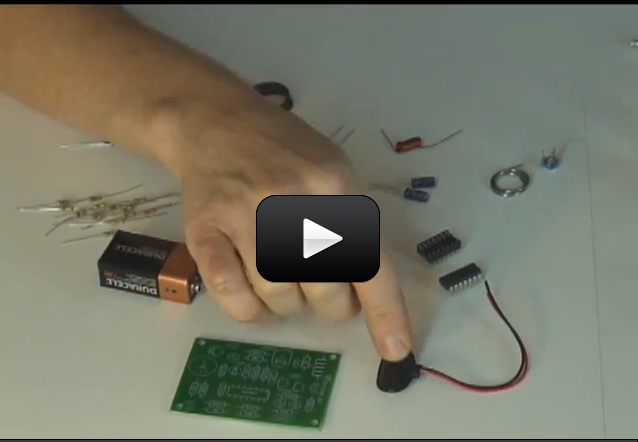
 This project is for advanced students. Make sure you’ve completed the
 Did you know you can create a compound microscope and a refractor telescope using the same materials? It’s all in how you use them to bend the light. These two experiments cover the fundamental basics of how two double-convex lenses can be used to make objects appear larger when right up close or farther away.


 Did you know you can see the moons of Jupiter and Saturn with only a pair of binoculars? During the summer, there’s really nothing better than star gazing with a pair of binoculars with your kids, and I’m going to help you hit the highlights, even if you don’t know an atom from an angström. I’ve put together a list of my favorite picks from the northern hemisphere’s summer sky. So get out your binoculars, pop the popcorn, and spend time outdoors with your kids.
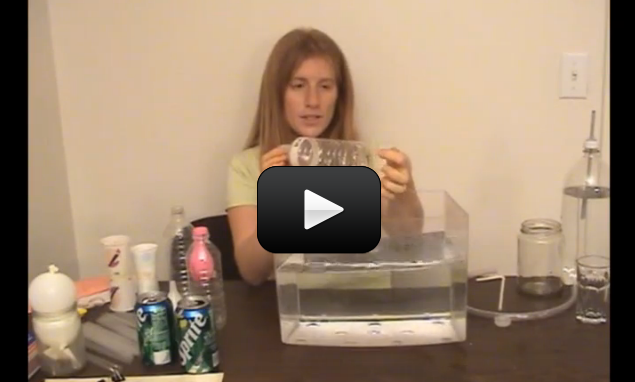


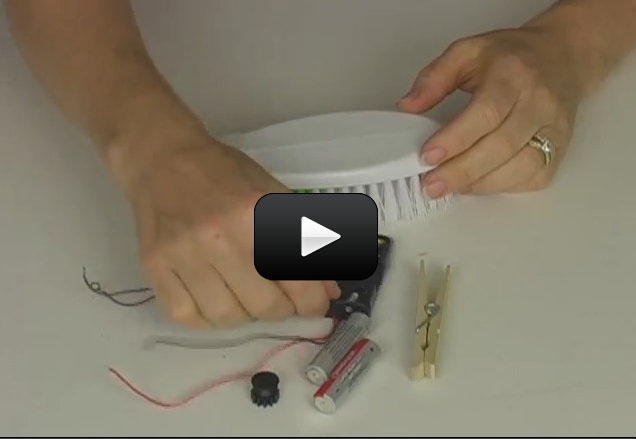
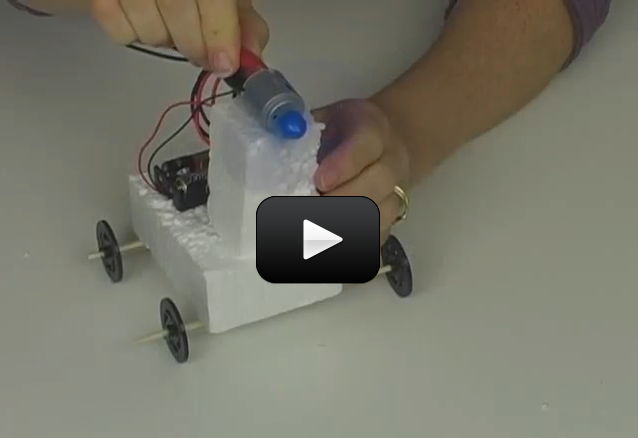
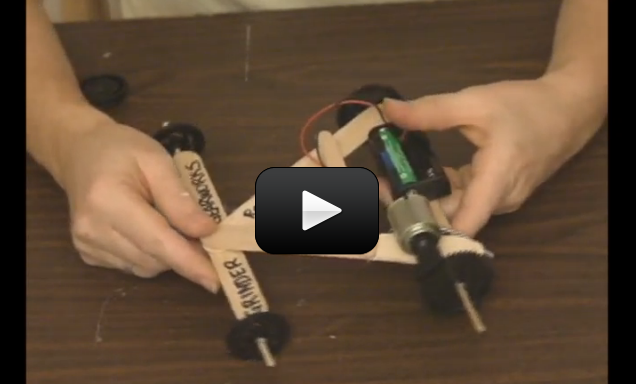
 Objective You’re going to be using your circuits together with a frame to build a set of real, working robots. We’re going to spend most of our time learning how to get the electrical components to work together, and not very much time on how they individually work. For example, we’re not going to talk about how a motor transforms electricity into a spinning motion, but rather how to wire up a set of motors to make a robot move forward and reverse. It’s more important to learn how these elements work. (The details concerning why they work comes a bit later down the line.)


 Click here for a printer-friendly version of this page.
 Click here for a printer-friendly version of this page.


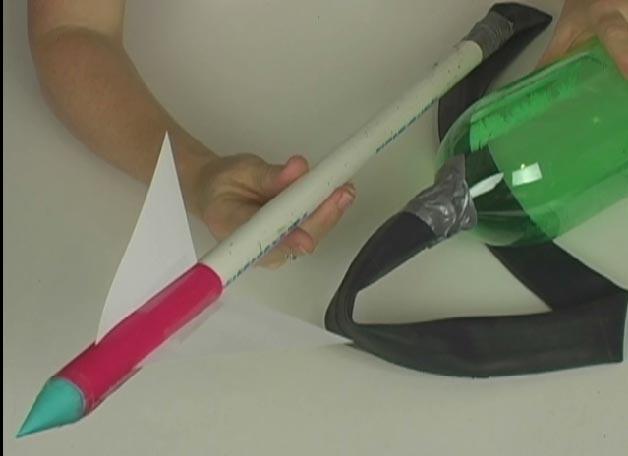
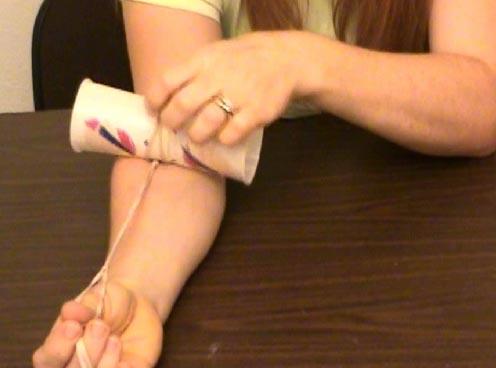
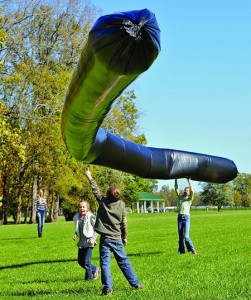 We didn't include this particular experiment in our shopping list, as the tube's kind of expensive and can only be used for one particular experiment, BUT it's an incredible blast to do in the summer.
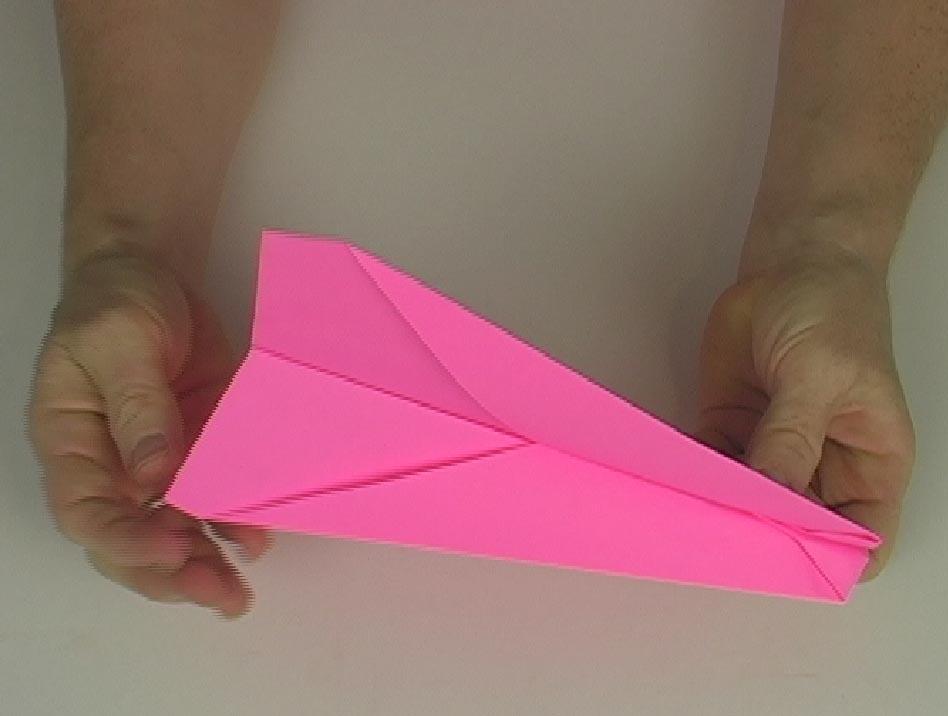
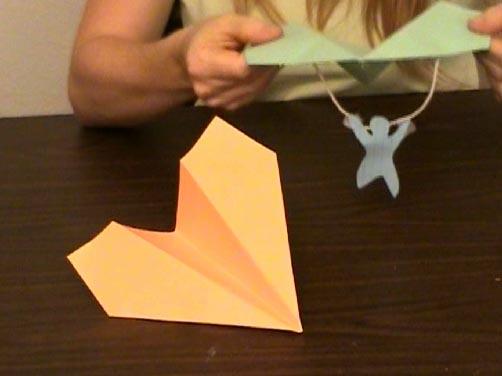

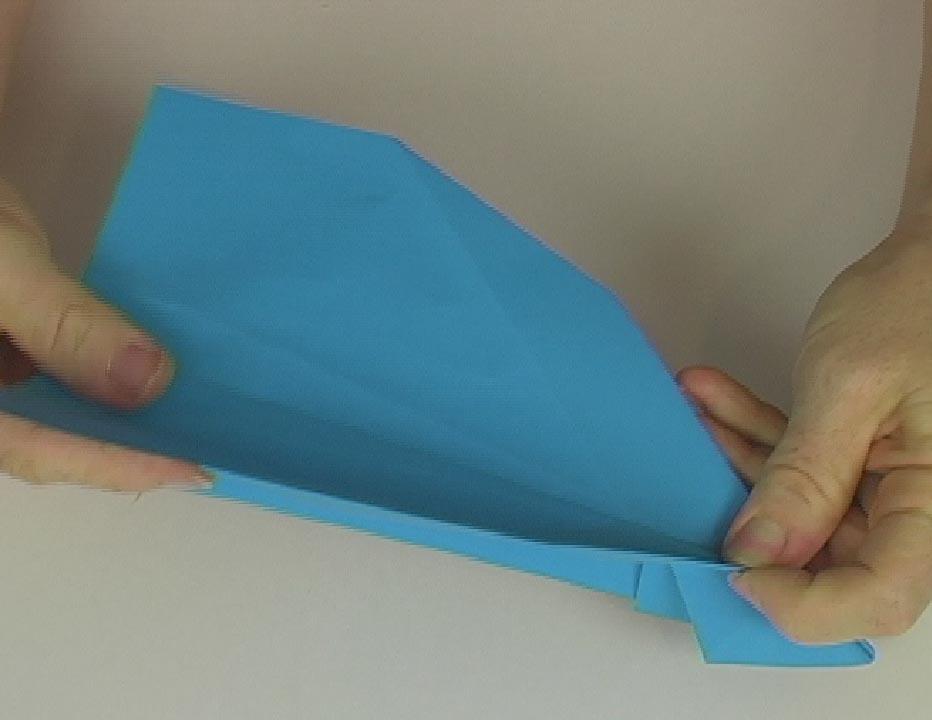
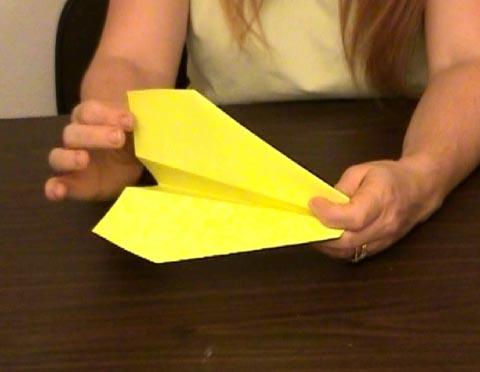

 We’ve included several flying designs for you to test, including: