When you warm up leftovers, have you ever wondered why the microwave heats the food and not the plate? (Well, some plates, anyway.) It has to do with the way microwaves work.
Microwaves generate high energy electromagnetic waves that when aimed at water molecules, makes these molecules get super-excited and start bouncing around a lot.
We see this happen when we heat water in a pot on the stove. When you add energy to the pot (by turning on the stove), the water molecules start vibrating and moving around faster and faster the more heat you add. Eventually, when the pot of water boils, the top layer of molecules are so excited they vibrate free and float up as steam.
When you add more energy to the water molecule, either by using your stove top or your nearest microwave, you cause those water molecules to vibrate faster. We detect these faster vibrations by measuring an increase in the temperature of the water molecules (or in the food containing water). Which is why it’s dangerous to heat anything not containing water in your microwave, as there’s nowhere for that energy to go, since the electromagnetic radiation is tuned to excite water molecules.
To explain this to younger kids (who might confuse radio waves with sounds waves) you might try this:
There’s light everywhere, some of which you can see (like rainbows) and others that you can’t see (like the infrared beam coming from your TV remote, or the UV rays from the sun that give you a sunburn). The microwave shoots invisible light beams at your food that are tuned to heat up the water molecule.
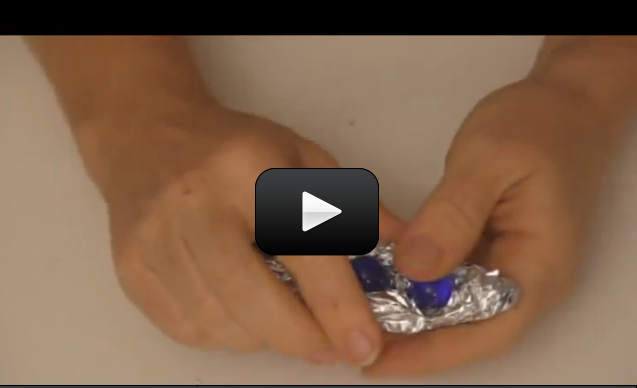
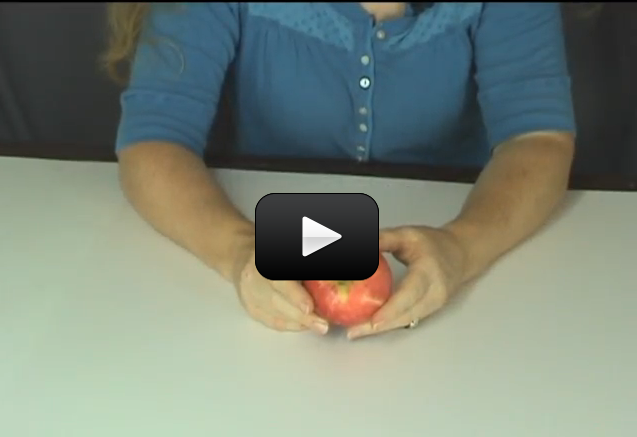
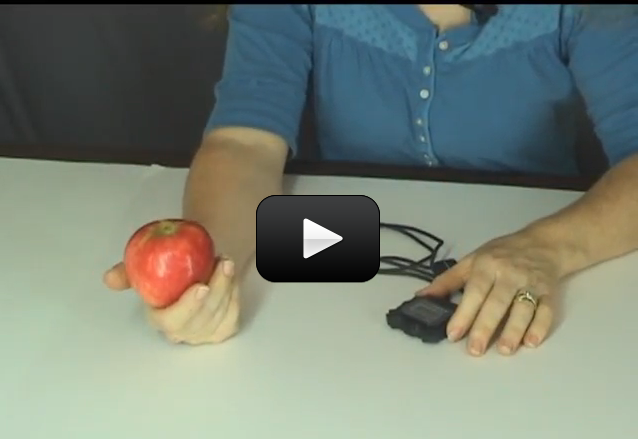
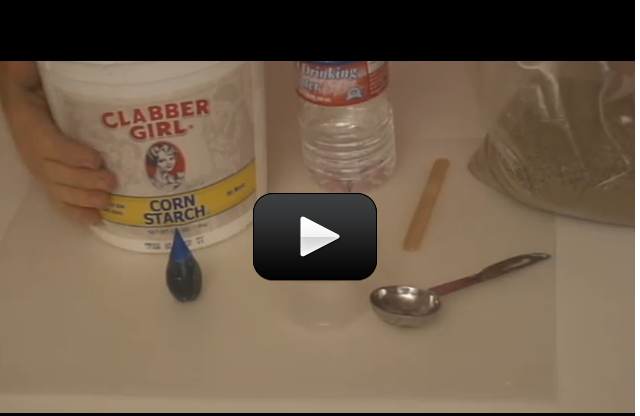
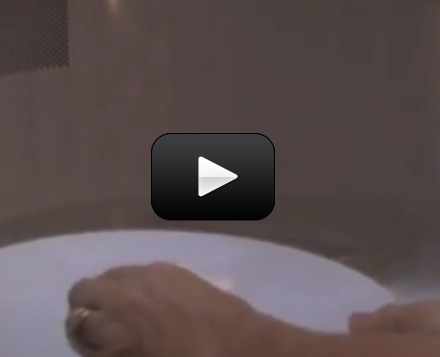
The microwave radiation emitted by the microwave oven can also excite other polarized molecules in addition to the water molecule, which is why some plates also get hot. The soap in this experiment below will show you how a bar of Ivory soap contains air, and that air contains water vapor which will get heated by the microwave radiation and expand. Are you ready?
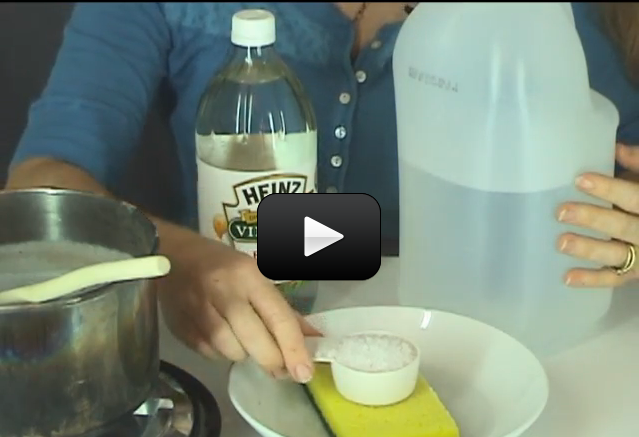
Here’s what you need:
Please
login or
register to read the rest of this content.


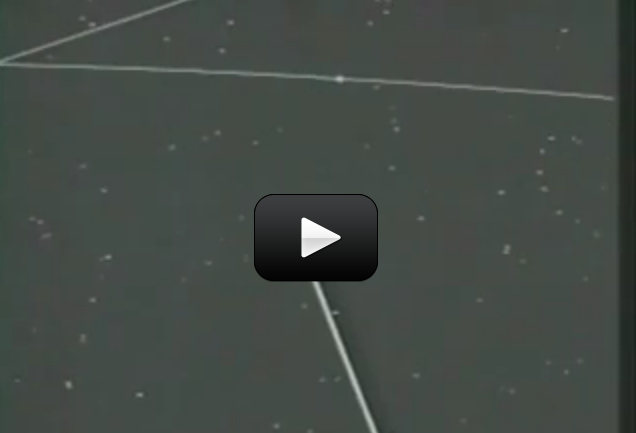


 If you watch the moon, you’d notice that it rises in the east and sets in the west. This direction is called ‘prograde motion’. The stars, sun, and moon all follow the same prograde motion, meaning that they all move across the sky in the same direction.
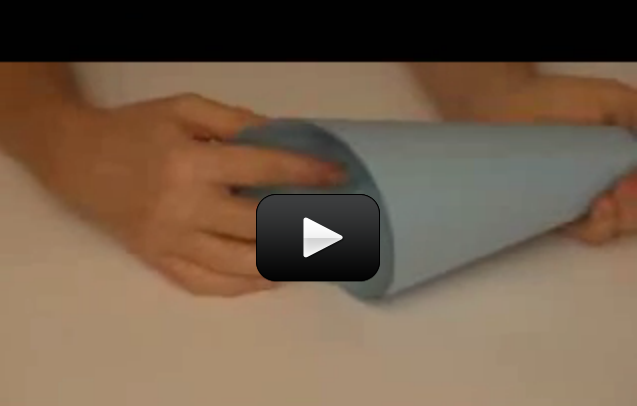


 This lecture series is from an astronomy course at Ohio State. It’s a 20-week college-level course, so don’t feel like you’ve got to do it all in one night! You’ll learn about the solar system, planets, and universe through a well-organized set of lectures that really brings astronomy, human history, and current technology together. This content is appropriate for advanced students and above.
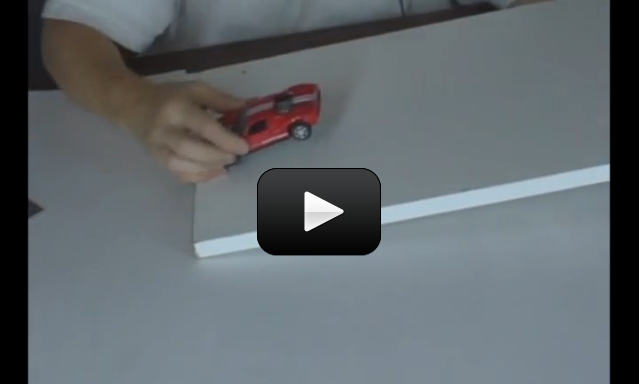
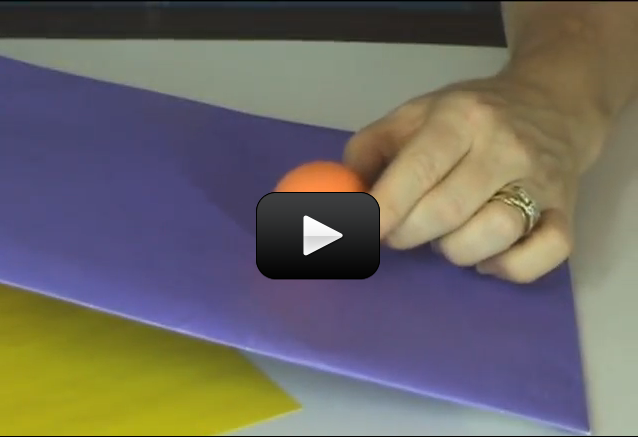
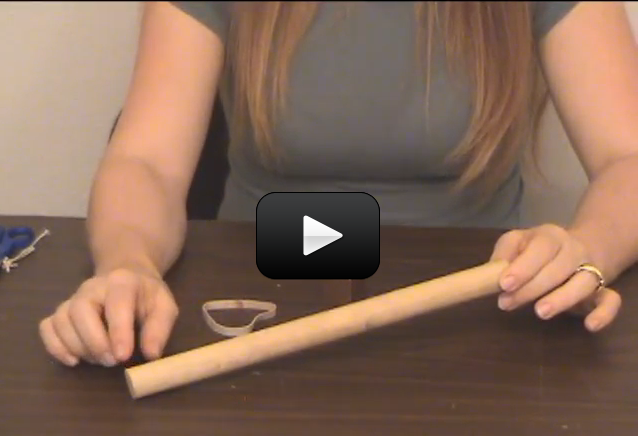
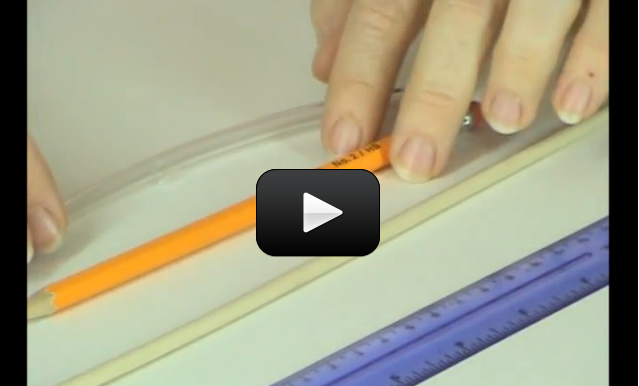
 Sound can change according to the speed at which it travels. Another word for sound speed is pitch. When the sound speed slows, the pitch lowers. With clarinet reeds, it’s high. Guitar strings can do both, as they are adjustable. If you look carefully, you can actually see the low pitch strings vibrate back and forth, but the high pitch strings move so quickly it’s hard to see. But you can detect the effects of both with your ears.
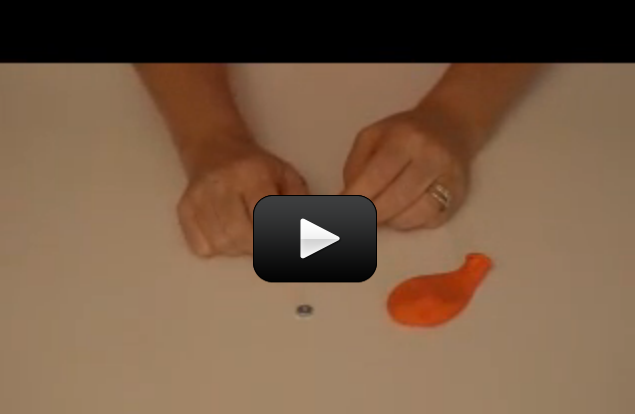
 This is the experiment that all kids know about… if you haven’t done this one already, put it on your list of fun things to do. (See the tips & tricks at the bottom for further ideas!)
 This experiment is just for advanced students. Ernst Florens Friedrich Chladni (1756-1827) is considered to be the ‘father of acoustics’. He was fascinated by vibrating things like plates and gases, and his experiments resulted in two new musical instruments to be developed.
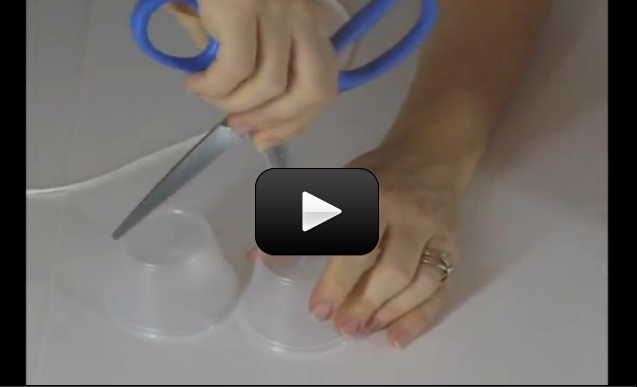
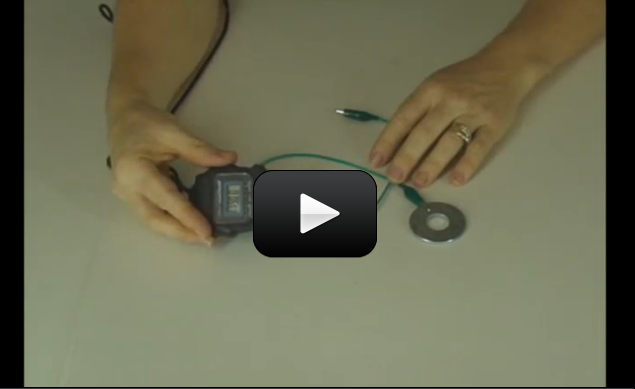
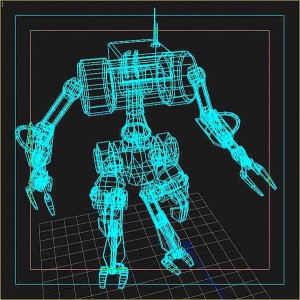
 Alexander Graham Bell developed the telegraph, microphone, and telephone back in the late 1800s. We'll be talking about electromagnetism in a later unit, but we're going to cover a few basics here so you can understand how loudspeakers transform an electrical signal into sound.


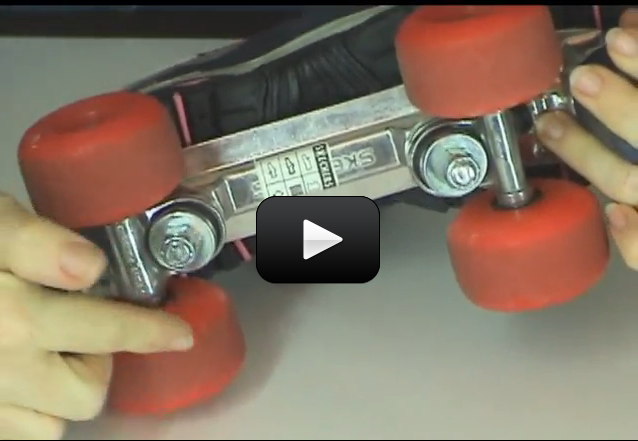
 Have you ever torn apart something and then couldn’t figure out how to get it back together again so that it worked? Worse, you knew that if you had only taken a few moments to think about the problem or jot something down, you know it would have taken you far less time to figure it out?
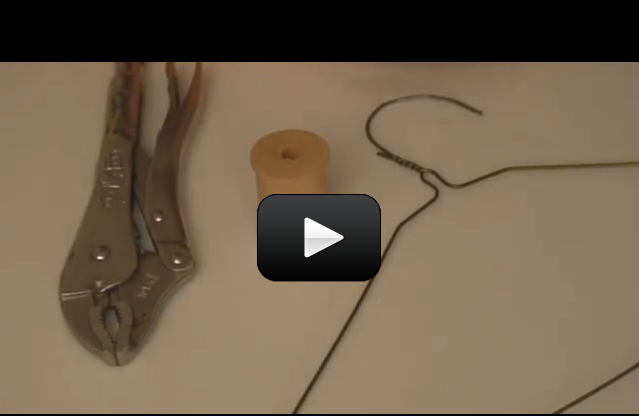
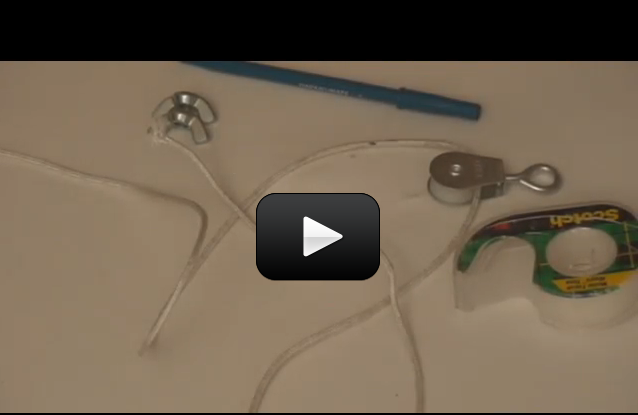
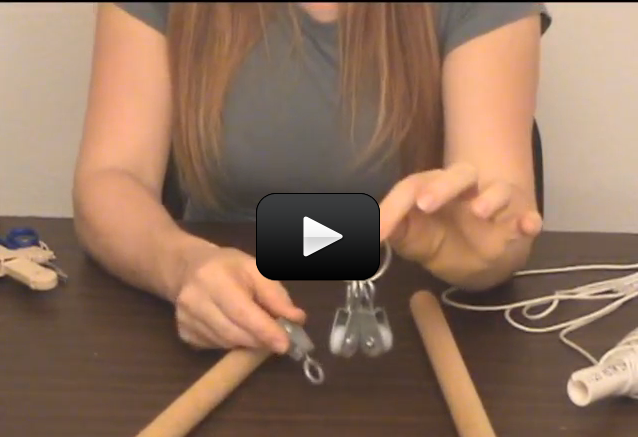
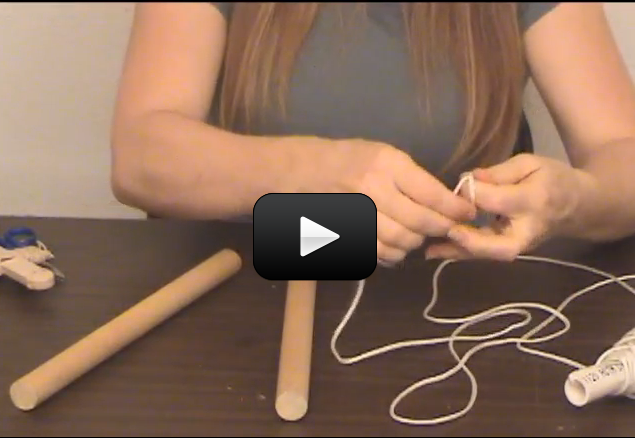


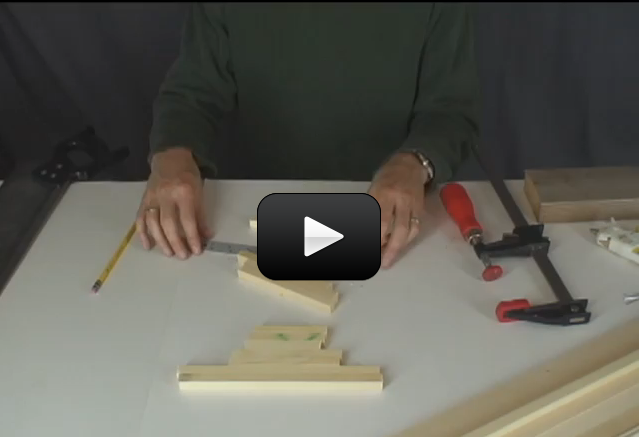
 This experiment is for Advanced Students. For ages, people have been hurling rocks, sticks, and other objects through the air. The trebuchet came around during the Middle Ages as a way to break through the massive defenses of castles and cities. It’s basically a gigantic sling that uses a lever arm to quickly speed up the rocks before letting go. A trebuchet is typically more accurate than a catapult, and won’t knock your kid’s teeth out while they try to load it.
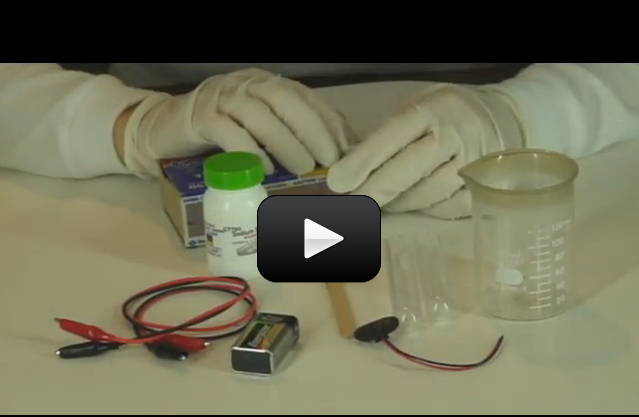

 The atoms in a solid, as we mentioned before, are usually held close to one another and tightly together. Imagine a bunch of folks all stuck to one another with glue. Each person can wiggle and jiggle but they can’t really move anywhere.
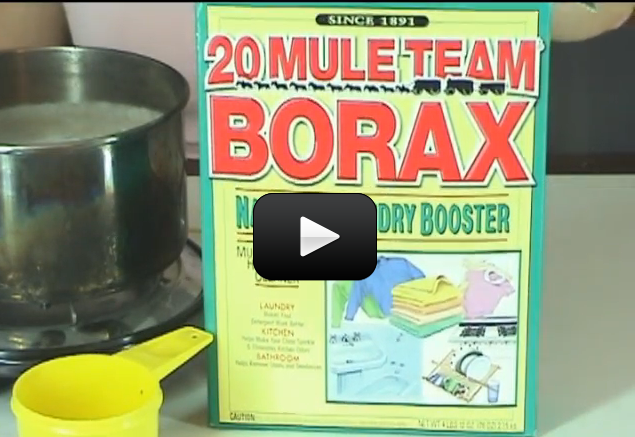
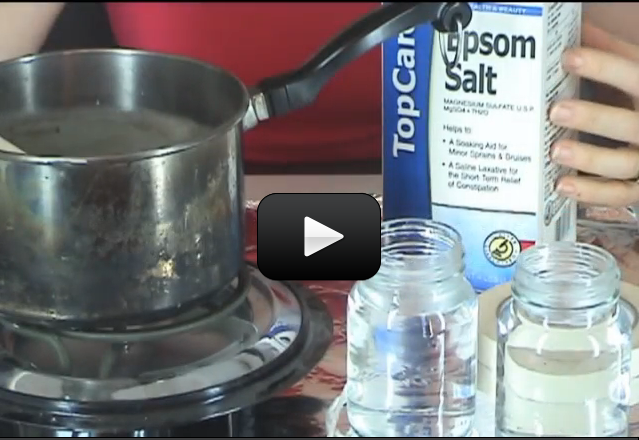
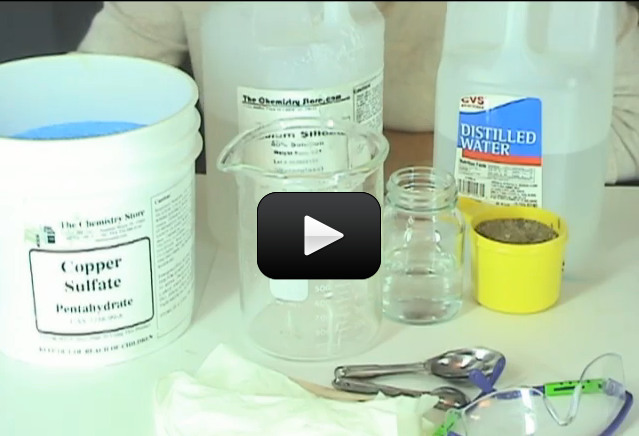
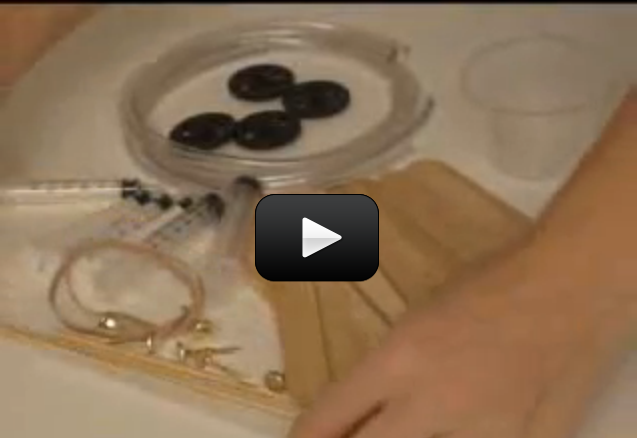
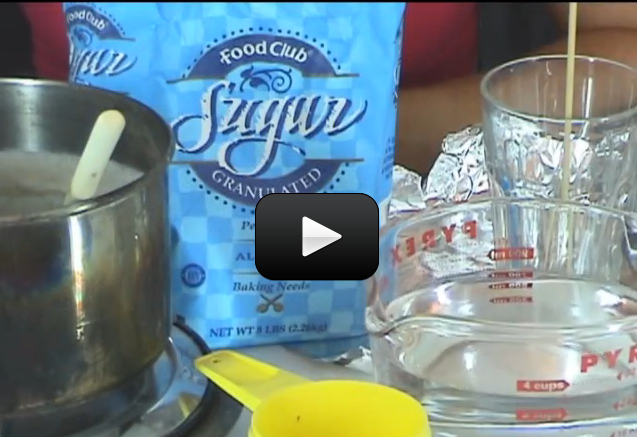
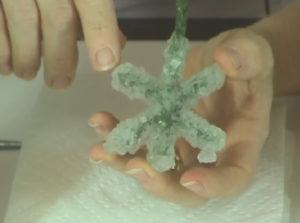 Can we really make crystals out of soap? You bet! These crystals grow really fast, provided your solution is properly saturated. In only 12 hours, you should have sizable crystals sprouting up.

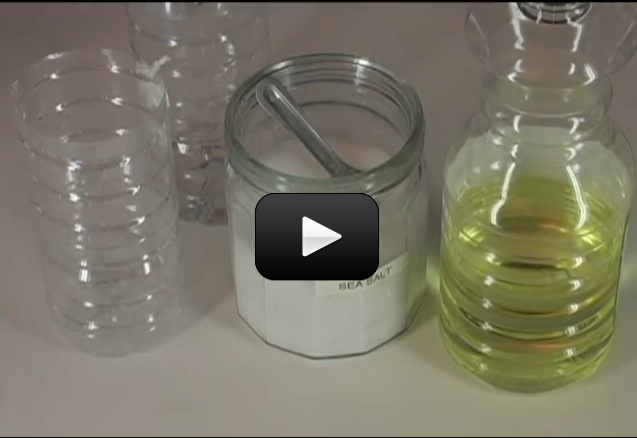
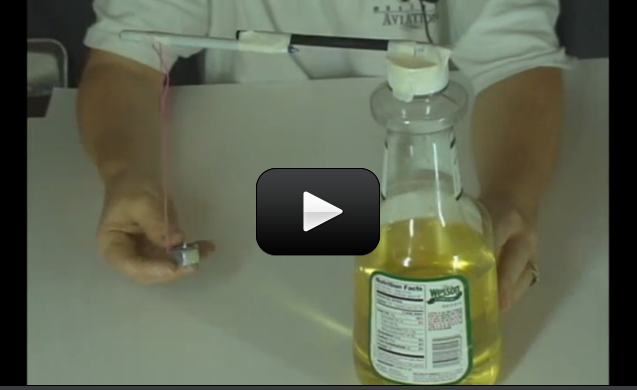
 Density is basically how tightly packed atoms are. Mathematically, density is mass/volume. In other words, it is how heavy something is, divided by how much space it takes up. If you think about atoms as marbles (which we know they’re not from the last lessons but it’s a useful model), then something is more dense if its marbles are jammed close together.
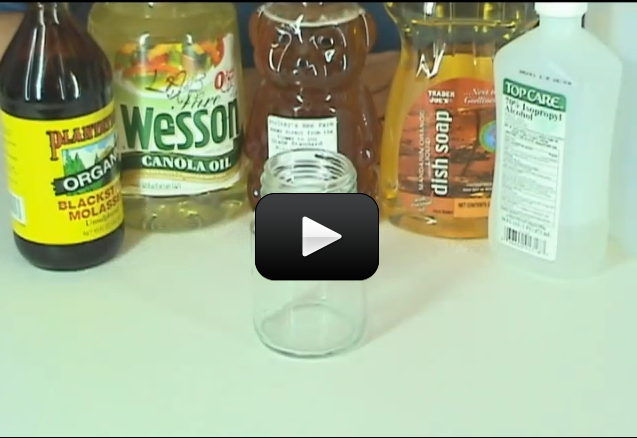

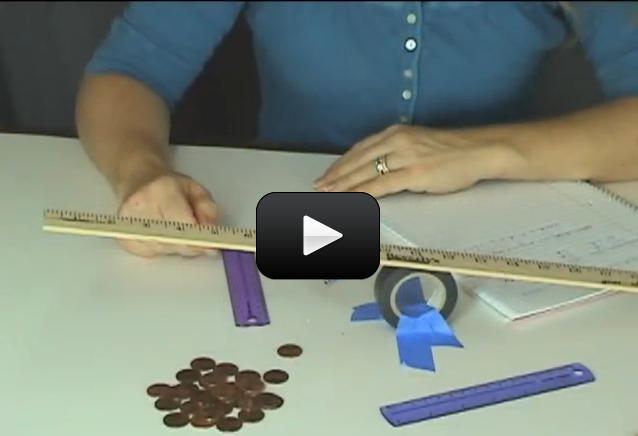
 This is a simple experiment that really shows the relationship of mass, volume, and density. You don't need anything fancy, just a piece of bread. If you do have a scale that can measure small masses (like a kitchen scale), bring it out, but it is not essential.
 A gram of water (about a thimble of water) contains 1023 atoms. (That’s a ‘1’ with 23 zeros after it.) That means there are 1,000,000,000,000,000,000,000,000 atoms in a thimble of water! That’s more atoms than there are drops of water in all the lakes and rivers in the world.