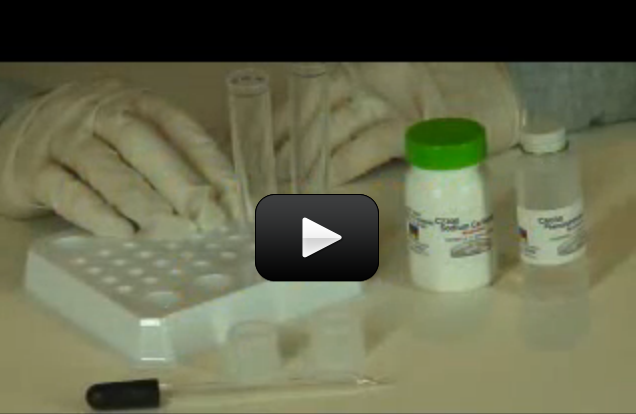
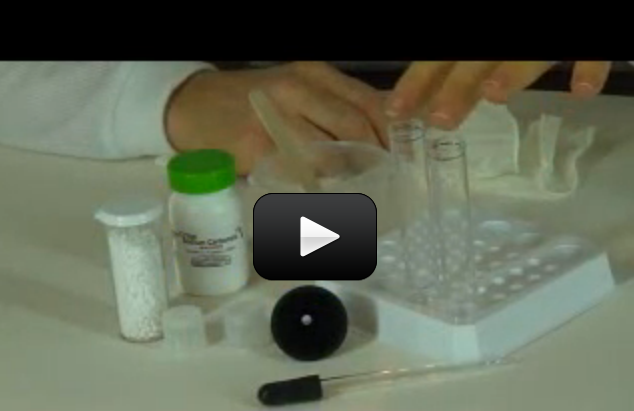
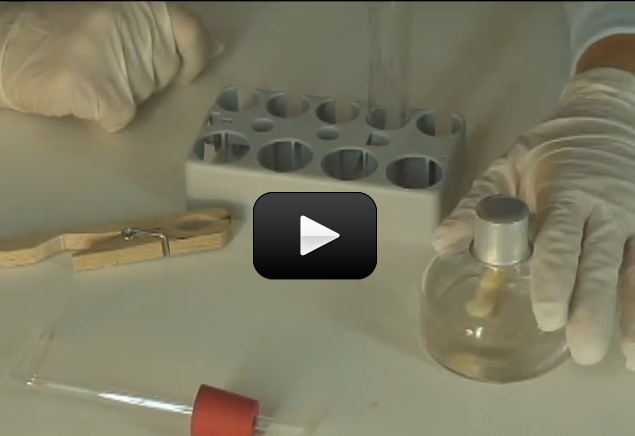
 If you love the idea of mixing up chemicals and dream of having your own mad science lab one day, this one is for you. You are going to mix up each solid with each liquid in a chemical matrix.
In a university class, one of the first things you learn in chemistry is the difference between physical and chemical changes. An example of a physical change happens when you change the shape of an object, like wadding up a piece of paper. If you light the paper wad on fire, you now have a chemical change. You are rearranging the atoms that used to be the molecules that made up the paper into other molecules, such as carbon monoxide, carbon dioxide, ash, and so forth.
How can you tell if you have a chemical change? If something changes color, gives off light (such as the light sticks used around Halloween), or absorbs heat (gets cold) or produces heat (gets warm), it’s a chemical change.
What about physical changes? Some examples of physical changes include tearing cloth, rolling dough, stretching rubber bands, eating a banana, or blowing bubbles.
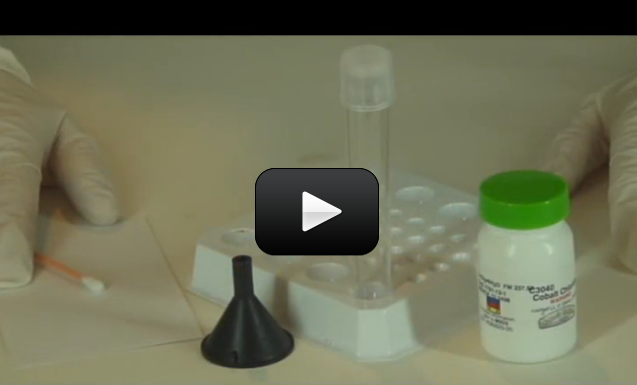
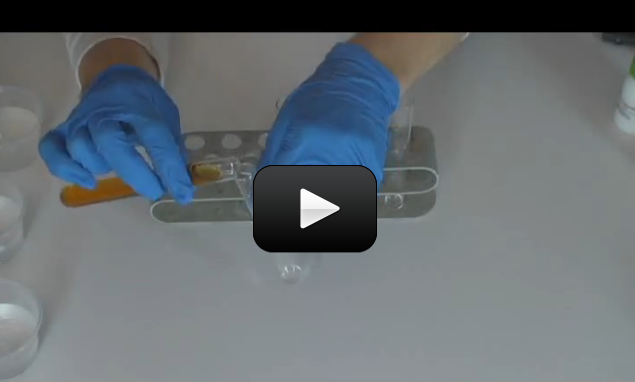
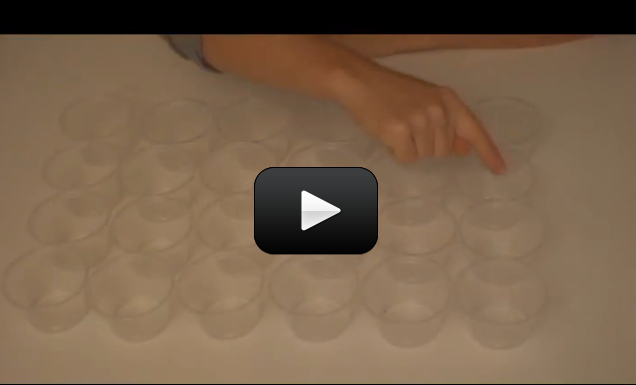
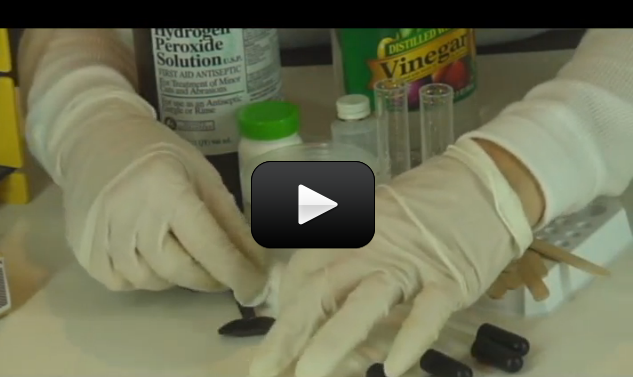
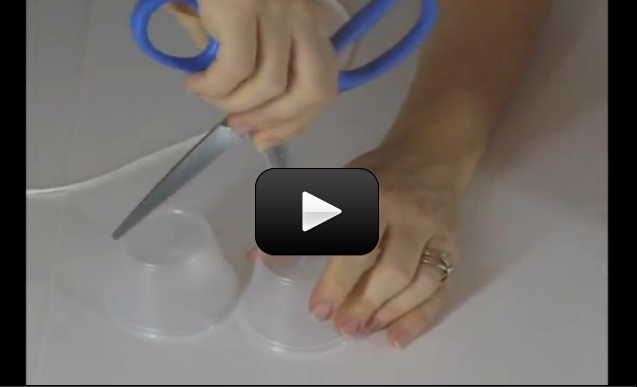
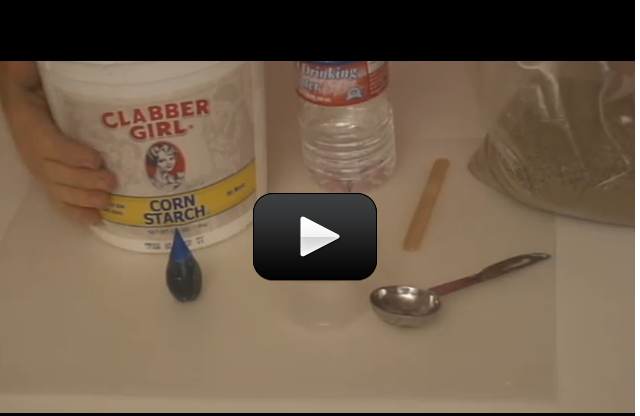
About this experiment: Your solutions will turn red, orange, yellow, green, blue, purple, hot, cold, bubbling, foaming, rock hard, oozy, and slimy, and they’ll crystallize and gel — depending on what you put in and how much!
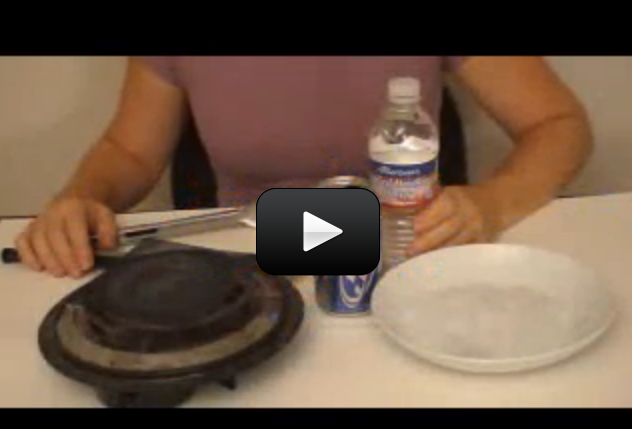
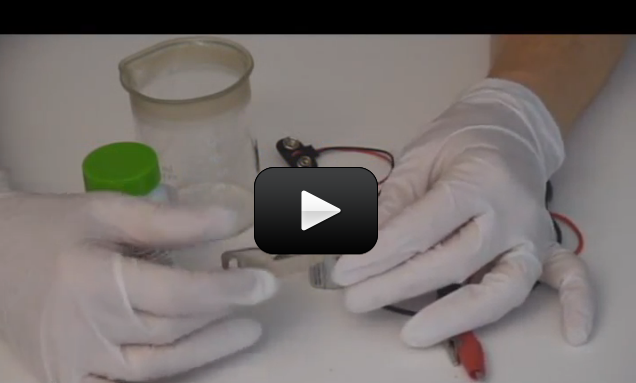
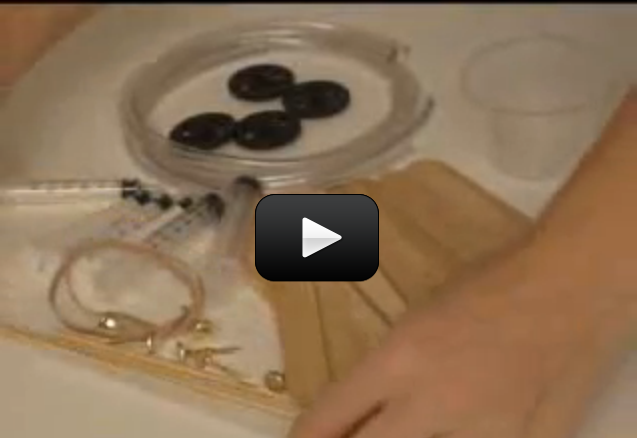
This is the one set of chemicals that you can mix together without worrying about any lethal gases. I do recommend doing this OUTSIDE, as the alcohol and peroxide vapors can irritate you. Always have goggles on and gloves on your hands, and a hose handy in case of spills. Although these chemicals are not harmful to your skin, they can cause your skin to dry out and itch. Wear gloves (latex or similar) and eye protection (safety goggles), and if you’re not sure about an experiment or chemical, just don’t do it. (Skip the peroxide and cold pack if you have small kids.)
Materials:
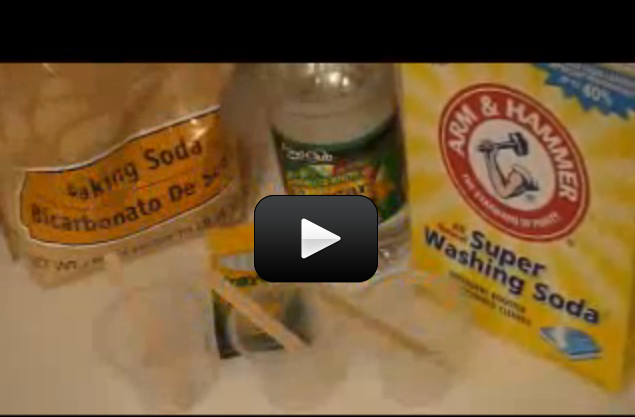
• sodium tetraborate (borax, a laundry whitener)
• sodium bicarbonate (baking soda)
• sodium carbonate (washing soda)
• calcium chloride (also known as “DriEz” or “Ice Melt”)
• ammonium nitrate (single-use disposable cold pack)
• isopropyl rubbing alcohol
• hydrogen peroxide
• acetic acid (distilled white vinegar)
• water
• liquid dish soap (add to water)
• muffin tin or disposable cups
• popsicle sticks for stirring and mixing
• tablecloths (one for the table, another for the floor)
• head of red cabbage (indicator)
Please
login or
register to read the rest of this content.
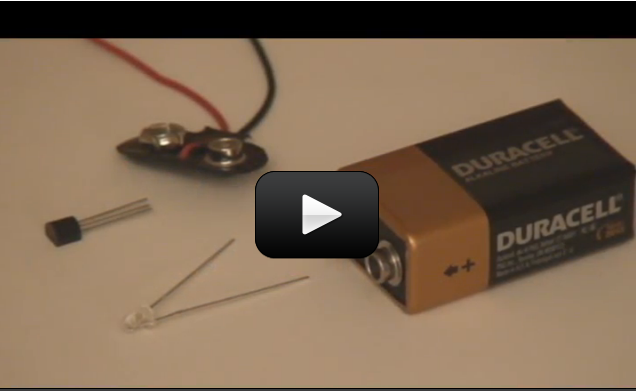
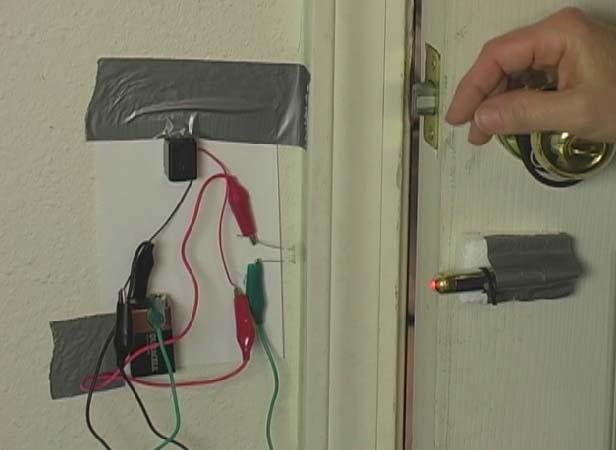
 This simple FET circuit is really an electronic version of the
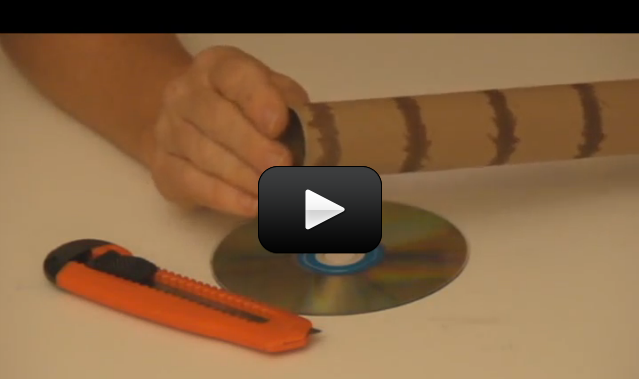
 Spectrometers are used in chemistry and astronomy to measure light. In astronomy, we can find out about distant stars without ever traveling to them, because we can split the incoming light from the stars into their colors (or energies) and “read” what they are made up of (what gases they are burning) and thus determine their what they are made of. In this experiment, you’ll make a simple cardboard spectrometer that will be able to detect all kinds of interesting things!

 Imagine you’re a painter. What three colors do you need to make up any color in the universe? (You should be thinking: red, yellow, and blue… and yes, you are right if you’re thinking that the real primary colors are cyan, magenta, and yellow, but some folks still prefer to think of the primary colors as red-yellow-blue… either way, it’s really not important to this experiment which primary set you choose.)
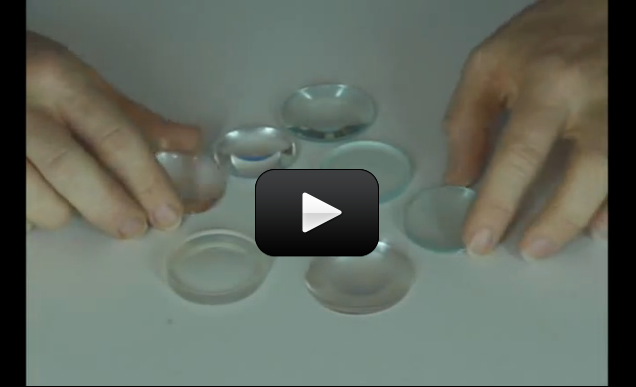
 An optical table gives you a solid surface to work on and nails down your parts so they don’t move. This is an image taken with Schlieren photography. This technique picks up the changes in air density (which is a measure of pressure and volume).
 Charles Benhamho (1895) created a toy top painted with the pattern (images on next page). When you spin the disk, arcs of color (called “pattern induced flicker colors”) show up around the disk. And different people see different colors!
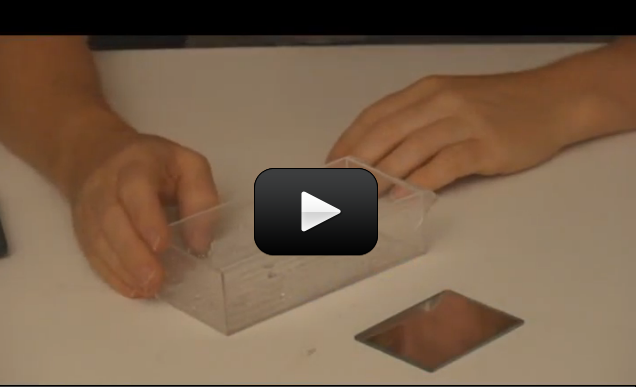
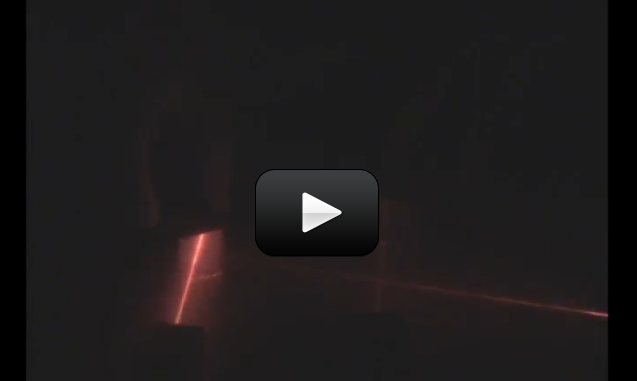

 What happens when you shine a laser beam onto a spinning mirror? In the
 So you’ve played with lenses, mirrors, and built an optical bench. Want to make a real telescope? In this experiment, you’ll build a Newtonian and a refractor telescope using your
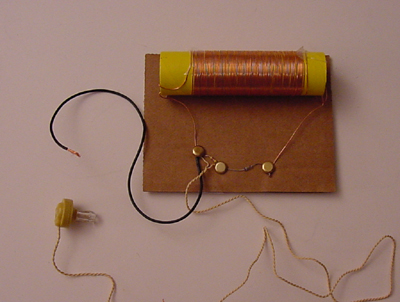
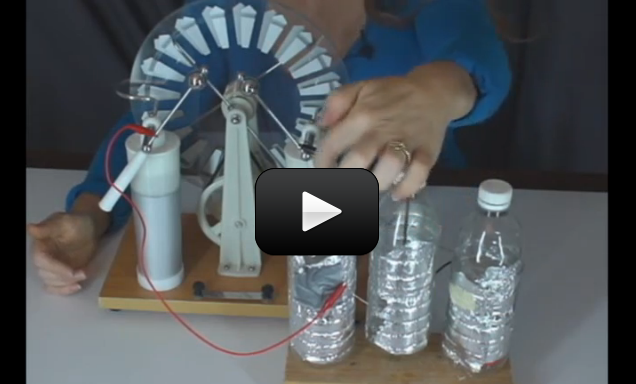
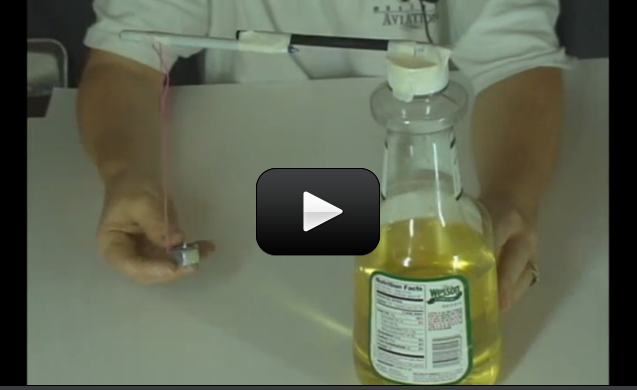
 In addition to laser experiments, I thought you’d like to learn how to pick up sound that’s traveling on a light wave. A crystal radio is among the simplest of radio receivers – there’s no battery or power source, and nearly no moving parts. The source of power comes directly from the radio waves (which is a low-power, low frequency light wave) themselves.

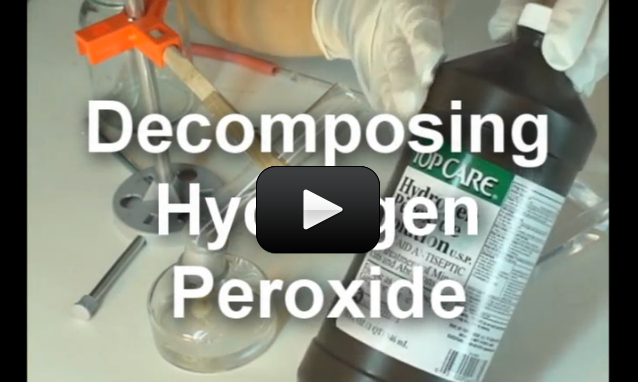
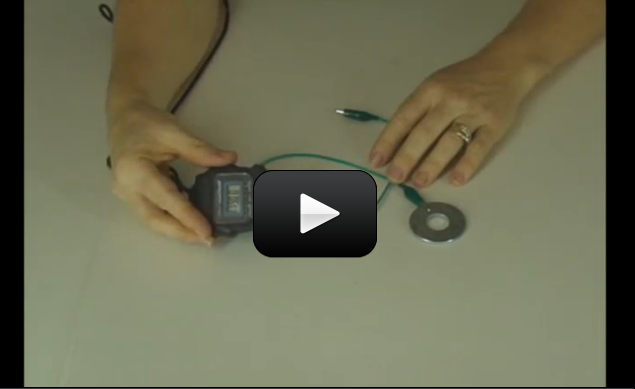
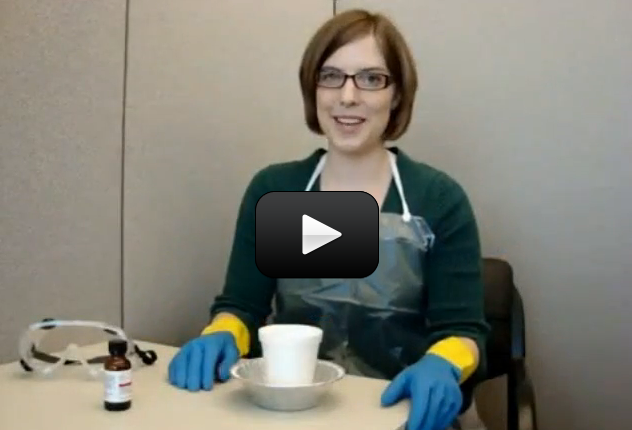
 This experiment below is for advanced students. If you’ve ever wondered why hydrogen peroxide comes in dark bottles, it’s because the liquid reacts with sunlight to decompose from H2O2 (hydrogen peroxide) into H2O (water) and O2 (oxygen). If you uncap the bottle and wait long enough, you’ll eventually get a container of water (although this takes a LOOONG time to get all of the H2O2 transformed.)
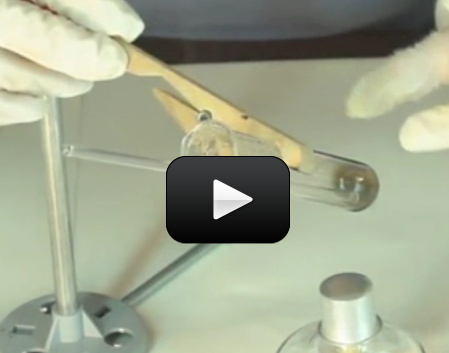
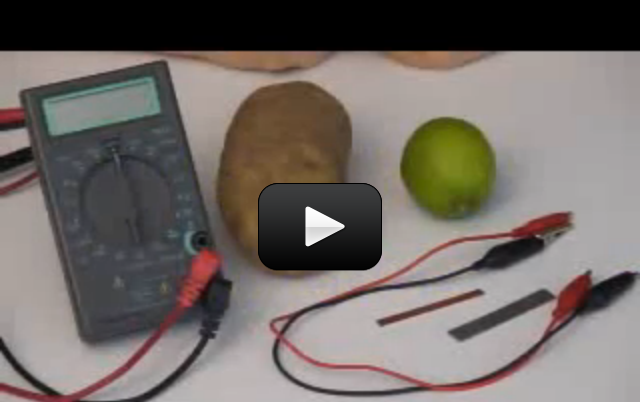
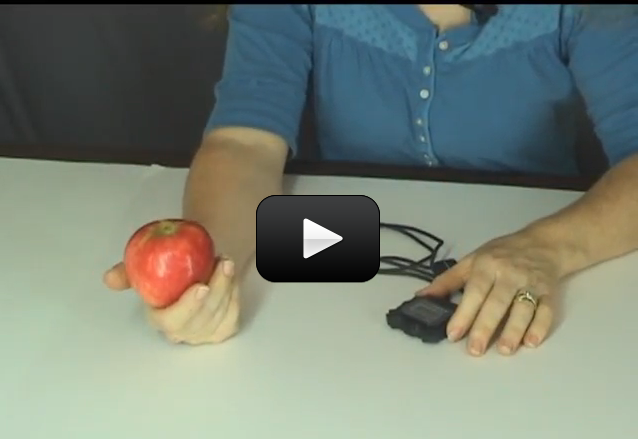
 If you’ve ever owned a fish tank, you know that you need a filter with a pump. Other than cleaning out the fish poop, why else do you need a filter? (Hint: think about a glass of water next to your bed. Does it taste different the next day?)
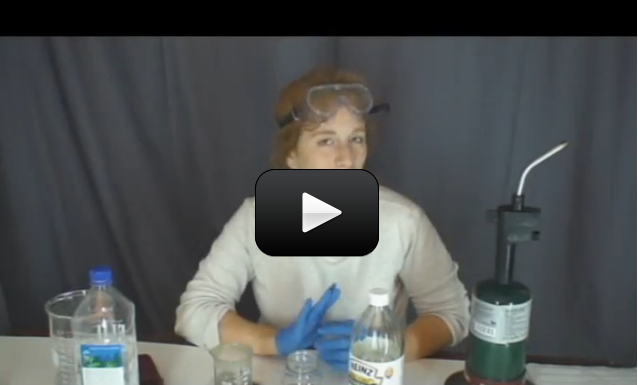


 If you watch the moon, you’d notice that it rises in the east and sets in the west. This direction is called ‘prograde motion’. The stars, sun, and moon all follow the same prograde motion, meaning that they all move across the sky in the same direction.
 Sound can change according to the speed at which it travels. Another word for sound speed is pitch. When the sound speed slows, the pitch lowers. With clarinet reeds, it’s high. Guitar strings can do both, as they are adjustable. If you look carefully, you can actually see the low pitch strings vibrate back and forth, but the high pitch strings move so quickly it’s hard to see. But you can detect the effects of both with your ears.
 This is the experiment that all kids know about… if you haven’t done this one already, put it on your list of fun things to do. (See the tips & tricks at the bottom for further ideas!)
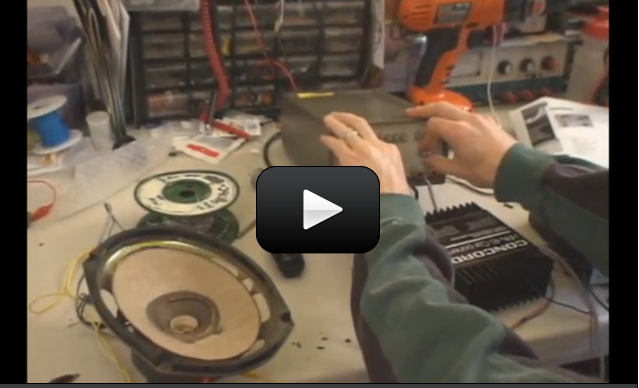
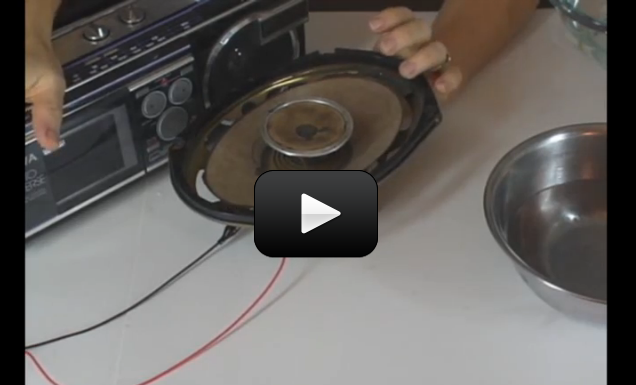
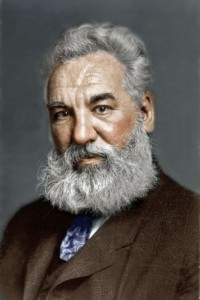 Alexander Graham Bell developed the telegraph, microphone, and telephone back in the late 1800s. We'll be talking about electromagnetism in a later unit, but we're going to cover a few basics here so you can understand how loudspeakers transform an electrical signal into sound.


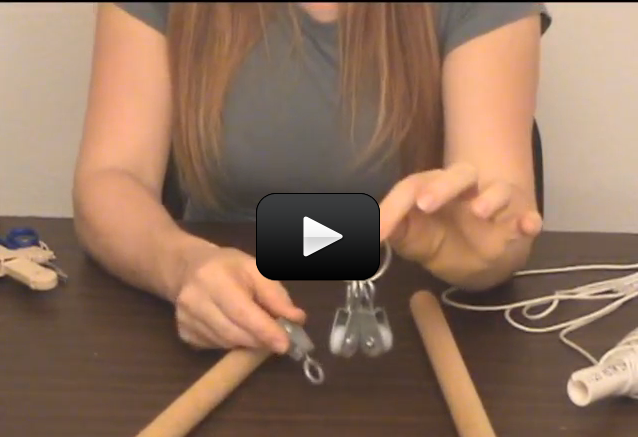
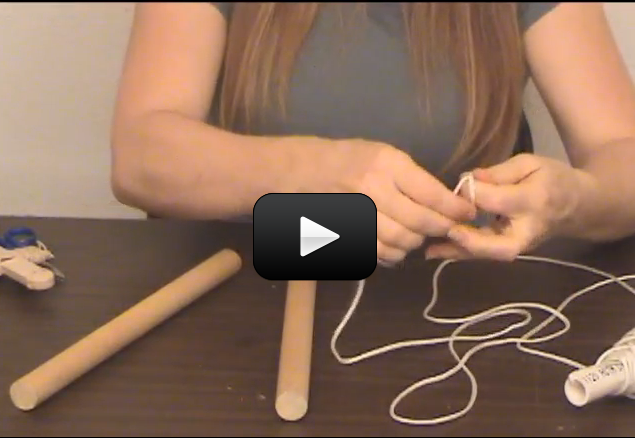

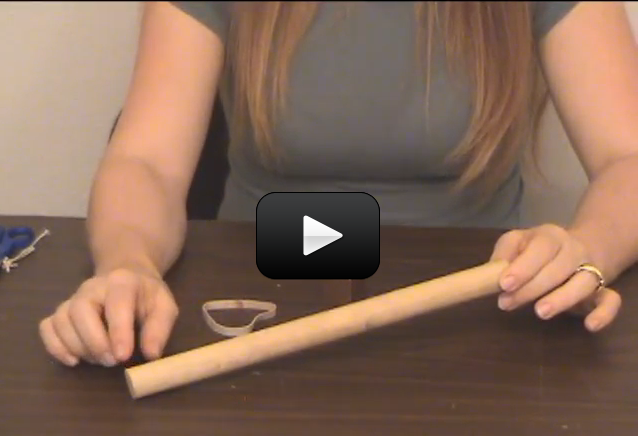
 This experiment is for Advanced Students. For ages, people have been hurling rocks, sticks, and other objects through the air. The trebuchet came around during the Middle Ages as a way to break through the massive defenses of castles and cities. It’s basically a gigantic sling that uses a lever arm to quickly speed up the rocks before letting go. A trebuchet is typically more accurate than a catapult, and won’t knock your kid’s teeth out while they try to load it.
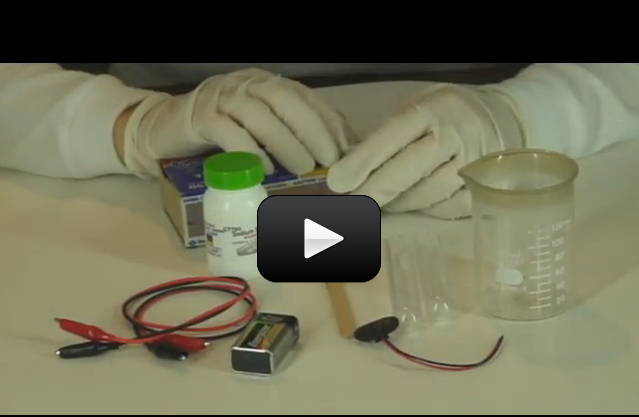
 When you warm up leftovers, have you ever wondered why the microwave heats the food and not the plate? (Well, some plates, anyway.) It has to do with the way microwaves work.