Mathematically speaking, this particular flying object shouldn't be able to fly. What do you think about that?
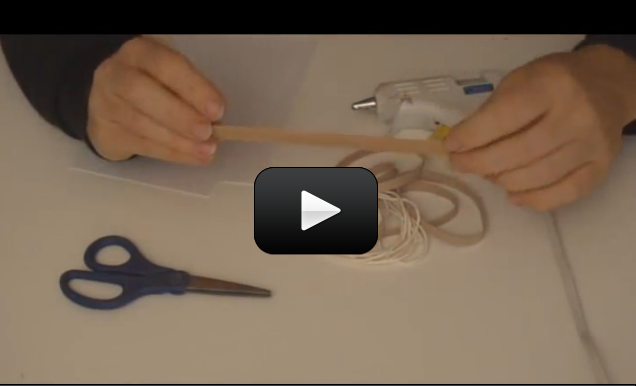
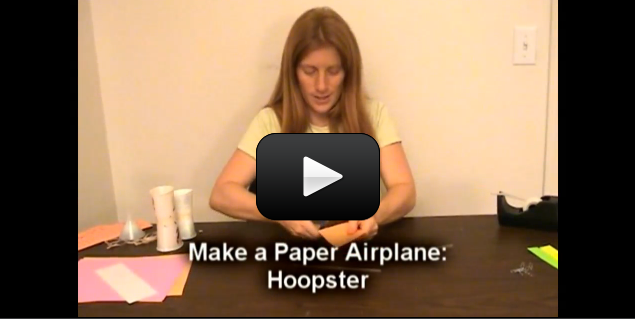
Why can this thing fly? It doesn’t even LOOK like a plane! When I teach at the university, this is the plane that mathematically isn’t supposed to be able to fly! There are endless variations to this project—you can change the number of loops and the size of loops, you can tape two of these together, or you can make a whole pyramid of them. Just be sure to have fun!
It's actually a bit complicated to explain how this thing flies when "mathematically" it isn't supposed to, but here goes: there are FOUR forces at work with your flying machine. Gravity is always pulling it down, but air pressure keeps it up (called lift). The way real airplane wings generate lift is by having a curved surface on the top which decreases the air pressure, and since higher pressure pushes, the wing generates lift by moving through the air. (If this idea doesn't make sense, be sure to watch this video first!)
Ok, but what about a flat wing?
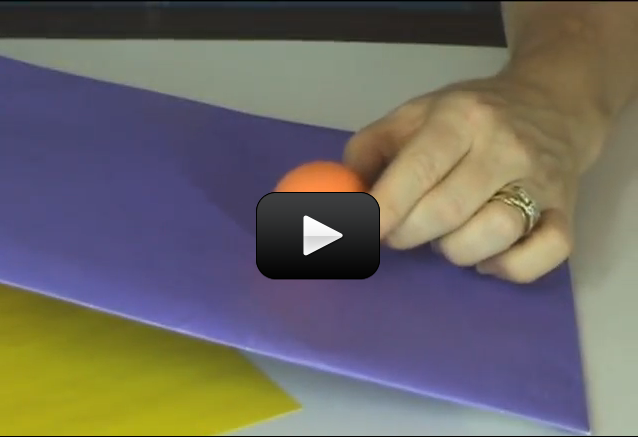
If you drop a regular sheet of paper, it flutters to the ground. If you wad it up first, you’ll find it falls much faster. The air under the falling paper needs to get out of the way as gravity pulls the paper, which is a lot easier when the paper is wadded into a ball.
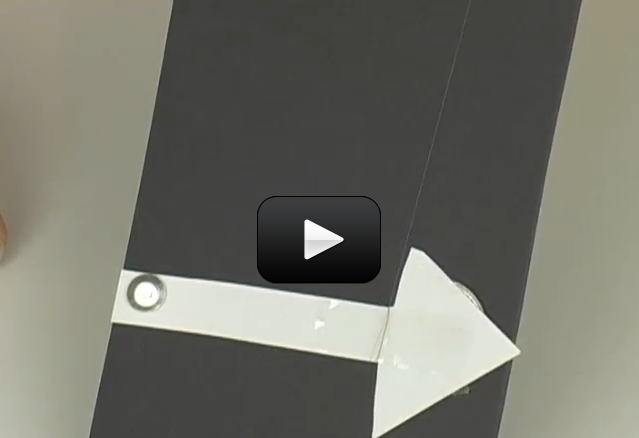
For a flat wing (like on a paper airplane) to glide through the air, it needs to be balanced between gravity and the air resistance holding it up. In order for a glider to fly, the center of pressure needs to be behind the center of gravity (learn more about center of pressure and center of gravity in the third video below). By adding paper clips to your paper airplane, you move the center of gravity and center of pressure around to find the perfect balance.
When designing airplanes, engineers pay attention to details, such as the position of two important points: the center of gravity and the center of pressure (also called the center of lift). On an airplane, if the center of gravity and center of pressure points are reversed, the aircraft’s flight is unstable and it will somersault into chaos. The same is true for rockets and missiles!
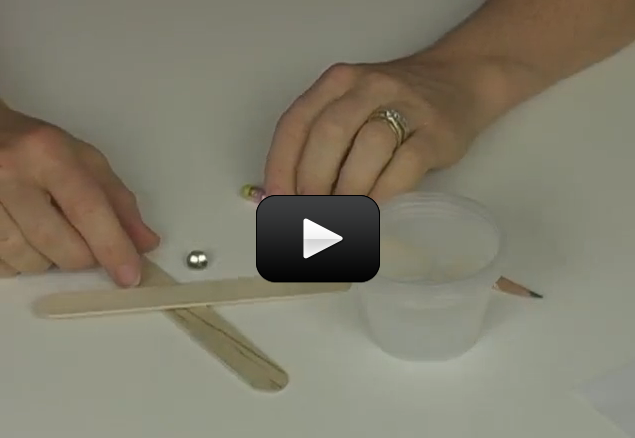
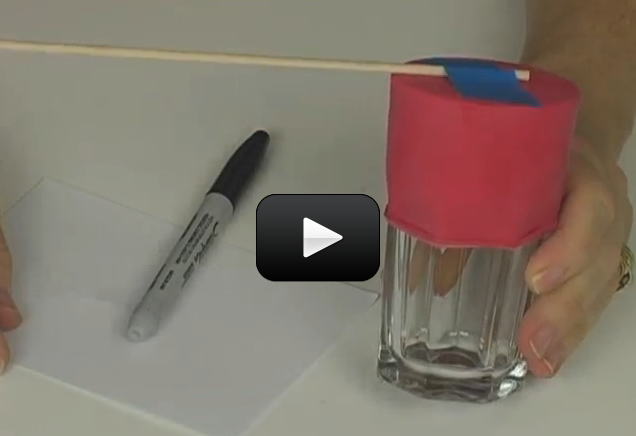
Let’s find the center of gravity on your airplane. Grab your flying machine and sharpened pencil. You can find the ‘center of gravity’ by balancing your airplane on the tip of a pencil. Label this point “CG” for Center of Gravity.
Materials:
- sheet of paper
- hair dryer
- pencil with a sharp tip
We're going to make a paper airplane first, and then do a couple of wind tunnel tests on it.
For the project, all you need is a sheet of paper and five minutes... this is one my favorite fliers that we make with our students!
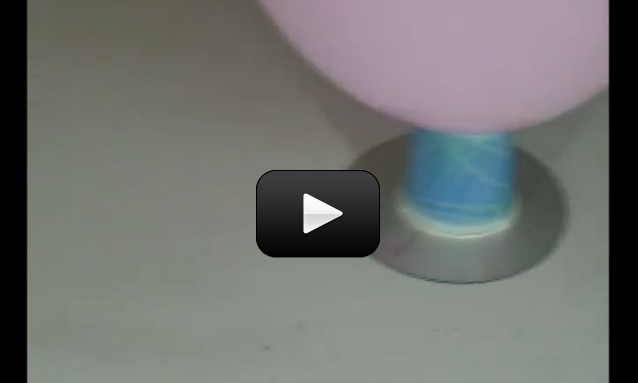
Find the Center of Pressure (CP) by doing the opposite: Using a blow-dryer set to low-heat so you don’t scorch your airplane, blast a jet of air up toward the ceiling. Put your airplane in the air jet and, using a pencil tip on the top side of your plane, find the point at which the airplane balances while in the airstream. Label this point “CP” for Center of Pressure. (Which one is closest to the nose?)
Besides paying attention to the CG and CP points, aeronautical engineers need to figure out the static and dynamic stability of an airplane, which is a complicated way of determining whether it will fly straight or oscillate out of control during flight. Think of a real airplane and pretend you’ve got one balanced on your finger. Where does it balance? Airplanes typically balance around the wings (the CG point). Ever wonder why the engines are at the front of small airplanes? The engine is the heaviest part of the plane, and engineers use this weight for balance, because the tail (elevator) is actually an upside-down wing that pushes the tail section down during flight.
When we use math to add up the forces (the pull of gravity would be the weight, for example), it works out that there isn’t enough lift generated by thrust to overcome the weight and drag. When I say, “mathematically speaking...” I mean that the numbers don’t work out quite right. When this happens in science for real scientists, it usually means that they don’t fully understand something yet. There are a number of ‘unsolved’ mysteries still in science.. maybe you’ll be able to help us figure them out?
Please login or register to read the rest of this content.


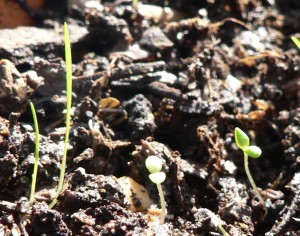
 Flowering plants can be divided into monocotyledons and dicotyledons (monocots and dicots). The name is based on how many leaves sprout from the seed, but there are other ways to tell them apart. For monocots, these will be in multiples of three (wheat is an example of a monocot). If you count the number of petals on the flower, it would have either three, six, nine, or a multiple of three. For dicots, the parts will be in multiples of four or five, so a dicot flower might have four petals, five petals, eight, ten, etc.
 When birds and animals drink from lakes, rivers, and ponds, how pure it is? Are they really getting the water they need, or are they getting something else with the water?

 Sound can change according to the speed at which it travels. Another word for sound speed is pitch. When the sound speed slows, the pitch lowers. With clarinet reeds, it’s high. Guitar strings can do both, as they are adjustable. If you look carefully, you can actually see the low pitch strings vibrate back and forth, but the high pitch strings move so quickly it’s hard to see. But you can detect the effects of both with your ears.
 Sound is everywhere. It can travel through solids, liquids, and gases, but it does so at different speeds. It can rustle through trees at 770 MPH (miles per hour), echo through the ocean at 3,270 MPH, and resonate through solid rock at 8,600 MPH.
 This is the experiment that all kids know about… if you haven’t done this one already, put it on your list of fun things to do. (See the tips & tricks at the bottom for further ideas!)