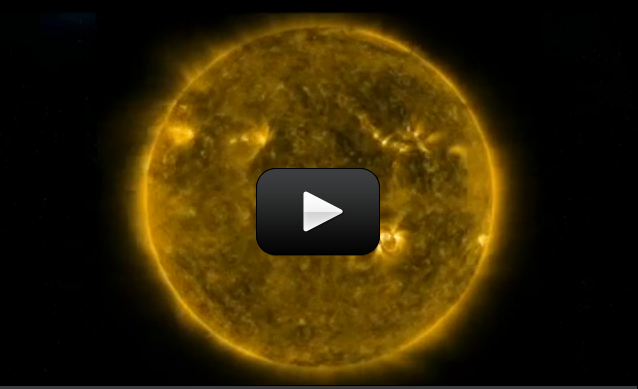
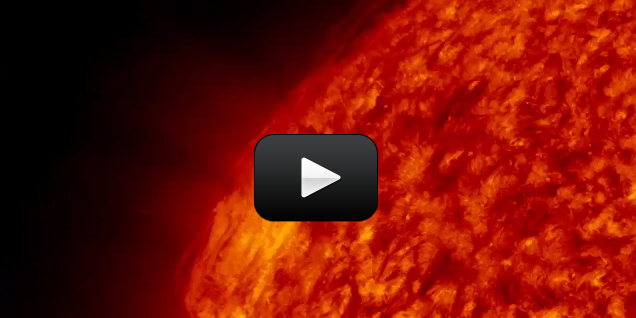
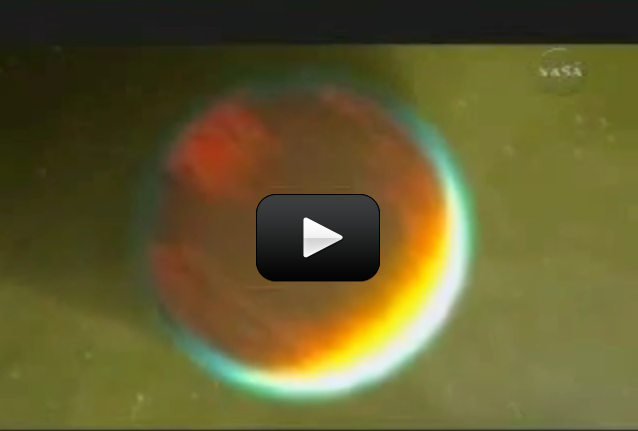
Why does the Sun flare? Unpredictably, our Sun unleashes tremendous flares expelling hot gas into the Solar System that can affect satellites, astronauts, and power grids on Earth. This close up of an active region on the Sun that produced a powerful X-class flare was captured by the orbiting TRACE satellite. The glowing gas flowing around the relatively stable magnetic field loops above the Sun's photosphere has a temperature of over ten million degrees Celsius. These flows occurred after violently unstable magnetic reconnection events above the Sun produced the flare. Many things about solar active regions are not well understood including the presence of dark regions that appear to move inward during the movie.
This is a real video of the sun captured from the Solar Dynamics Observatory:
Astrophysics not only looks at nearby planets and distant stars, it also deals with the center of our solar system: the Sun. Our Sun is not quite a sphere (it’s a little flat on one side), which actually made the initial calculations of Mercury’s orbit incorrect when we estimated it to be a perfect ball. Our Sun is a G-type star, and recent measurements indicate that our Sun is brighter than 85% of the stars in our own galaxy. It takes light about 8 minutes to travel from the Sun to the Earth, meaning that if the Sun were to suddenly and magically disappear, we wouldn’t know about it for 8 minutes.
The Sun is made of hot plasma and is 1.3 million times the size of our Earth. The Sun holds 99% of the mass of our solar system, but only has 1% of the momentum. It’s 74% hydrogen and 24% helium, with trace amounts of oxygen, carbon, iron, and neon. Scientists split the incoming light into a giant 40-foot rainbow and looked for signs of which elements are burning through a special instrument called a spectrometer (you’ll be building one of these in this section) to figure out the Sun’s composition.
With a 15 million oC core, the Sun is not on fire, but rather generates heat by smacking protons together and getting a puff of energy through a process called nuclear fusion. We can’t directly observe the core of the Sun, but we can figure out what’s going on inside by watching the patterns on the surface. You’ll learn more about this in the activity that covers helioseismology. The surface temperature of the Sun is about 5500oC, so it cools considerably when the gases bubble up to the surface.
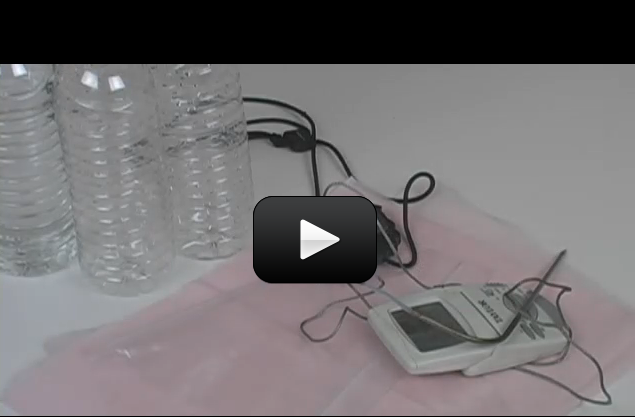
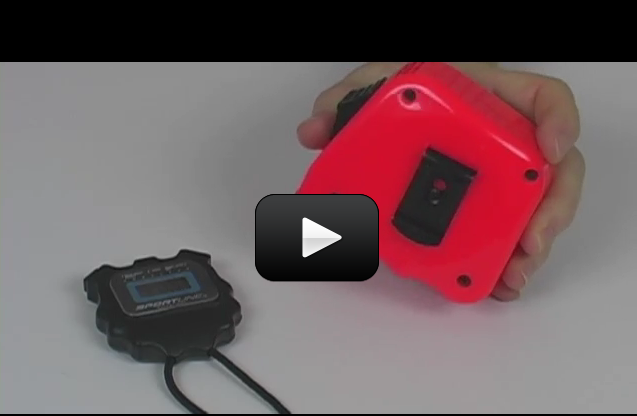
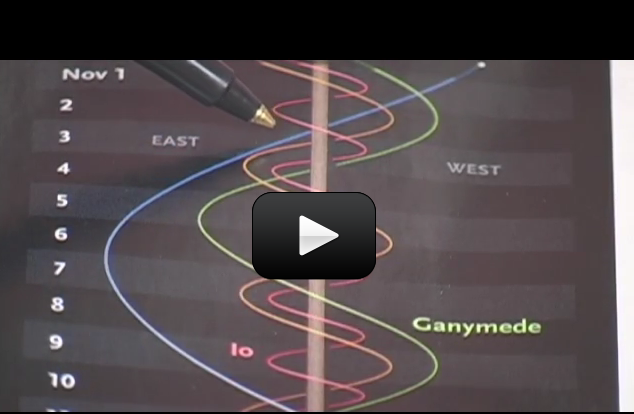
The Sun rotates differentially, since it’s not solid but rather a ball of hot gas and plasma. The equator rotates faster than the poles, and in one of the experiments in this section, you’ll actually get to measure the Sun’s rotation. This differential rotation causes the magnetic fields to twist and stretch. The Sun has two magnetic poles (north and south) that swap every 11 years as the magnetic fields reach their breaking point, like a spinning top that’s getting tangled up in its own string. When they flip, it’s called “solar maximum,” and you’ll find the most sunspots dotting the Sun at this time.
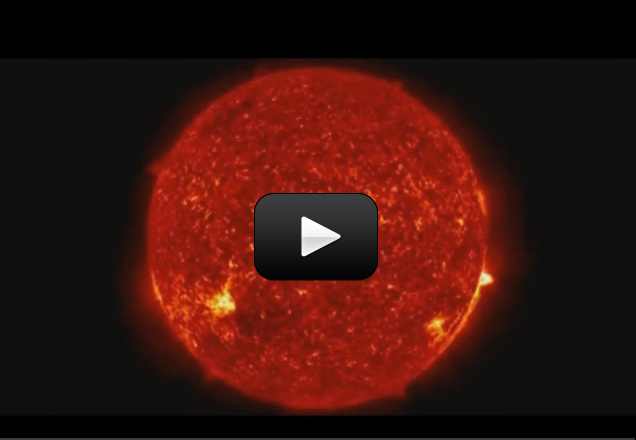
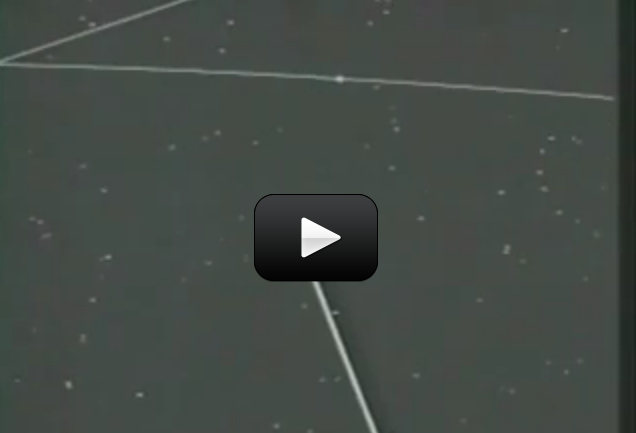
The video below is taken from the very first images from the National Science Foundation's Daniel Inouye Solar Telescope. Do you see the bubbling, rolling surafe of the sun? The size of onen of the "cells" is about the state of Texas, or the size of France, just to give you an idea of scale.
The telescops is on top of a mountain in Hawaii that has a huge 13 foot mirror (the largest ever used ona solar solar telescope), and it also sits along with all the other instruments, on a 16.5 meter table weighing 100 tons that slowly rotates to track the position of the sun as it travels through the sky.
And if you want to see an image of the sun right now, you can visit SOHO's main page.
Want to safely view the sun yourself? Here's how to do it...


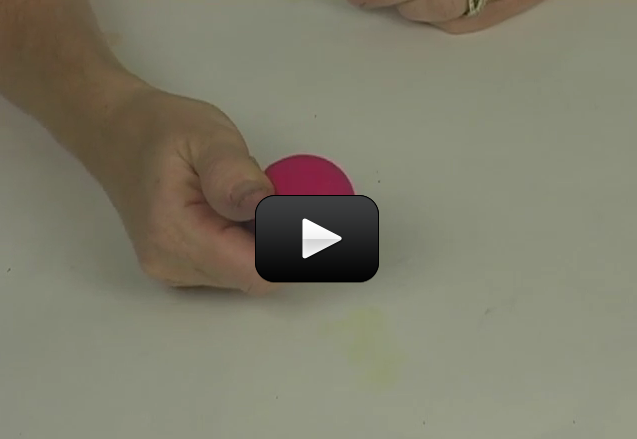


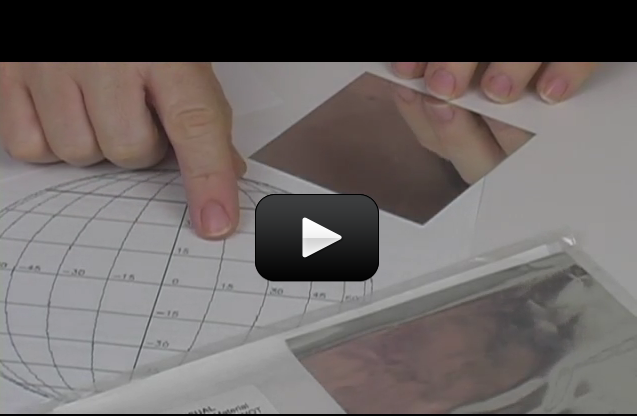


 Did you know you can create a compound microscope and a refractor telescope using the same materials? It’s all in how you use them to bend the light. These two experiments cover the fundamental basics of how two double-convex lenses can be used to make objects appear larger when right up close or farther away.


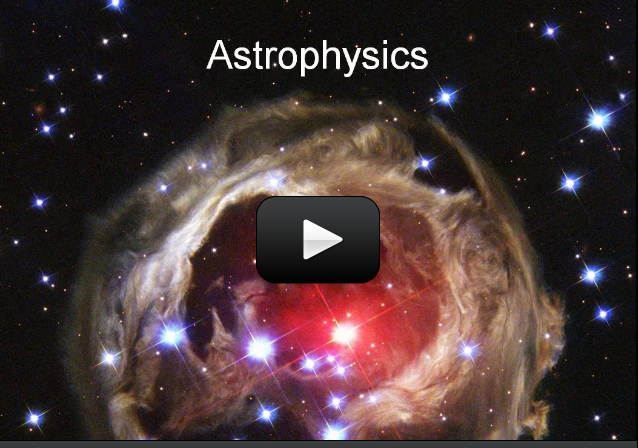
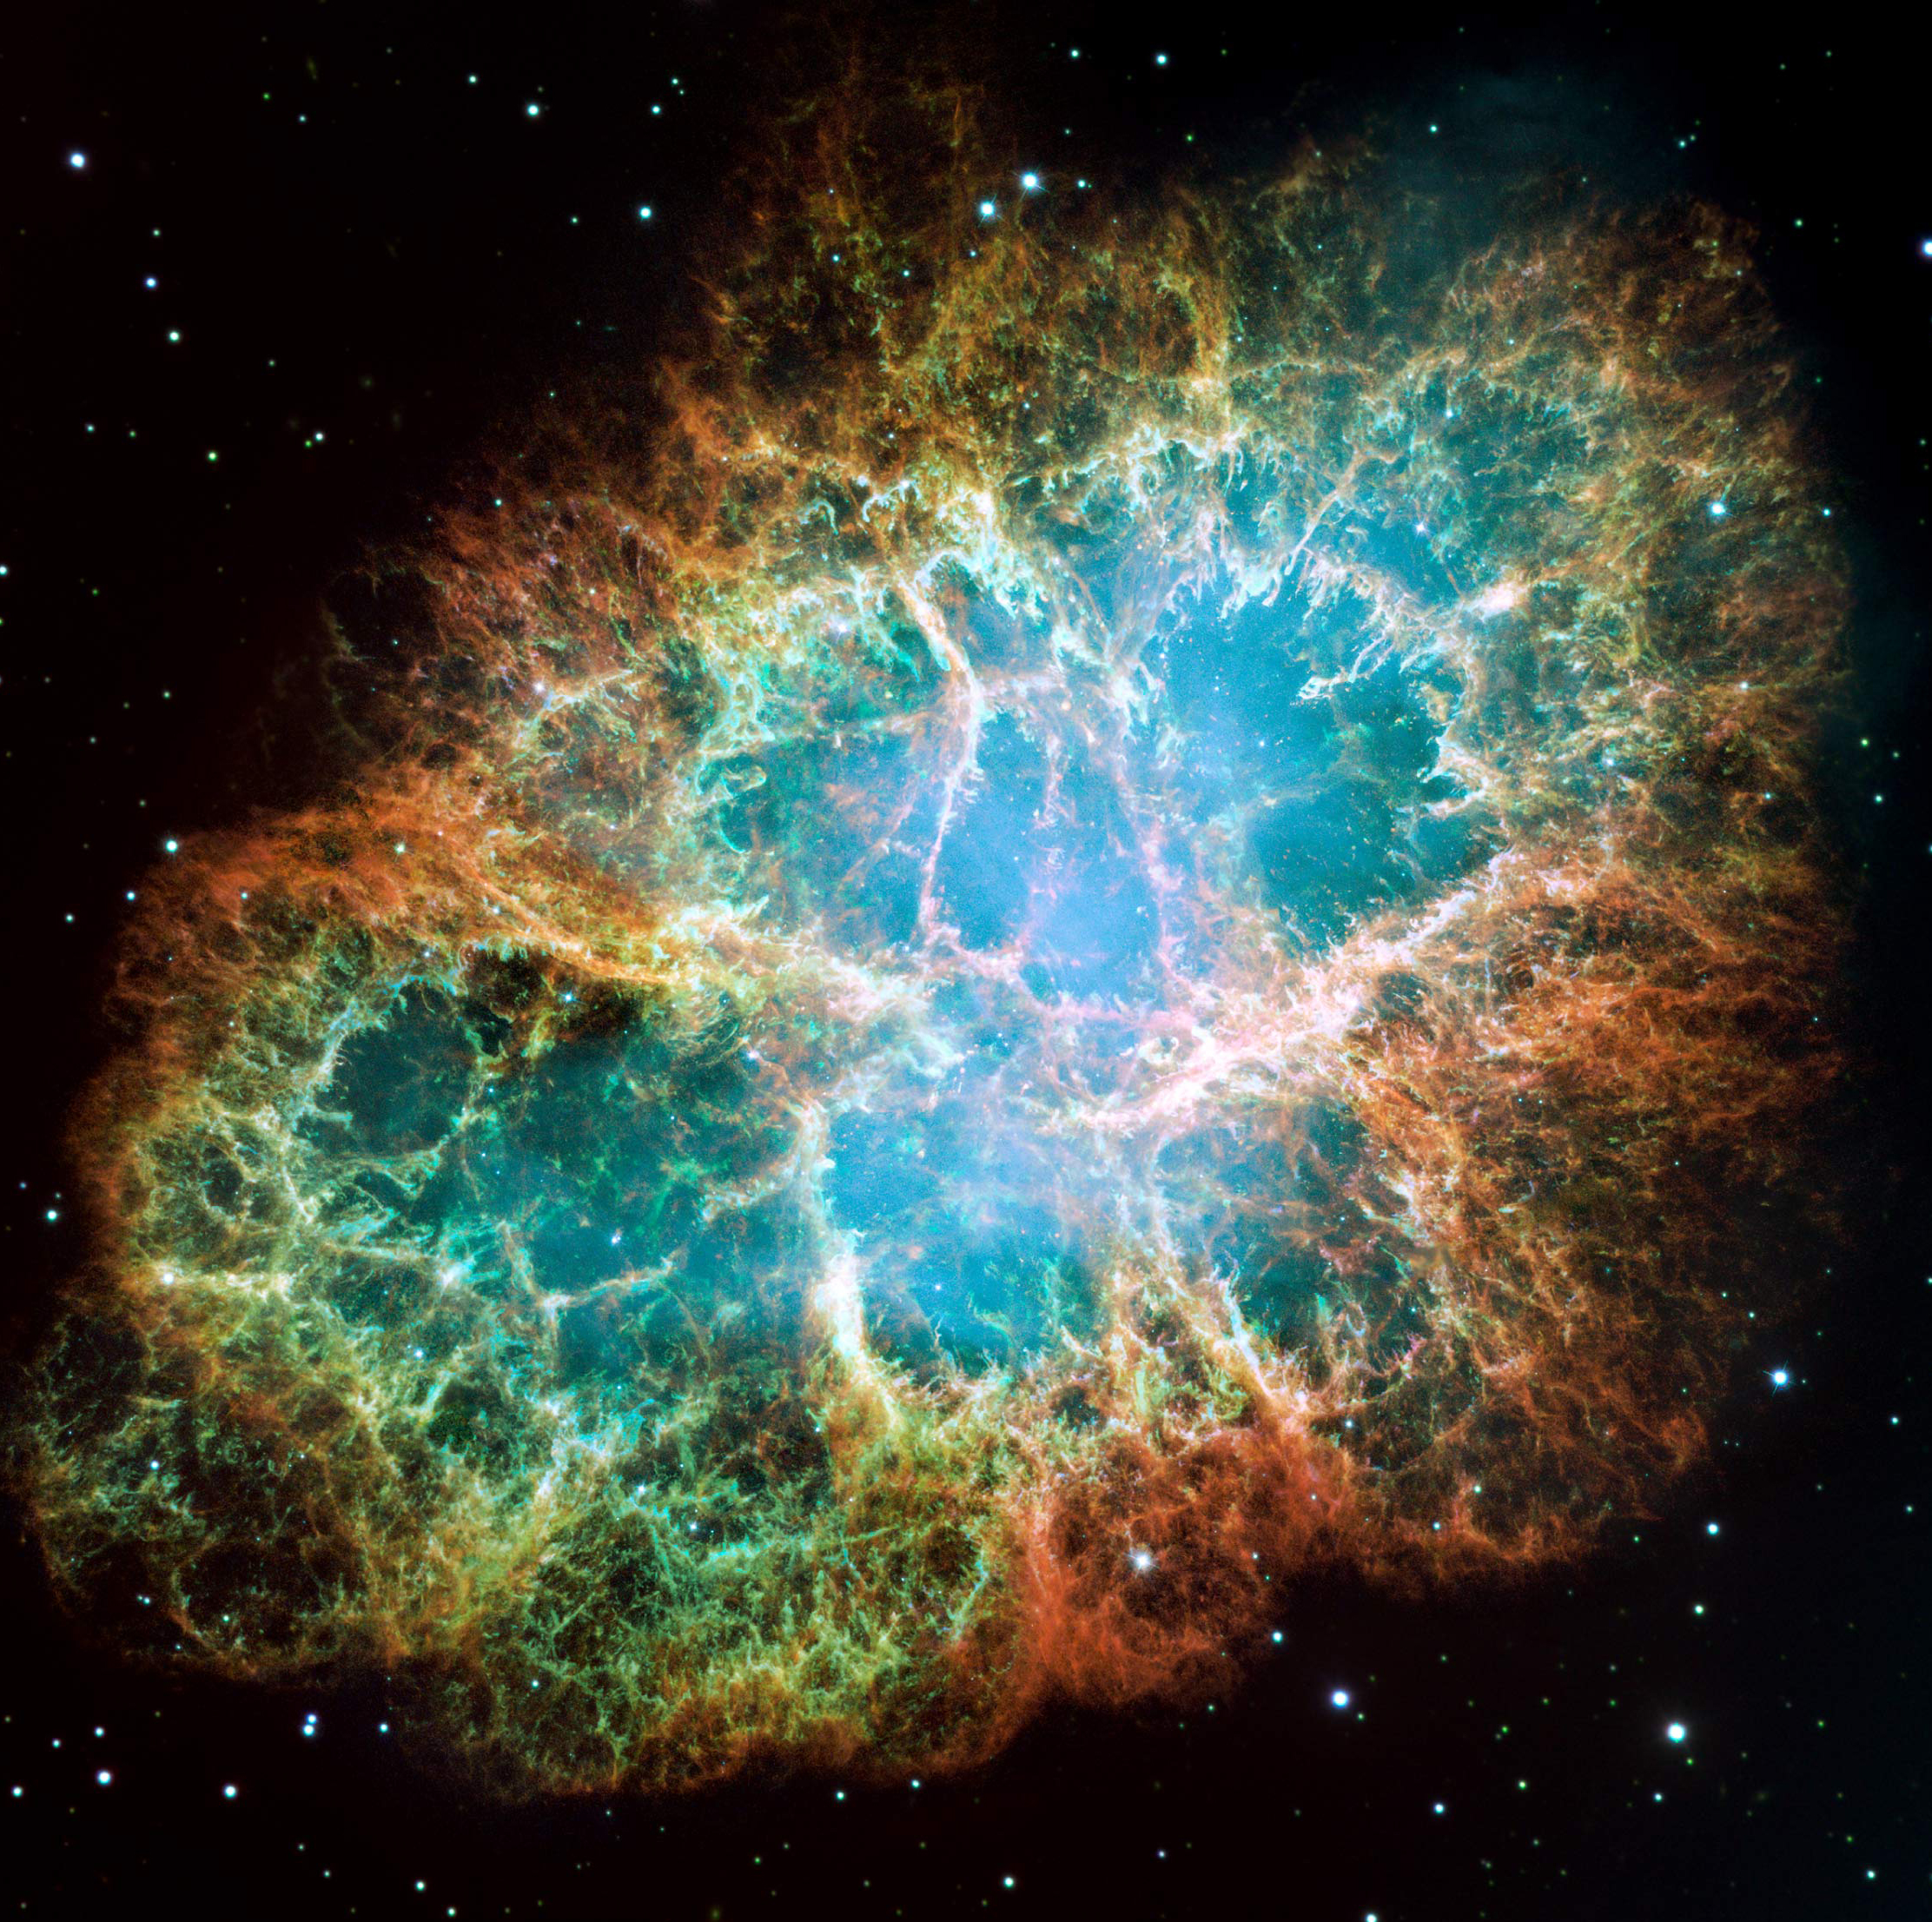
 Lyman Spitzer was a theoretical physicist and astronomer who worked on star formation and plasma physics. The scape telescope named after him is equipped with infrared imaging capability that enables the telescope to see through dust and gas clouds to reveal what lies underneath.


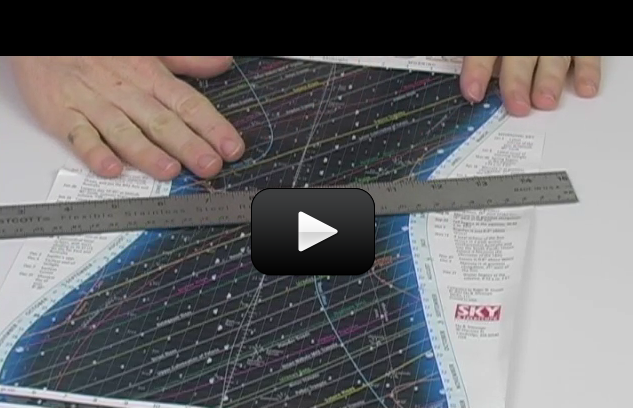
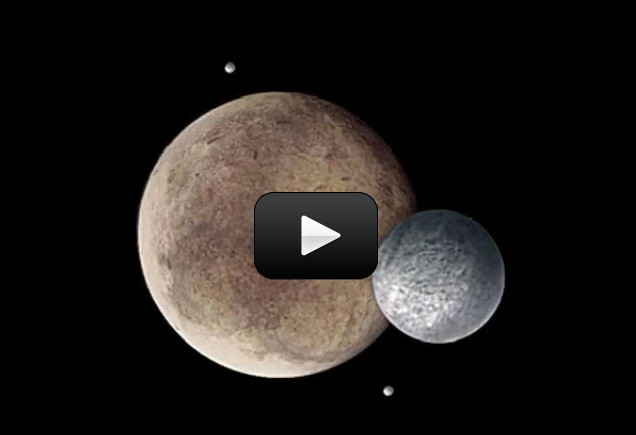
 If you watch the moon, you’d notice that it rises in the east and sets in the west. This direction is called ‘prograde motion’. The stars, sun, and moon all follow the same prograde motion, meaning that they all move across the sky in the same direction.


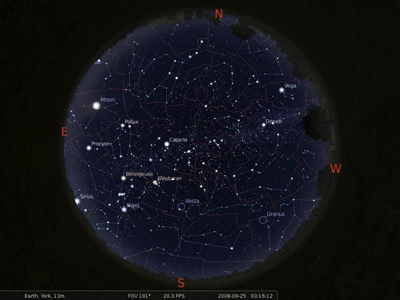
 This lecture series is from an astronomy course at Ohio State. It’s a 20-week college-level course, so don’t feel like you’ve got to do it all in one night! You’ll learn about the solar system, planets, and universe through a well-organized set of lectures that really brings astronomy, human history, and current technology together. This content is appropriate for advanced students and above.
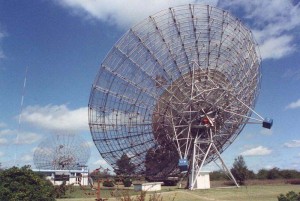
