When people mention the word “hydraulics”, they could be talking about pumps, turbines, hydropower, erosion, or river channel flow. The term “hydraulics” means using
fluid power, and deals with machinesand devices that use liquids to move, lift, drive, and shove things around.
Liquids behave in certain ways: they are incompressible, meaning that you can’t pack the liquid into a tighter space than it already is occupying.

If you've ever filled a tube partway with water and moved it around, you've probably noticed that the water level will remain the same on either side of the tube.
However, if you add pressure to one end of the tube (by blowing into the tube), the water level will rise on the opposite side. If you decrease the pressure (by blowing
across the top of one side), the water level will drop on the other side.
In physics, this is defined through Pascal's law, which tells us how the pressure applied to one surface can be transmitted to the other surface. As liquids can't be squished, whatever happens on one surface affects what occurs on the other. Examples of this effect include siphons, water towers, and dams. Scuba divers know that as they dive 30 feet underwater, the pressure doubles. This effect is also show in hydraulics - and more importantly, in the project we're about to do!
But first, let's understand what's happening with liquids and pressure:
Here’s an example: If you fill a glass full to the brim with water, you reach a point where for every drop you add on top, one drop will fall out. You simply can’t squish any more water molecules into the glass without losing at least the same amount. Excavators, jacks, and the brake lines in your car use hydraulics to lift huge amounts of weight, and the liquid used to transfer the force is usually oil at 10,000 psi.
Air, however,
is compressible. When car tires are inflated, the hose shoves more and more air inside the tire, increasing the pressure (amount of air molecules in the tire). The more air you stuff into the tire, the higher the pressure rises. When machines use air to lift, move, spin, or drill, it’s called “pneumatics”. Air tools use compressed air or pure gases for pneumatic power, usually pressurized to 80-100 psi.
Different systems require either hydraulics or pneumatics. The advantage to using hydraulics lies in the fact that liquids are not compressible. Hydraulic systems minimize the “springy-ness” in a system because the liquid doesn’t absorb the energy being transferred, and the working fluids can handle much heavier loads than compressible gases. However, oil is flammable, very messy, and requires electricity to power the machines, making pneumatics the best choice for smaller applications, including air tools (to absorb excessive forces without injuring the user).
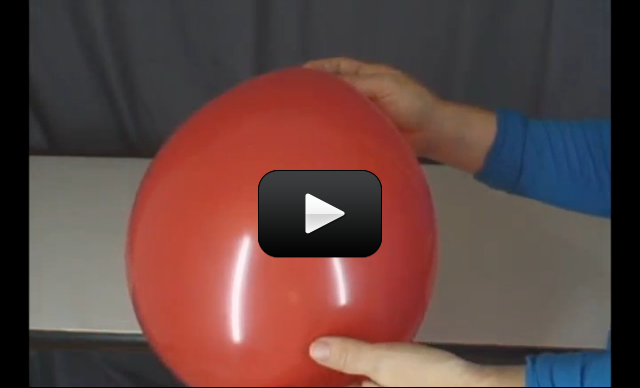
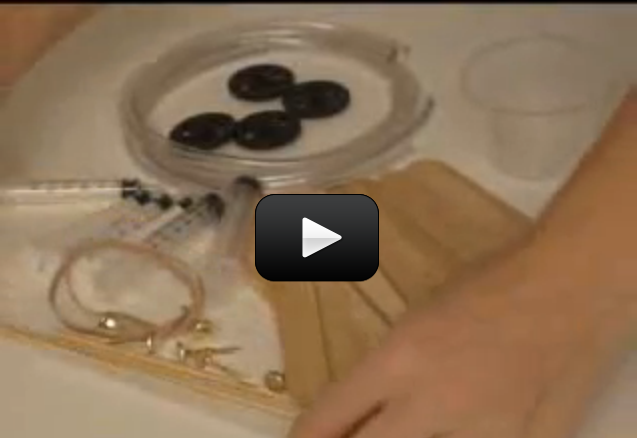
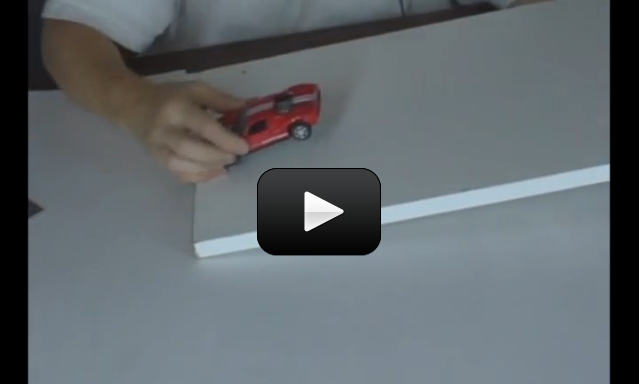
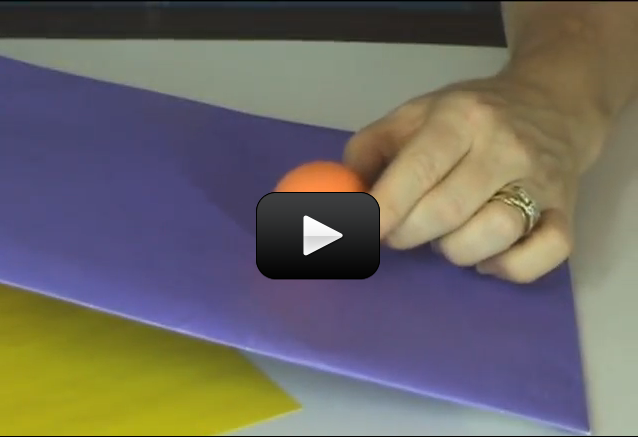
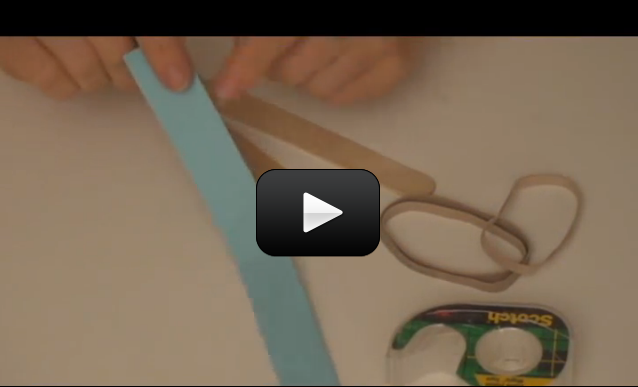
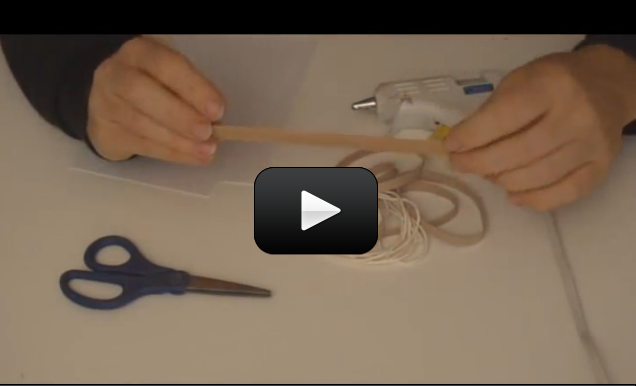
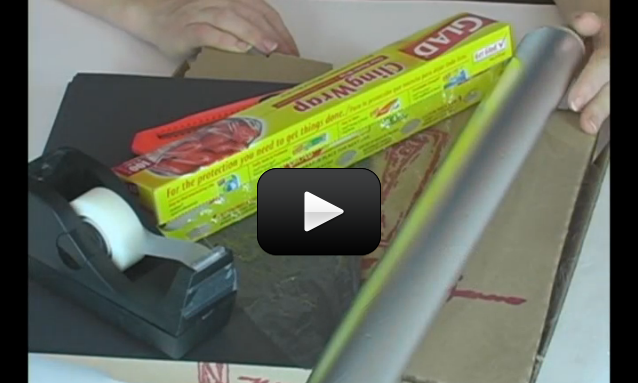
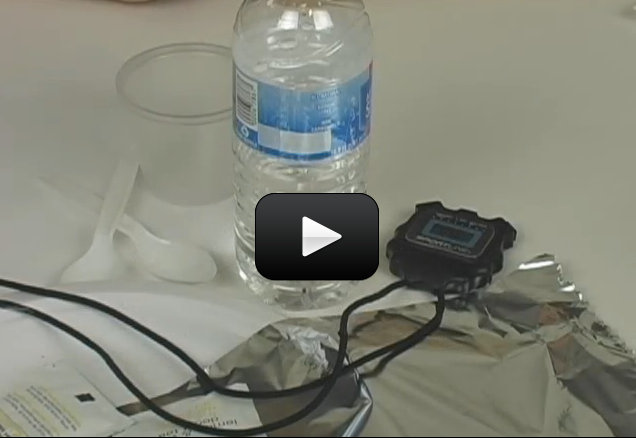
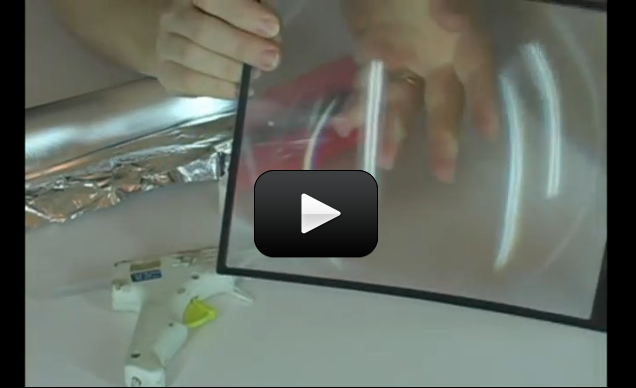
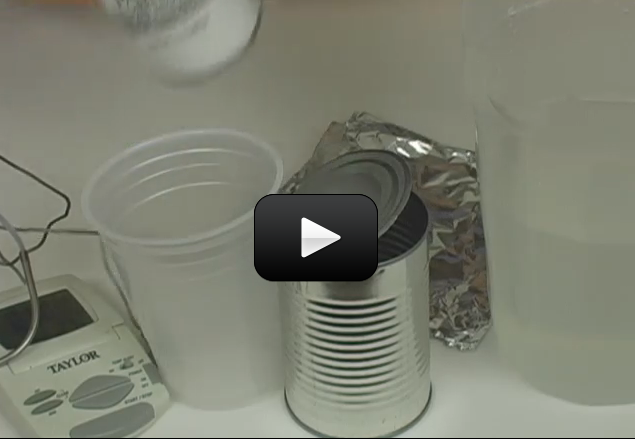
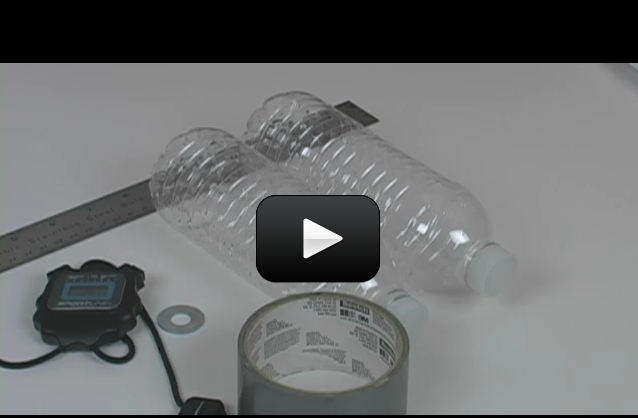
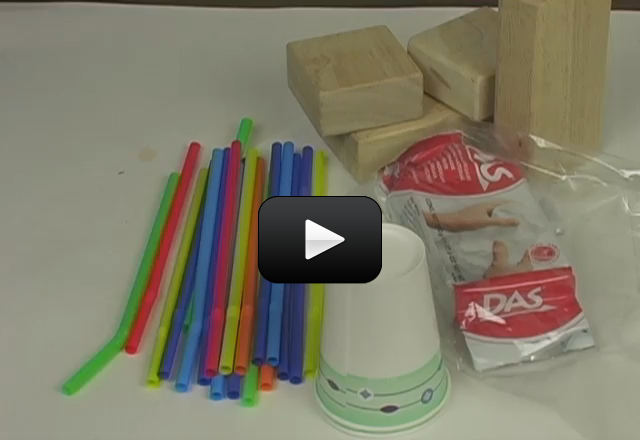
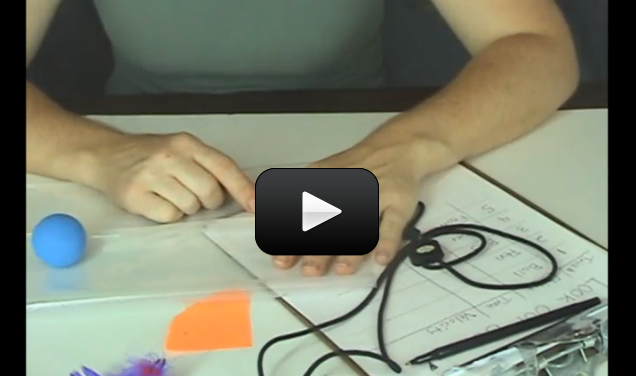
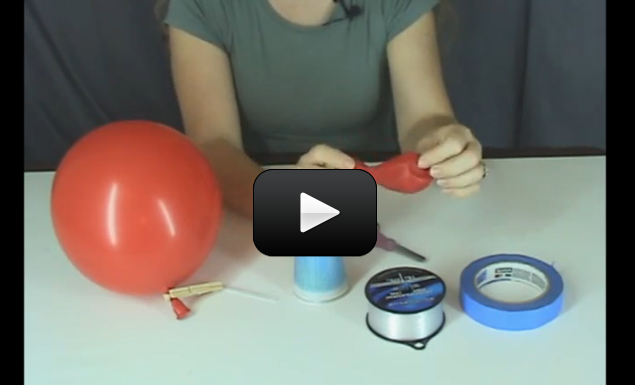
We're going to build our own hydraulic-pneumatic machine. Here's what you need to do:
Please
login or
register to read the rest of this content.
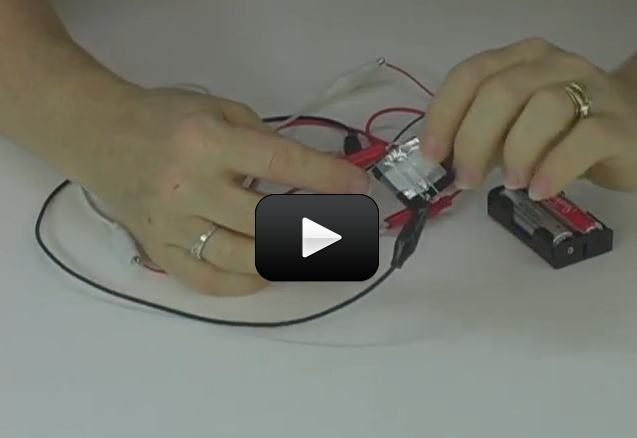
 Once you’ve made the Pressure Sensor burglar alarm, you might be wondering how to make the alarm stay on after it has been triggered, the way the Trip Wire Sensor does.
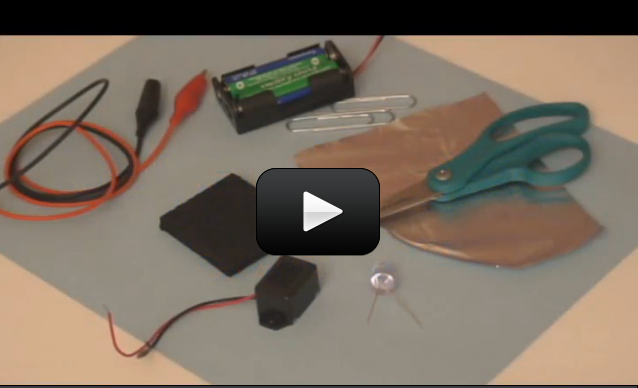
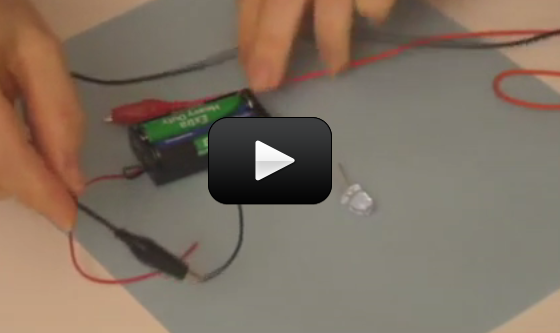

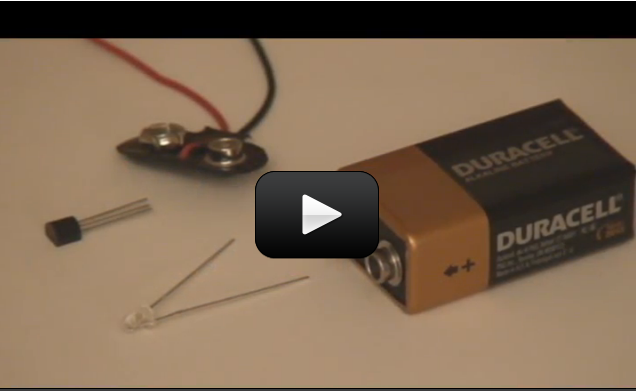
 So now you know how to hook up a
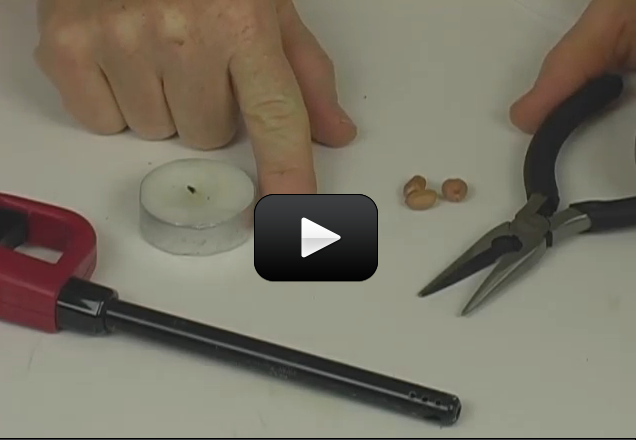
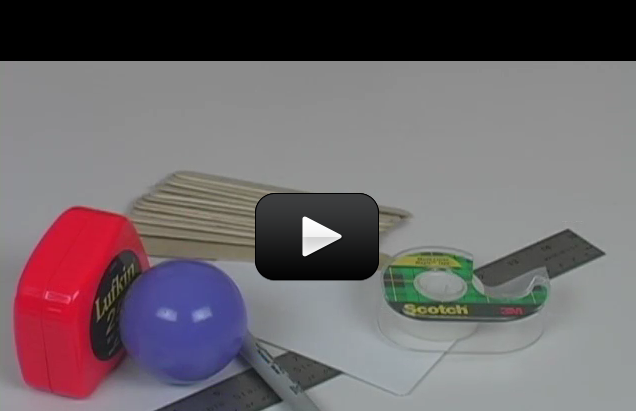
 One of the most useful tools a scientist can have! A
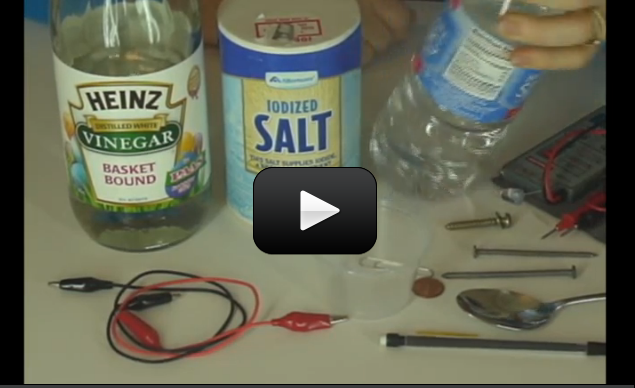
 Make yourself a grab bag of fun things to test: copper pieces (nails or pipe pieces), zinc washers, pipe cleaners, Mylar, aluminum foil, pennies, nickels, keys, film canisters, paper clips, load stones (magnetic rock), other rocks, and just about anything else in the back of your desk drawer.
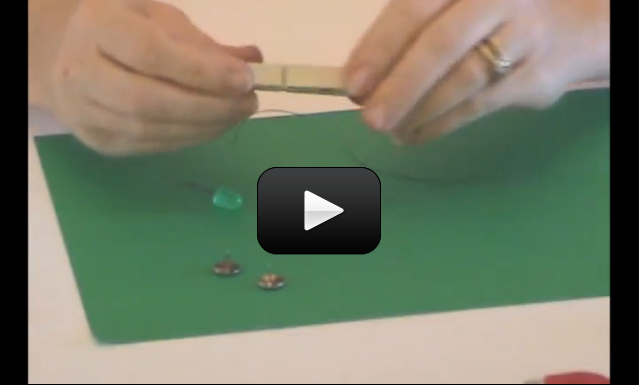
 An electrical circuit is like a NASCAR raceway. The electrons (racecars) zip around the race loop (wire circuit) superfast to make stuff happen. Although you can’t see the electrons zipping around the circuit, you can see the effects: lighting up LEDs, sounding buzzers, clicking relays, etc.
 This simple FET circuit is really an electronic version of the
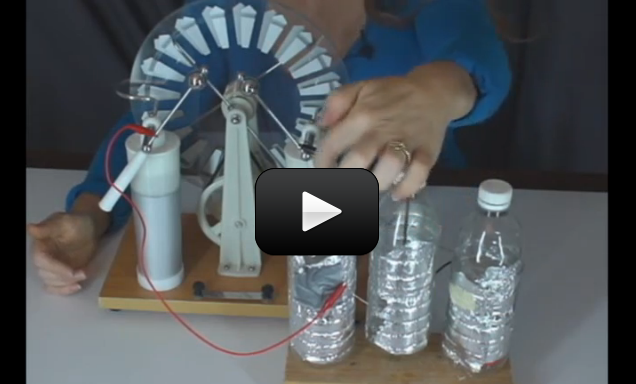
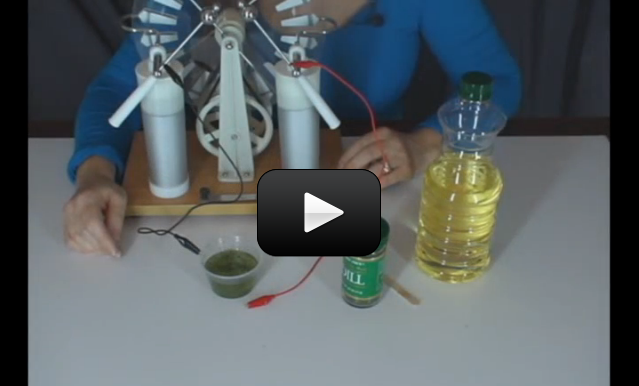
 You are actually fairly familiar with electric fields too, but you may not know it. Have you ever rubbed your feet against the floor and then shocked your brother or sister? Have you ever zipped down a plastic slide and noticed that your hair is sticking straight up when you get to the bottom? Both phenomena are caused by electric fields and they are everywhere!
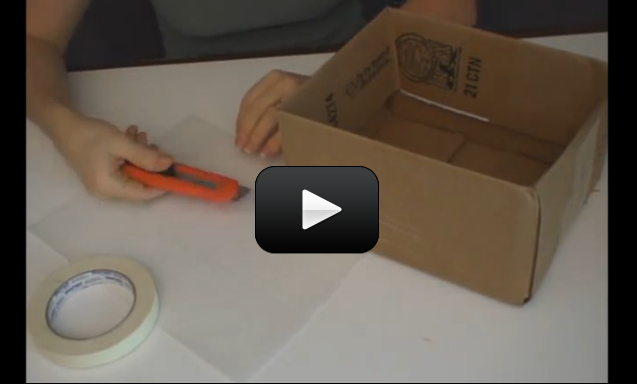


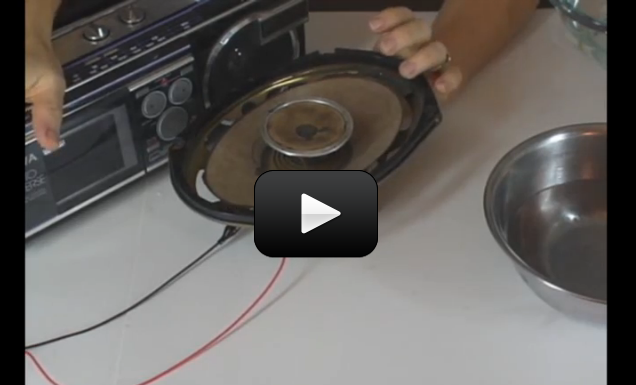
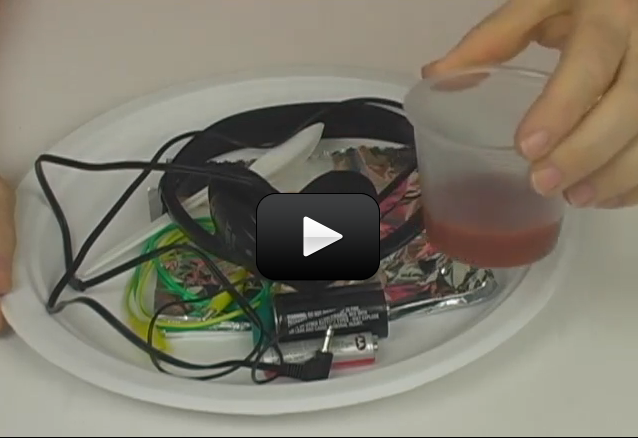
 Sound is everywhere. It can travel through solids, liquids, and gases, but it does so at different speeds. It can rustle through trees at 770 MPH (miles per hour), echo through the ocean at 3,270 MPH, and resonate through solid rock at 8,600 MPH.
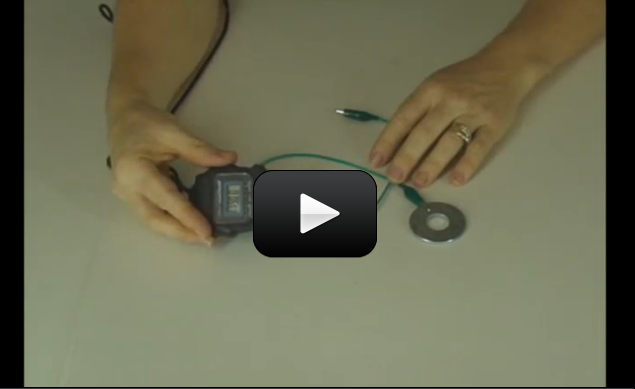
 Solar energy (power) refers to collecting this energy and storing it for another use, like driving a car. The sun blasts 174 x 1015 watts (which is 174,000,000,000,000,000 watts) of energy through radiation to the earth, but only 70% of that amount actually makes it to the surface. And since the surface of the earth is mostly water, both in ocean and cloud form, only a small fraction of the total amount makes it to land.
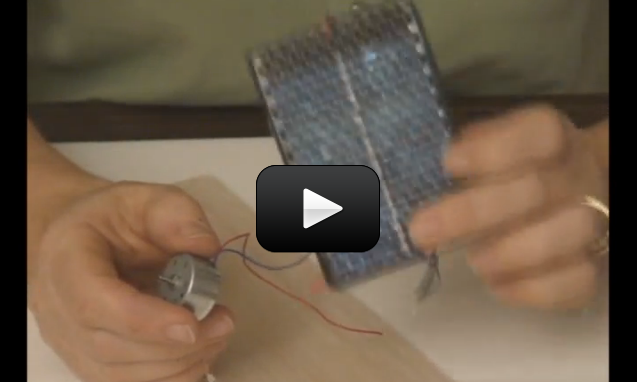
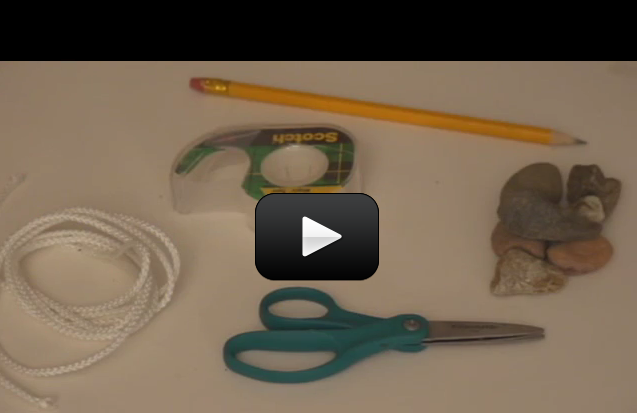
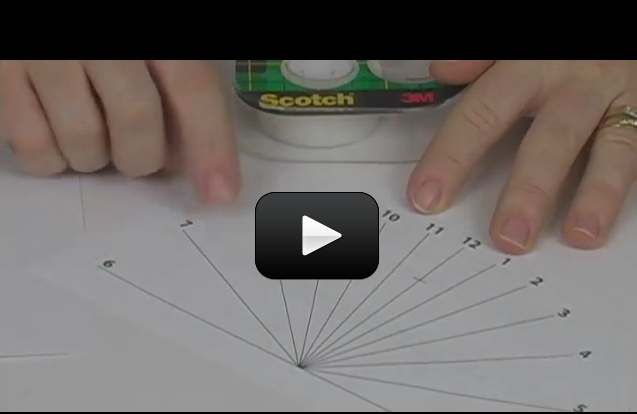
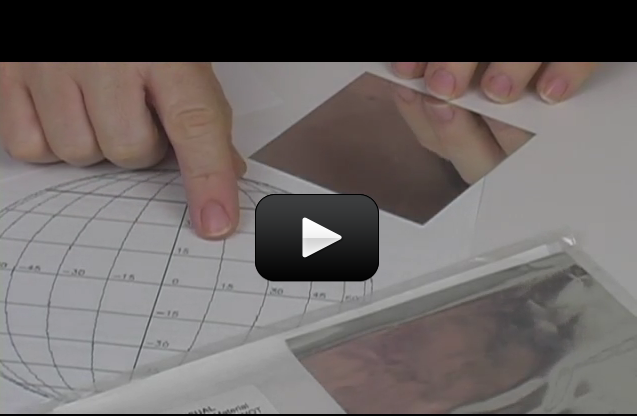
 Does it really matter what angle the solar cell makes with the incoming sunlight? If so, does it matter much? When the sun moves across the sky, solar cells on a house receive different amounts of sunlight. You’re going to find out exactly how much this varies by building your own solar boat.
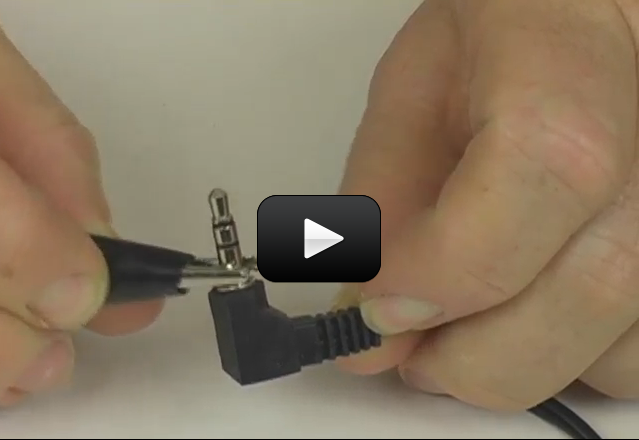

 Make sure you’ve completed the


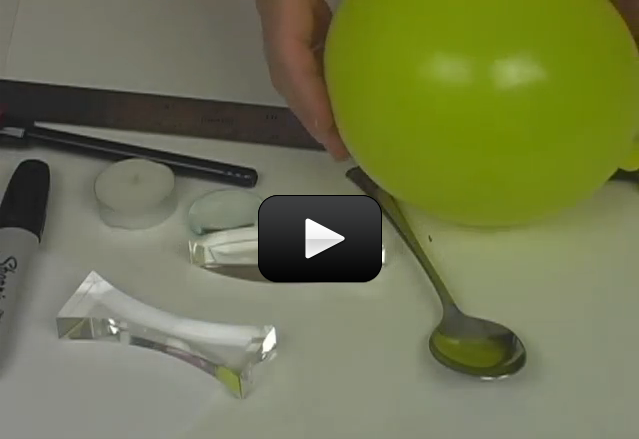
 Did you know you can create a compound microscope and a refractor telescope using the same materials? It’s all in how you use them to bend the light. These two experiments cover the fundamental basics of how two double-convex lenses can be used to make objects appear larger when right up close or farther away.
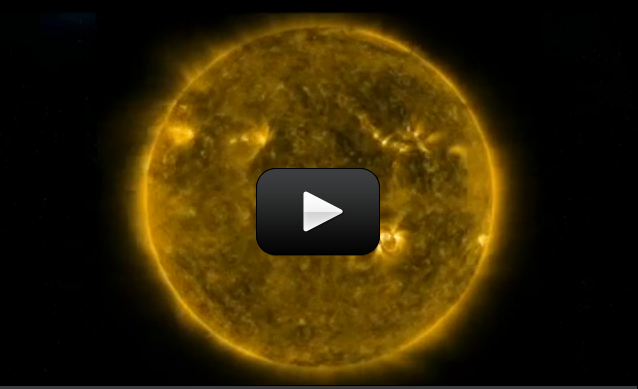


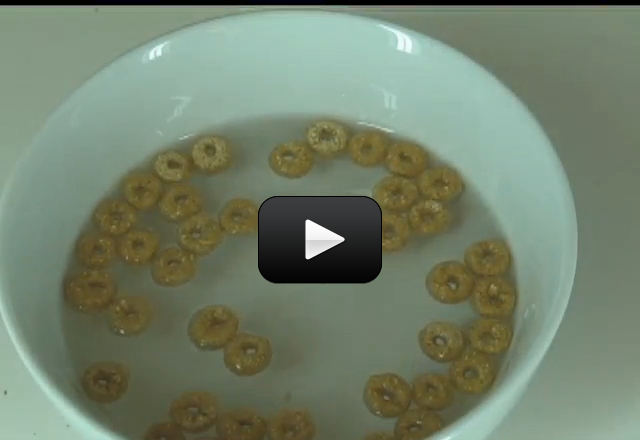
 Did you know that your cereal may be magnetic? Depending on the brand of cereal you enjoy in the morning, you’ll be able to see the magnetic effects right in your bowl. You don’t have to eat this experiment when you’re done, but you may if you want to (this is one of the ONLY times I’m going to allow you do eat what you experiment with!) For a variation, pull out all the different boxes of cereal in your cupboard and see which has the greatest magnetic attraction.


