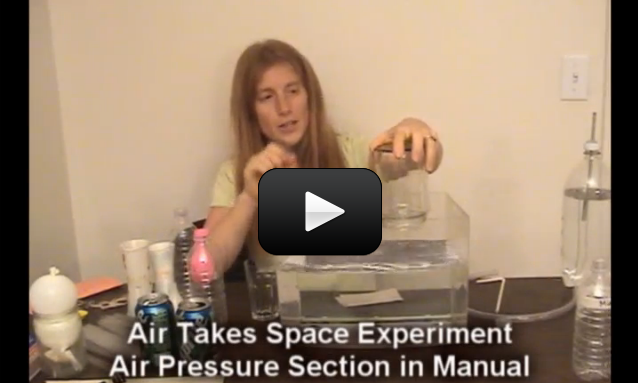
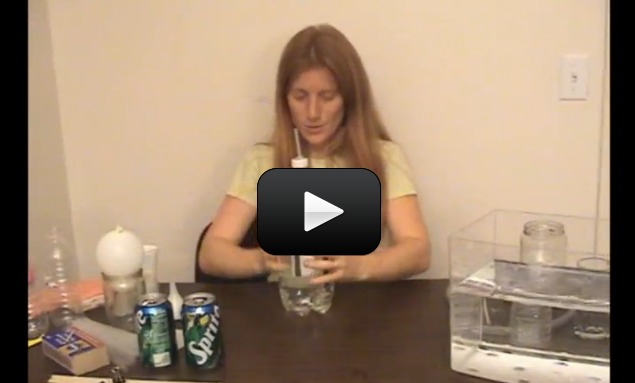
You’re going to do several experiments that change air pressure and mystify your kids. The goal is to set them thinking about how and why things fly (you’ll do this by learning about air pressure and Bernoulli’s law).
While you are playing with the experiments in the video, see if you can notice these important ideas:
- Air pressure is all around us.
- Air pushes downward and creates pressure on all things.
- Air pressure changes all the time.
- Higher pressure always pushes.
- The faster air travels over a surface, the less time it has to push down on that surface and create pressure. Fast moving air creates low pressure regions.
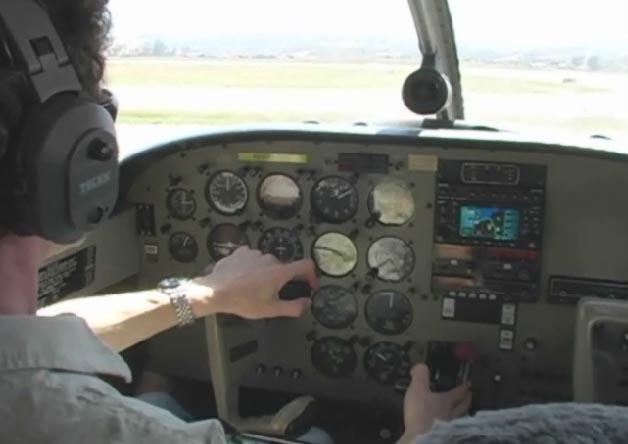
- The four fundamental forces on an airplane are lift, weight, thrust, and drag.
[/am4show]
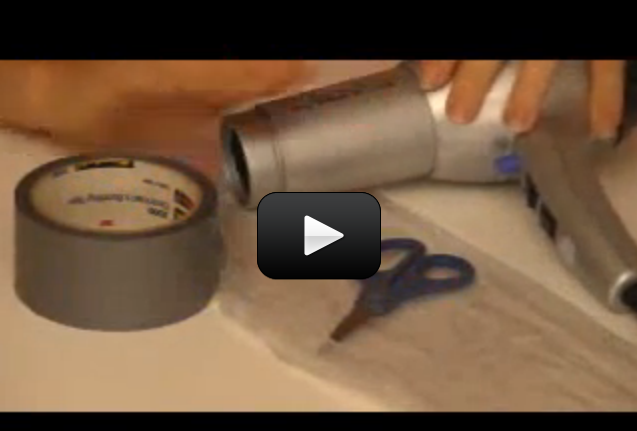
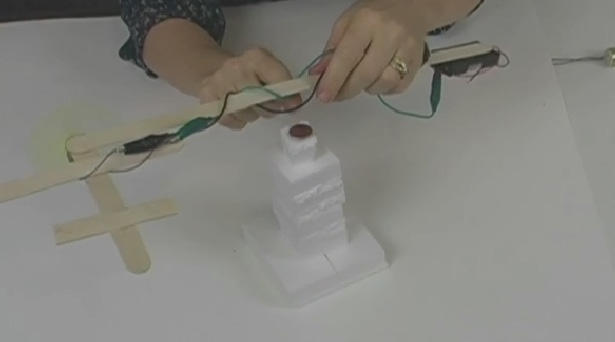
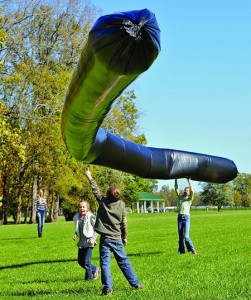 We didn't include this particular experiment in our shopping list, as the tube's kind of expensive and can only be used for one particular experiment, BUT it's an incredible blast to do in the summer.
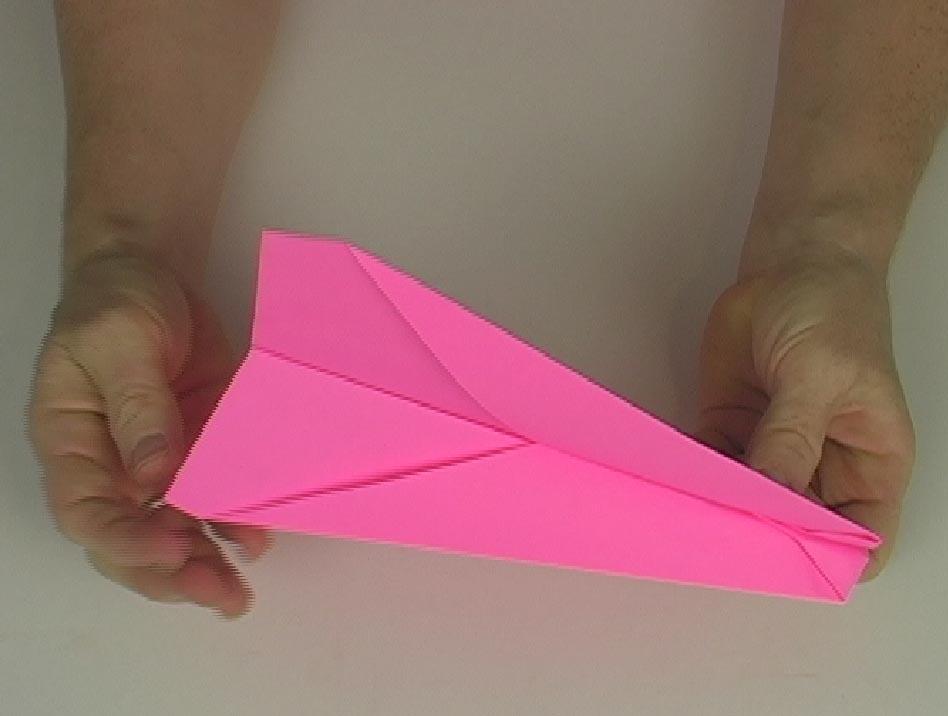
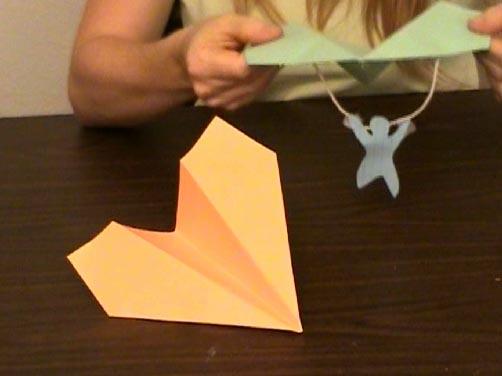


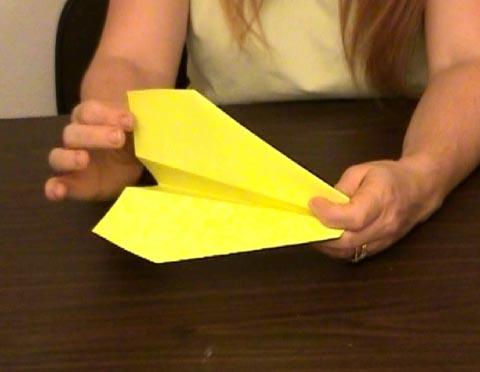
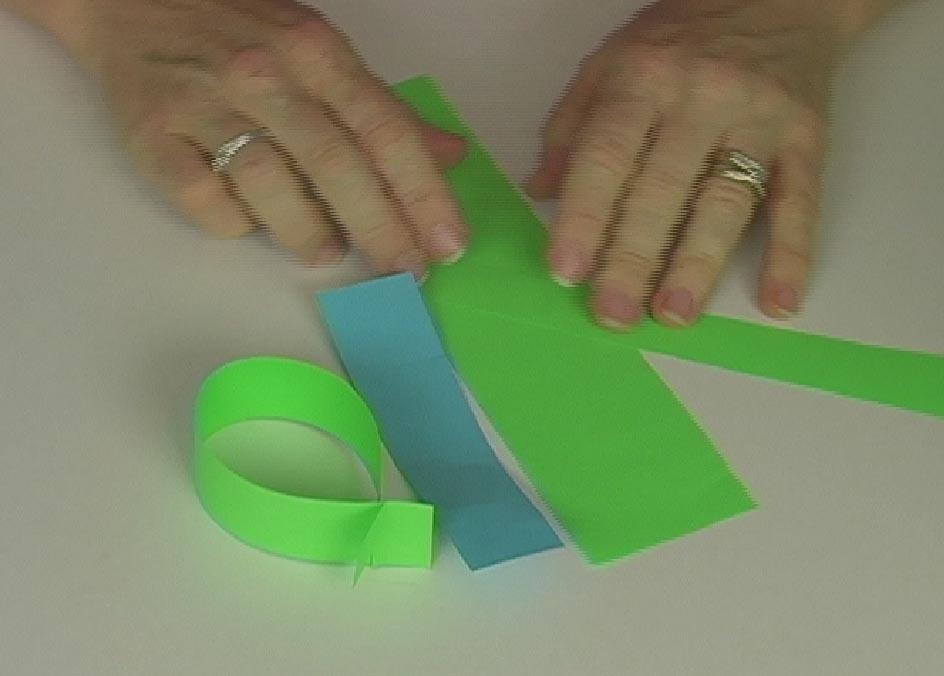
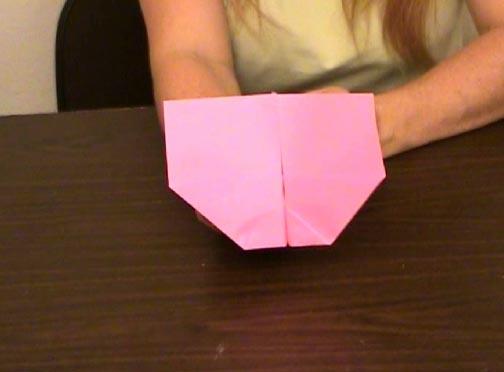
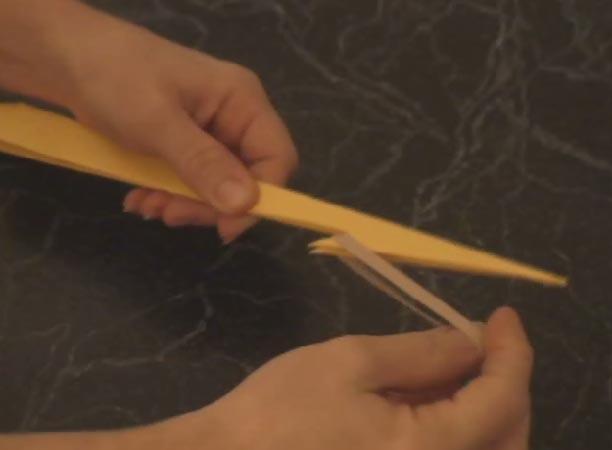
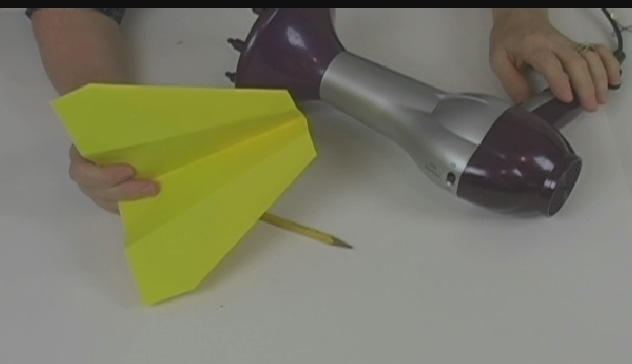
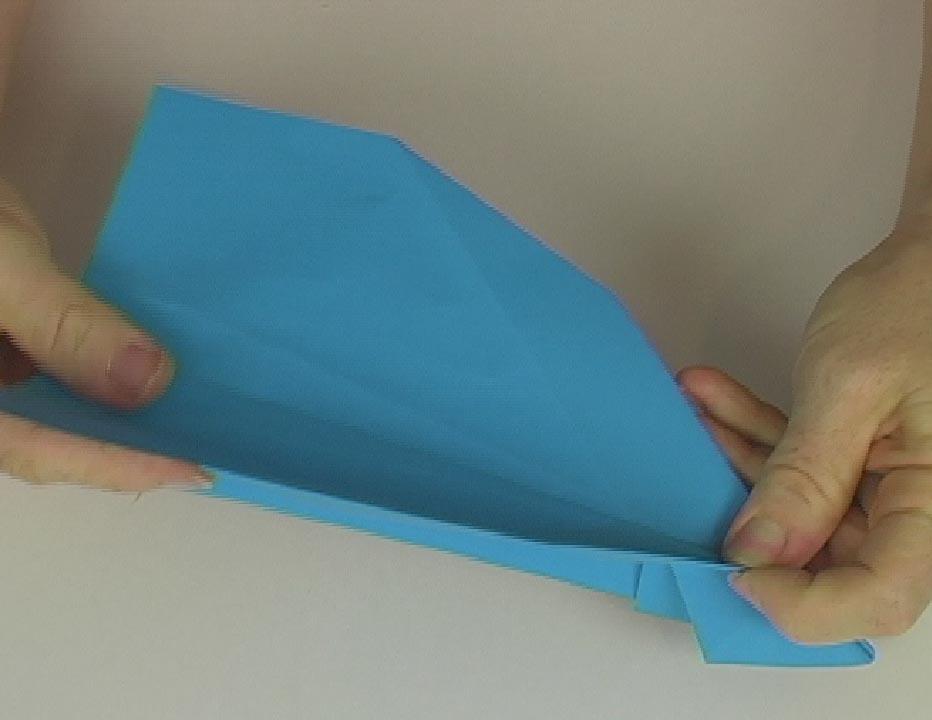
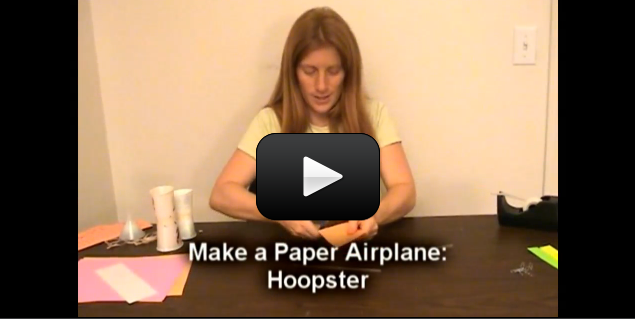
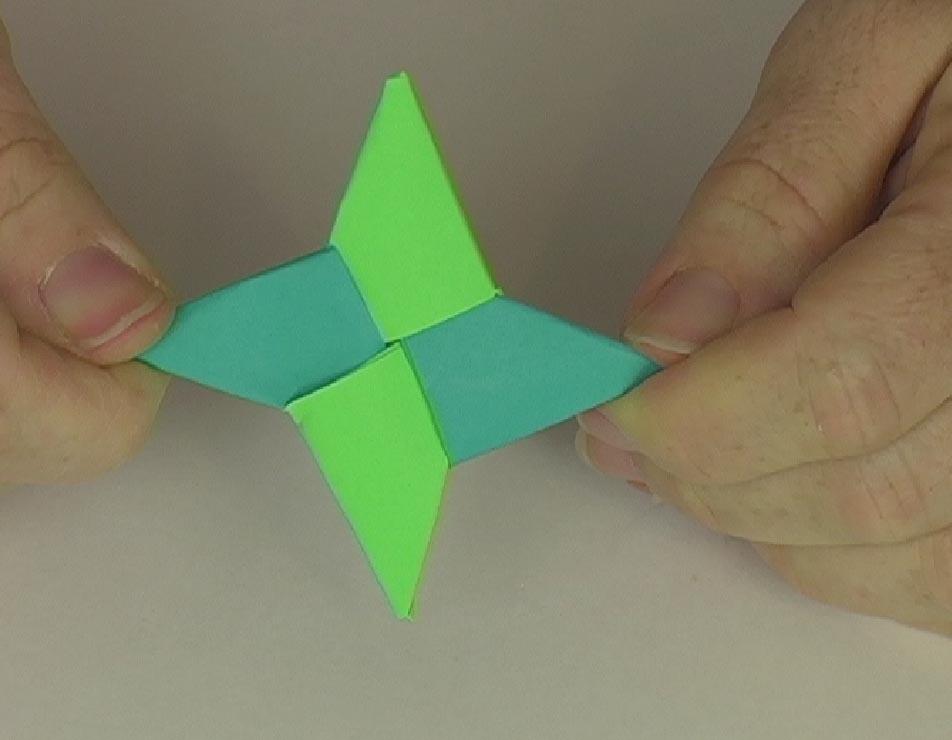
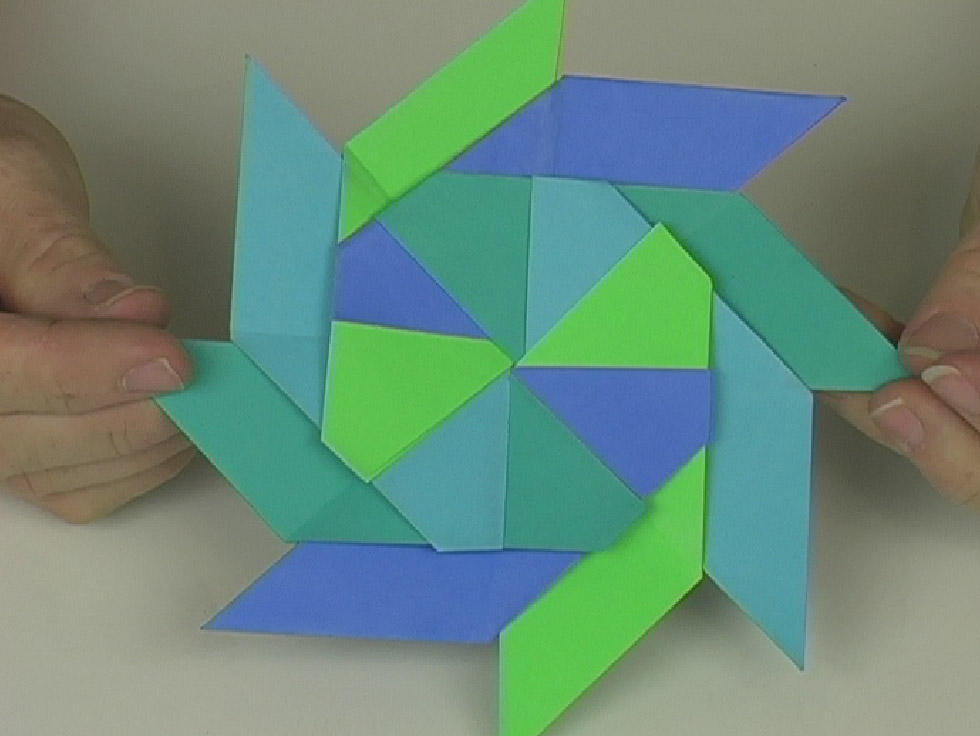
 We’ve included several flying designs for you to test, including: