How many of these items do you already have? We’ve tried to keep it simple for you by making the majority of the items things most people have within reach (both physically and budget-wise), and even have broken down the materials by experiment category so you can decide if those are ones you want to do.
Here’s an easy way to decide which materials to get: look over the list, and if the group of materials seems to difficult to obtain, just skip it for now and go onto the next group within the unit. Most items are obtainable from the grocery store, hardware store, and online! You do not need to do ALL the experiments – just pick the ones you want to do!
Shopping List for Unit 6: Energy: Sound, Vibration & Resonance Click here for Shopping List for Unit 6.
NOTE: Radio Shack part numbers have been replaced. Click here for full chart.
Wave Demonstrations
3’ & 10’ string or rope
Weight that can be tied to the end of the string
A timer or stopwatch
Masking tape
2 slinky toys (both are the same size)
Optional: Bathtub, water, ball
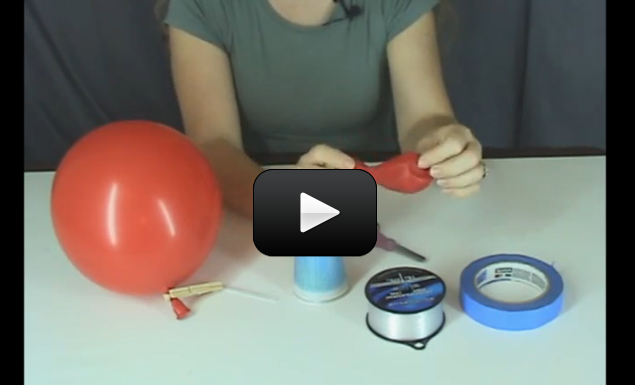
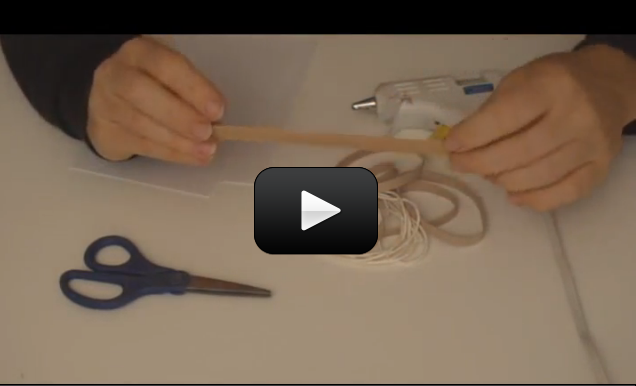
Noise Makers
3 popsicle sticks (tongue depressor size)
2 index card (3×5”)
Scissors, tape, hot glue gun
2 film canisters (or plastic snap-lid M&M containers)
Straw
Three 7-9” balloons
2 water balloons
3’ string
Rubber bands (four 3”x 1/8” and four 3” x ¼” )
Disposable cup (plastic, foam, paper…)
Hexnut (1/4” or smaller)
Razor or drill to make hole in the film canister
Optional: Violin rosin (it’s worth it if you can find it!)
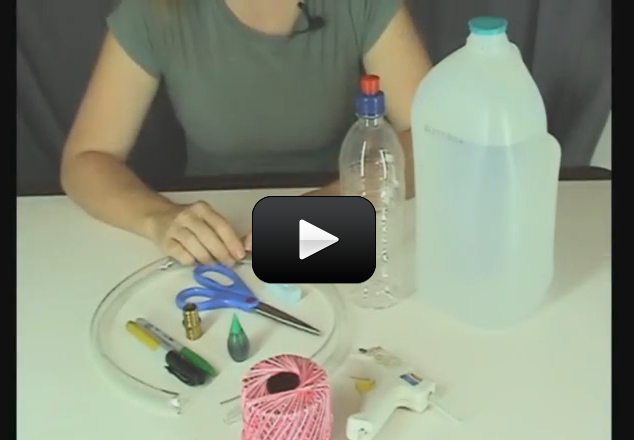
Properties of Sound
Empty glass bottle AND plastic water bottle
Metal fork
2 sheets of stiff paper
3 feet of each: yarn, string, thread, and/or fishing line
Disposable cup
Empty soup can
7-9” balloon
Flashlight or laser (if you have it)
Scissors, tape
Small mirror (from a compact or makeup kit, or use a 1” mosaic mirror from the craft store)
Sand (10-12 cups)
5’ string
Dish towel
Optional Speaker Project:
Record player (turntable)
Margarine tub
Tack
Old record that can be scratched
For Advanced Students:
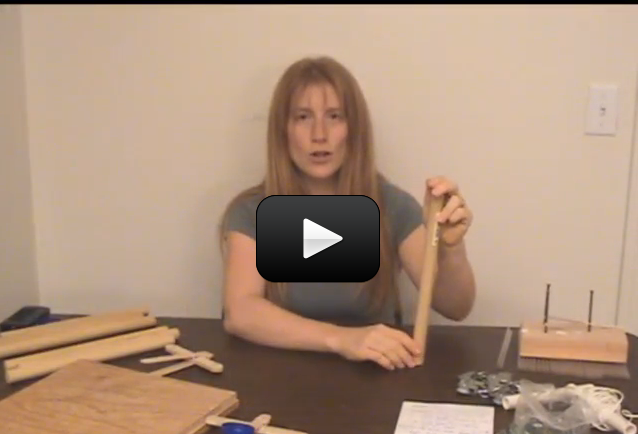
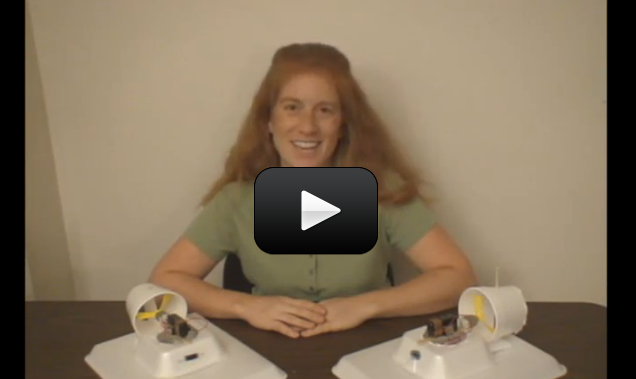
Build Real Speakers
You’ll be making three different kinds of speakers here.
Foam plate (paper and plastic don’t work as well)
Sheet of copy paper
3 business cards
Magnet wire AWG 28
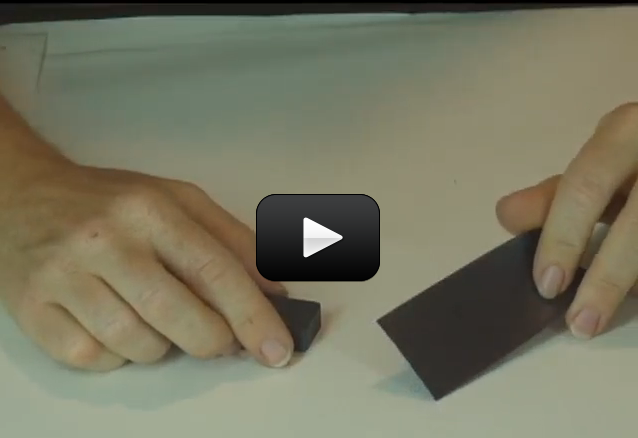
2 neodymium magnets**
Disc or donut shaped magnet
Index cards or stiff paper
Plastic disposable cup
Tape
Hot glue gun
Scissors
1 audio plug or other cable that fits into your stereo (iPODs and other small devices are not recommended for this project – you need something with built-in amplifier)
OPTIONAL: Chladni Resonance
(Hint – this experiment has the potential for a jaw-dropping science fair project.)
Salt (get two containers, both with a pour spout)
Scrap of metal plate (anything that’s flat will work that’s at least 6” square, preferably 12”)
Clamp (to hold your plate to the table)
Bass fiddle bow (rent or borrow one if you can – this experiment is totally worth it!) with lots of violin rosin
**Special Note About Magnets** If you’re ordering magnets, here’s a list for future projects we’re covering this year as well. (Keep these FAR AWAY from anything electronic!! And be very careful not to let them jump together, or they will crack and fracture because they are so powerful, especially the gold-plated ones!) Here’s a list of the magnets we will be using this year:
9 nickel-plated ball bearings (NSBA) for the Linear Accelerator
Two 5/8” x ¼” high (DA4) for the Speakers
Four ½” gold plated cubes (B888) for the Linear Accelerator
Two tiny bead magnets (R211 and/or R311) for the Curie Heat Engine
Two disc magnets (D21) for the Rail Accelerator
Two gold-plated disc magnets (D41G) for the Rail Accelerator
Five disc magnets (DC2) for the DC Motor
One ceramic magnet for the Curie Heat Engine


 This experiment is one of my favorites in this acceleration series, because it clearly shows you what acceleration looks like.
 Gyroscopes defy human intuition, common sense, and even appear to defy gravity. You’ll find them in aircraft navigation instruments, games of Ultimate Frisbee, fast bicycles, street motorcycles, toy yo-yos, and the Hubble Space Telescope. And of course, the toy gyroscope (as shown here). Gyroscopes are used at the university level to demonstrate the principles of angular momentum, which is what we’re going to learn about here.
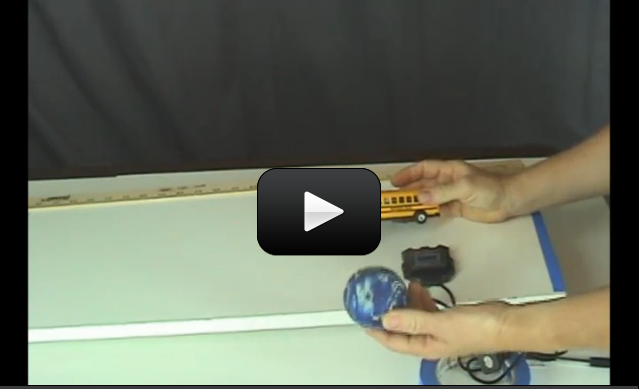
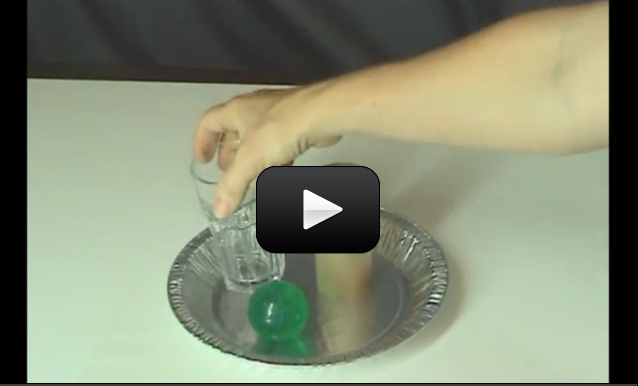
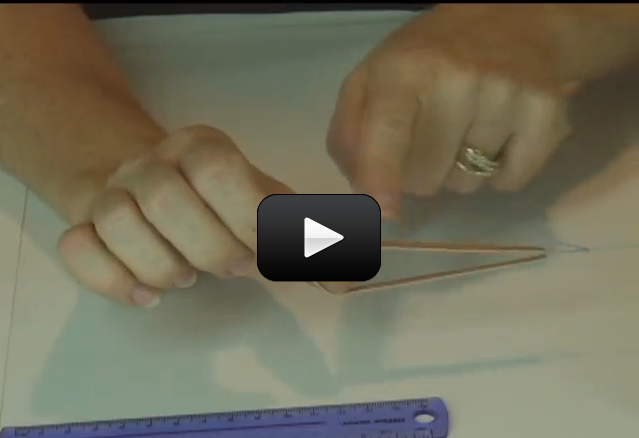
 Let's take a good look at Newton's Laws in motion while making something that flies off in both directions. This experiment will pop a cork out of a bottle and make the cork fly go 20 to 30 feet, while the vehicle moves in the other direction!
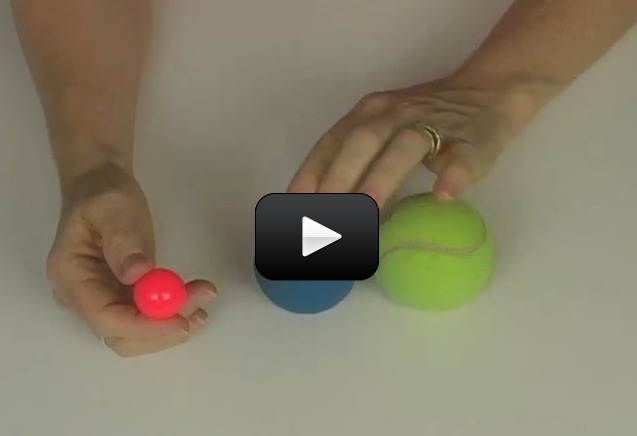
 Every wonder why you have to wear a seat belt or wear a helmet? Let's find out (safely) by experimenting with a ball.
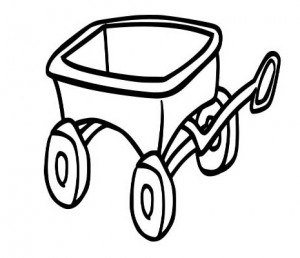
 This is a quick and easy demonstration of how to teach Newton’s laws with minimal fuss and materials. All you need is a wagon, a rock, and some friends. We’re going to do a few totally different experiments using the same materials, though, so keep up with the changes as you read through the experiment.
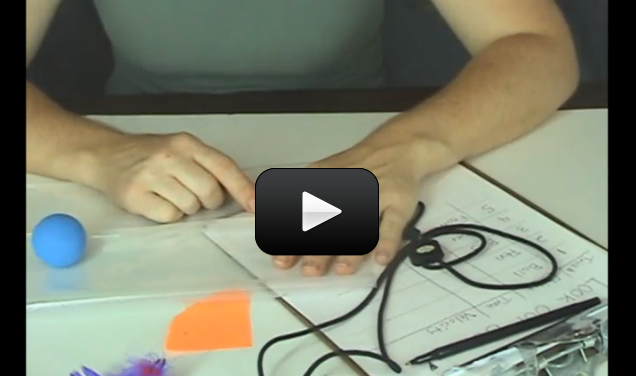

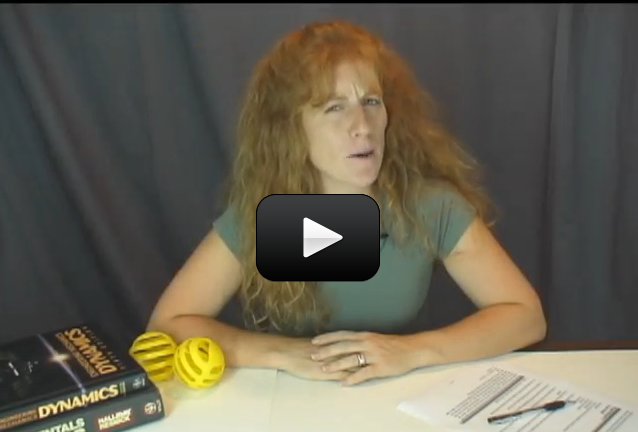
 This experiment is for advanced students.It’s time for the last lesson of mechanics. After all this time, you now have a good working knowledge of the rules that govern almost all movement on this planet and beyond!! This lesson we get to learn about things crashing into one another!! Isn’t physics fun?! We are going to learn about impulse and momentum.
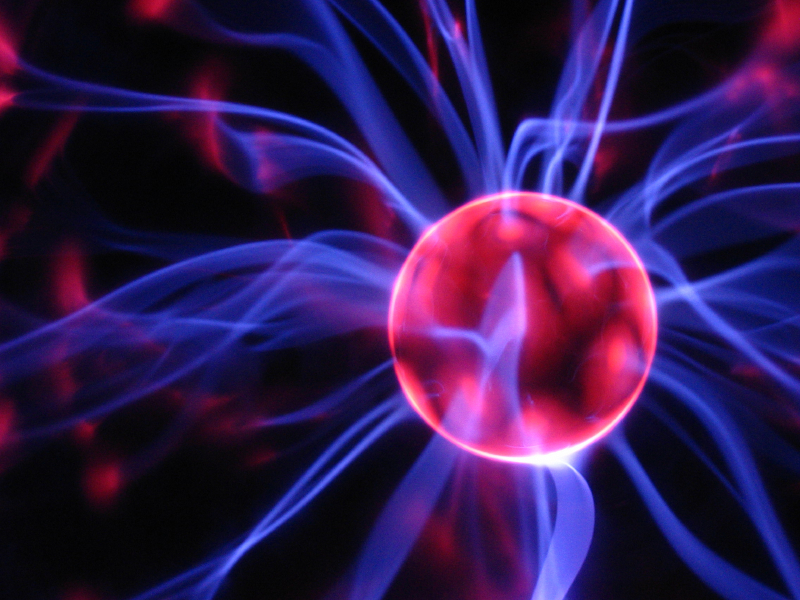
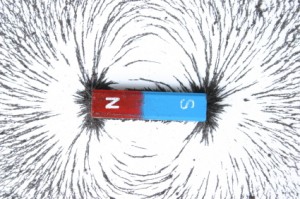 The electromagnetic field is a bit strange. It is caused by either a magnetic field or an electric field moving. If a magnetic field moves, it creates an electric field. If an electric field moves, it creates a magnetic field.
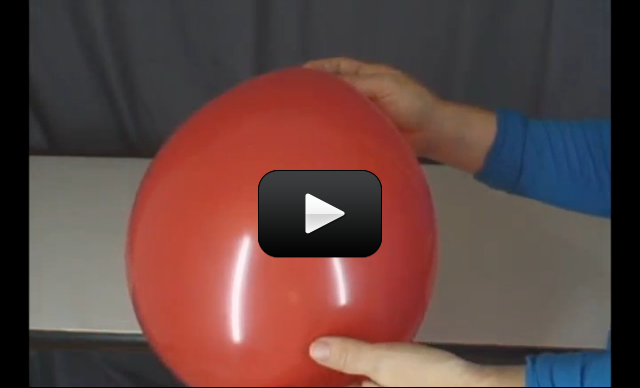
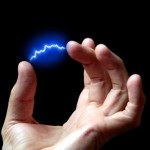 You are actually fairly familiar with electric fields too, but you may not know it. Have you ever rubbed your feet against the floor and then shocked your brother or sister? Have you ever zipped down a plastic slide and noticed that your hair is sticking straight up when you get to the bottom? Both phenomena are caused by electric fields and they are everywhere!
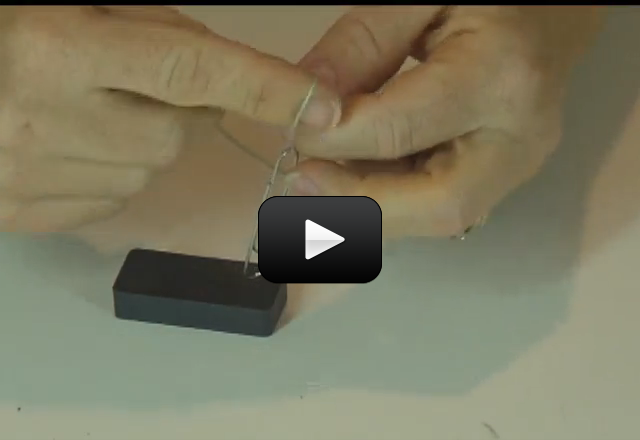
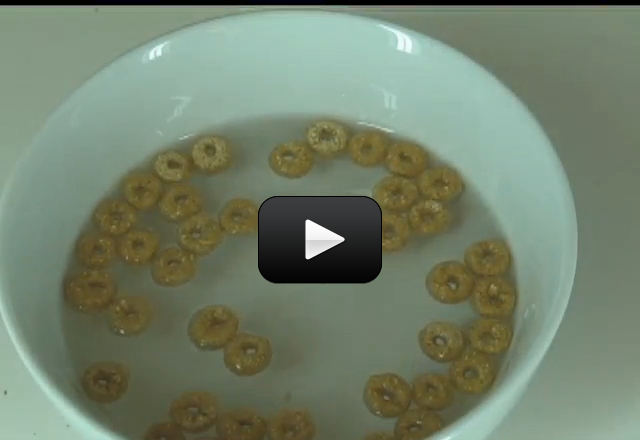
 Did you know that your cereal may be magnetic? Depending on the brand of cereal you enjoy in the morning, you’ll be able to see the magnetic effects right in your bowl. You don’t have to eat this experiment when you’re done, but you may if you want to (this is one of the ONLY times I’m going to allow you do eat what you experiment with!) For a variation, pull out all the different boxes of cereal in your cupboard and see which has the greatest magnetic attraction.
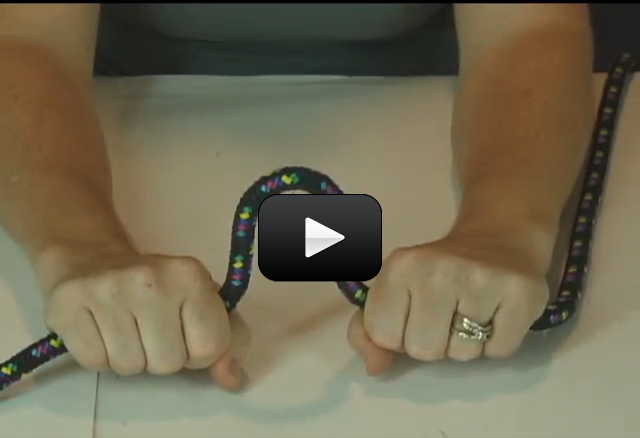


 Find a smooth, cylindrical support column, such as those used to support open-air roofs for breezeways and outdoor hallways (check your local public school or local church). Wind a length of rope one time around the column, and pull on one end while three friends pull on the other in a tug-of-war fashion.
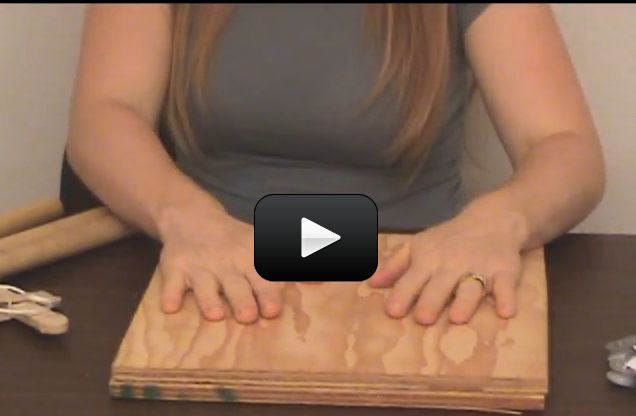
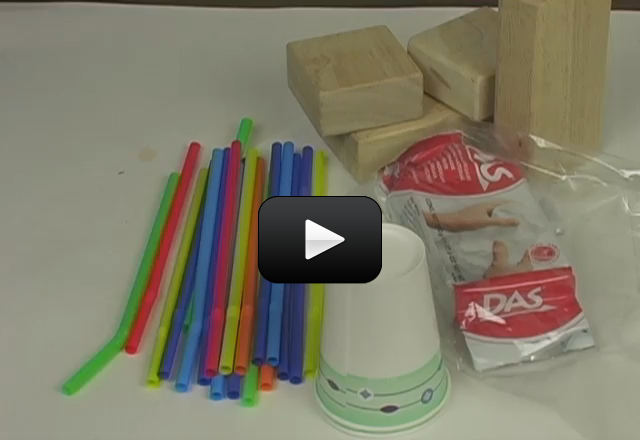
 Hovercraft transport people and their stuff across ice, grass, swamp, water, and land. Also known as the Air Cushioned Vehicle (ACV), these machines use air to greatly reduce the sliding friction between the bottom of the vehicle (the skirt) and the ground. This is a great example of how lubrication works – most people think of oil as the only way to reduce sliding friction, but gases work well if done right.
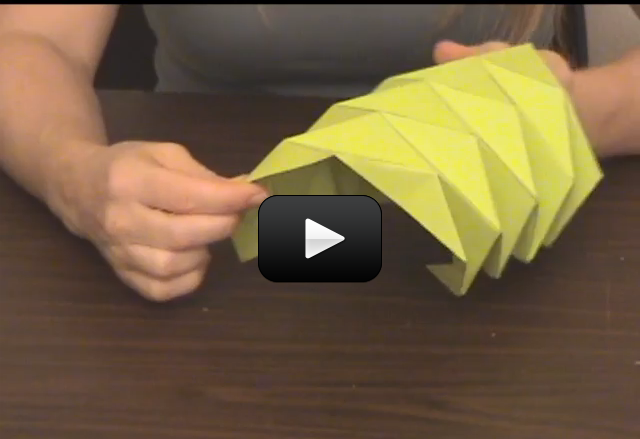
 Sound is everywhere. It can travel through solids, liquids, and gases, but it does so at different speeds. It can rustle through trees at 770 MPH (miles per hour), echo through the ocean at 3,270 MPH, and resonate through solid rock at 8,600 MPH.
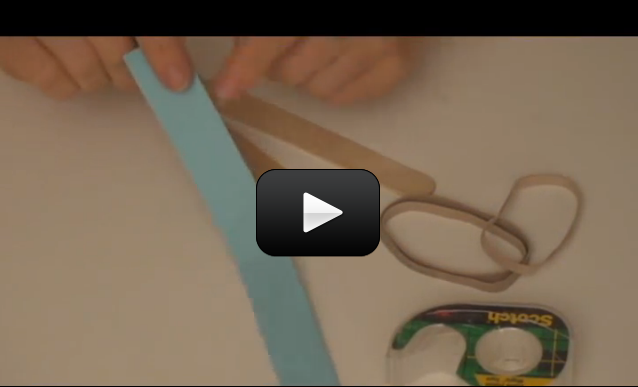
 The smallest thing around is the atom, which has three main parts – the core (nucleus) houses the protons and neutrons, and the electron zips around in a cloud around the nucleus.


 One day, my kid asked me how a calculator comes up with its answers. That's a great question, I thought. How does a calculator do math?