What happens when you shine a laser beam onto a spinning mirror? In the Laser Maze experiment, the mirrors stayed put. What happens if you took one of those mirrors and moved it really fast?
It turns out that a slightly off-set spinning mirror will make the laser dot on the wall spin in a circle. Or ellipse. Or oval. And the more mirrors you add, the more spiro-graph-looking your projected laser dot gets.
Why does it work? This experiment works because of imperfections: the mirrors are mounted off-center, the motors wobble, the shafts do not spin true, and a hundred other reasons why our mechanics and optics are not dead-on straight. And that’s exactly what we want – the wobbling mirrors and shaky motors make the pretty pictures on the wall! If everything were absolutely perfectly aligned, all you would see is a dot.
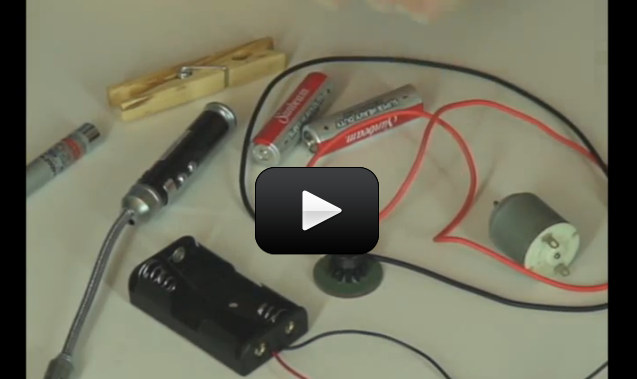
Here’s how to do this experiment:
[am4show have=’p8;p9;p11;p38;p92;p19;p46;p89;p99;p103;’ guest_error=’Guest error message’ user_error=’User error message’ ]
Materials:
- AA battery pack with AA batteries
- two 1.5-3V DC motors OR rip them off old toys or personal fans sold in the summertime
- keychain laser pointer
- clothespin
- two round mirrors (mosaic mirrors from the craft store work great)
- two alligator clip leads
- gear that fits onto the motor and has a flat side to attach to the mirror
- 5-minute epoxy (don’t use hot glue – it’s not strong enough to hold the mirrors on at high motor speeds)
**Note – if this is your very first time wiring up an electrical circuit, I highly recommend doing this Easy Laser Light Show first. It uses a lot of the same parts, but it’s easier to build.**
Here’s what you do:
1. Insert the batteries into their case.
2. Use 5-minute epoxy to secure the gear onto the round mirror.
3. Press-fit the gear-mirror onto the shaft when the epoxy is dry.
4. Make the motor spin using the alligator clips and the battery case.
5. Turn down the lights and fire up the laser, aiming the beam onto the motor.
6. Shine the reflection somewhere easy to see, like the ceiling.
7. Once you’ve got this working, add a second mirror like you did in the laser maze.
[/am4show][am4show have=’p9;p46;’ guest_error=’Guest error message’ user_error=’User error message’ ]
Advanced Two-Axis Laser Light Show
The second part of this experiment is for advanced students. What shapes can you make? Is it tough to hold it all in place? Then here’s how to create a portable laser light show:
Materials:
- Red laser pointer
- 3VDC motors
- 2 gears or corks (you’ll need a solid way to attach the mirror to the motor shaft tip)
- two 1” round mirrors (use mosaic mirrors)
- 2 DPDT switches with center off
- 20 alligator clip leads OR insulated wire if you already know how to solder
- 2 AA battery packs with 4 AA’s
- Two 1K potentiometers
- Zip-tie (from the hardware store)
- ½ ” or ¾ ” metal conduit hangers (size to fit your motors from the hardware store)
- 3 sets of ¼ ” x 2″ bolts, nuts, and washers
- 1 project container (at least 7” x 5”) with lid
- Basic tools (scissors, hot glue gun, drill, wire strippers, pliers, screwdriver)
Click here to download the Schematic Wiring Diagram for the Advanced Laser Light Show.
Download Student Worksheet & Exercises
Exercises
- How does the mirror turn a laser dot into an image?
- What happens when you add a second motor? Third?
[/am4show]
I’m planning to go through the program starting at Unit 1 then Unit 2, Unit 3…… [you get the idea] Any suggestions?