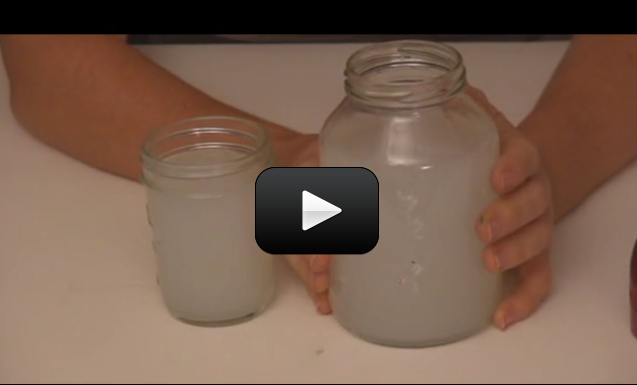
Have you ever wondered why the sky is blue? Or why the sunset is red? Or what color our sunset would be if we had a blue giant instead of a white star? This lab will answer those questions by showing how light is scattered by the atmosphere.
Particles in the atmosphere determine the color of the planet and the colors we see on its surface. The color of the star also affects the color of the sunset and of the planet.
Materials
- Glass jar
- Flashlight
- Fingernail polish (red, yellow, green, blue)
- Clear tape
- Water
- Dark room
- Few drops of milk


You need something that allows light to pass and imparts a certain color to that light. Nail polish works best and there really isn’t a good alternative.
i don’t have nail polish can i use something else?
Putting clear tape over the plastic bezel and then coloring the tape with sharpies is an extra experiment suggested by another student in the comments. So we can’t really give details on that.
It is best to first try the experiment how it is shown in the video. When doing this experiment, you need the flashlight to be as bright as possible.
Not, that you want to use milk OR cornstarch, not both. It sounds like you may be adding too much milk or cornstarch.
Instead of a couple teaspoons, add a only a couple drops of milk and then try the experiment. Then if it isn’t cloudy enough, add a couple more drops and try again.
We used flashlights with tape over the light, colored with sharpies and did not see the colors separate out as mentioned in another comment. We had jars of water/milk and water/cornstarch. About 2 cups liquid to 1 teaspoon water/cornstarch. What did we do wrong?
Also, the light did not penetrate through to the other side of the jar through either water/milk or water/corn starch, which was surprising.
thank you for making this project!
It totally confused my younger siblings for a while! 🙂 I was such a magician 😉
That sounds really neat! Thanks for sharing your results 🙂
We colored the flashlight tape with areas of blue, red, orange, and green sharpie and when we shined it through the bottom of the glass, the colors separated out in the water. Blue, then green, then orangeish yellow and red towards the top!
Try it and tell me how it works! 🙂 (I think it should be fine…)
Can I use colored Sharpies instead of fingernail polish?
No, it just means that the LED has more blue than red wavelengths (which is normal). LEDs and Fluorescent lights look “cooler” (green-blue-purple) than incandescent or sunlight.
I did the experiment using a torch that had an LED bulb. Instead of showing red, it was blue with a tinge of yellow! Is that normal?
Thanks for the video but one correction. The speed of light is constant. It is the multiple of its frequency and wavelength that, when multiplied, gives the speed of light constant. Light bends or refracts when it travels from one medium to another. It is this temporary change of speed that causes a bending as the light in front slows down causing the faster light to “catch up” resulting in a bend. And since blue light bends the most at the junction of the two different mediums, blue light must have the greatest change in speed or the greatest reduction in speed.
Anyway, keep up the great work. All the best.
i think inside maybe outside if its night time?
You’re right – and there’s a whole section on this in Unit 9 Lesson 1 as well as in the experiments section of Unit 9 to help. This particular experiment is listed in a couple of different units, so if you aren’t looking at it from Unit 9 (Light), then it might be confusing and look incomplete! Let me know if you still need more info after reading up about Light from the Topic section.
This is a really fun experiment. But: we still don’t have our questions answered, even though we watched the video and read everything. This doesn’t talk at all about different wavelengths and speeds of light, so we still don’t understand the colors of sunsets and sunrises.very well. It would be helpful to have a video, animation or diagram or more explanation about light waves and speeds and how they affect colors.
this was cool but then we dropped an orange colored straw in the jar to see what would happen and all the liquid glowed orange!
It needs to be DARK, so if you live in a dark area (not in the city), it doesn’t really matter.
This is a great expirement! Question: Is this supposed to be done inside or outside?