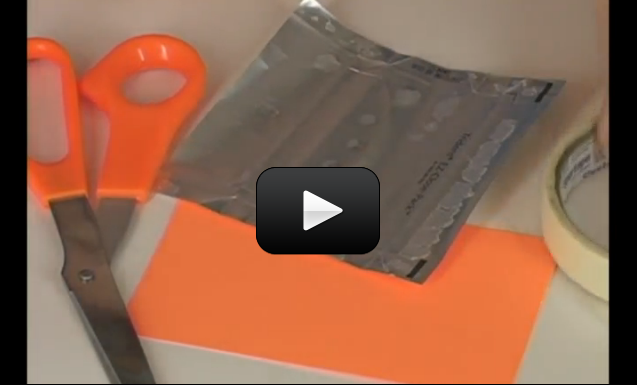
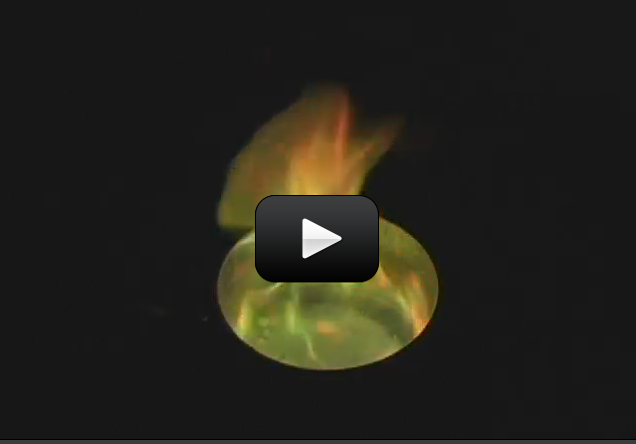
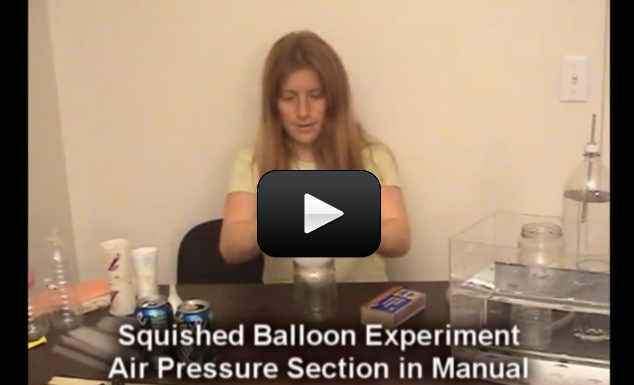
Do you like marshmallows cooked over a campfire? What if you don’t have a campfire, though? We’ll solve that problem by building our own food roaster – you can roast hot dogs, marshmallows, anything you want. And it’s battery-free, as this device is powered by the sun.
NOTE: This roaster is powerful enough to start fires! Use with adult supervision and a fire extinguisher handy.
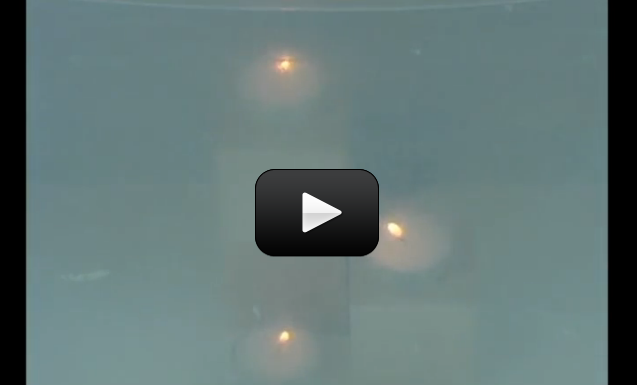
If you’re roasting marshmallows, remember that they are white – the most reflective color you can get. If you coat your marshmallows with something darker (chocolate, perhaps?), your marshmallow will absorb the incoming light instead of reflecting it.
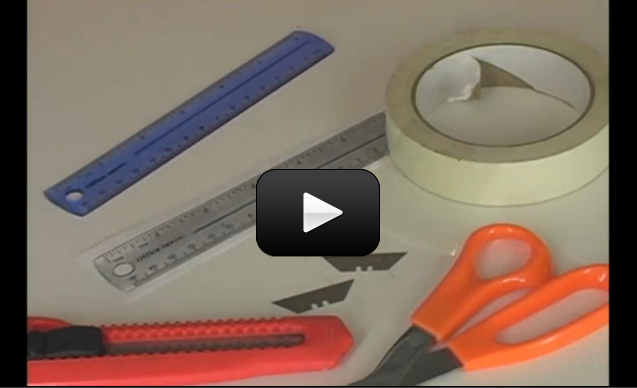
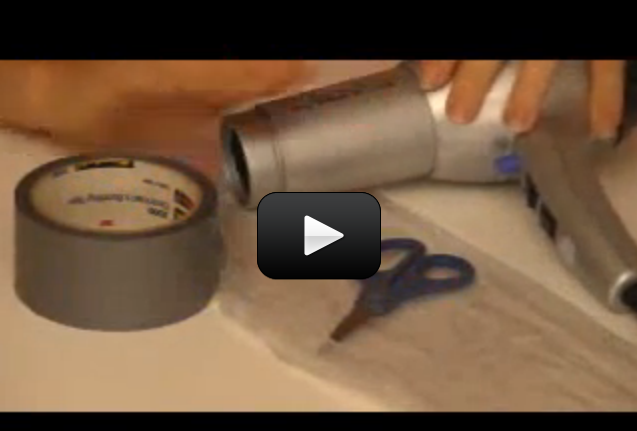
Here’s what you need to get:
- 7×10” page magnifier (Fresnel lens)
- Cardboard box, about a 10” cube
- Aluminum foil
- Hot glue, razor, scissors, tape
- Wooden skewers (BBQ-style)
- Chocolate, marshmallows, & graham crackers
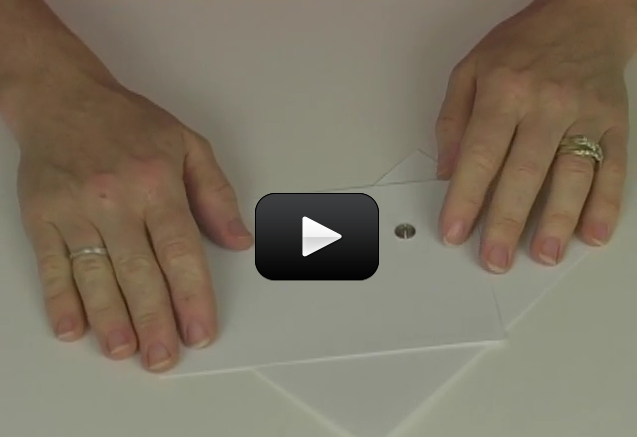
Here’s what you do:
Download Student Worksheet & Exercises
How does it do that? The Fresnel lens is a lot like a magnifying glass. In Unit 9, we learned how convex lenses are thicker in the middle (you can feel it with your fingers). A Fresnel lens (first used in the 1800s to focus the beam in a lighthouse) has lots of ridges you can feel with your fingers. It’s basically a series of magnifying lenses stacked together in rings (like in a tree trunk) to magnify an image.
The best thing about Fresnel lenses is that they are lightweight, so they can be very large (which is why light houses used these designs). Fresnel lenses curve to keep the focus at the same point, no matter close your light source is.
The Fresnel lens in this project is focusing the incoming sunlight much more powerfully than a regular hand held magnifier. But focusing the light is only part of the story with your roaster. The other part is how your food cooks as the light hits it. If your food is light-colored, it’s going to cook slower than darker (or charred) food. Notice how the burnt spots on your food heat up more quickly!
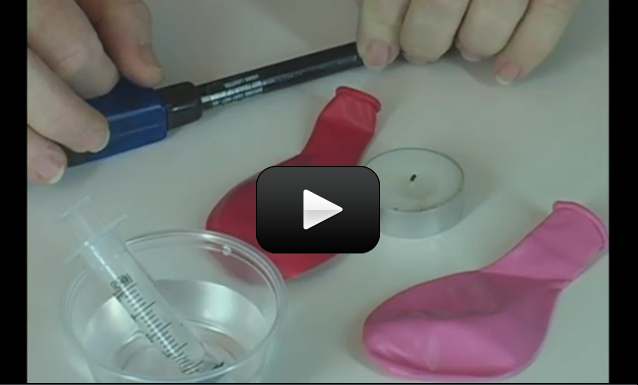
Scientifically Dissecting a Marshmallow
Plants take in energy (from the sun), water, and carbon dioxide (which is carbon and oxygen) and create sugar, giving off the oxygen. In other words: carbon + water + energy = sugar
- In this experiment, we will reverse this equation, by roasting a marshmallow, which is mostly sugar.
- When you roast your marshmallow, first notice the black color. This is the carbon.
- Next notice the heat and light given off. These are two forms of energy.
- Finally, put the roasting marshmallow if a mason jar. Notice that condensation forms on the sides. This is the water.
So, by roasting the marshmallow, we showed: sugar = carbon + water + energy!
Please
login or
register to read the rest of this content.

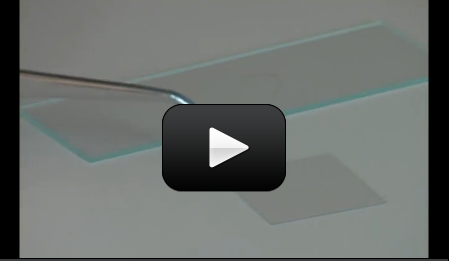
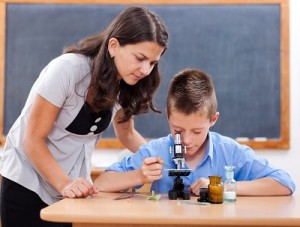 Did you know you can create a compound microscope and a refractor telescope using the same materials? It’s all in how you use them to bend the light. These two experiments cover the fundamental basics of how two double-convex lenses can be used to make objects appear larger when right up close or farther away.
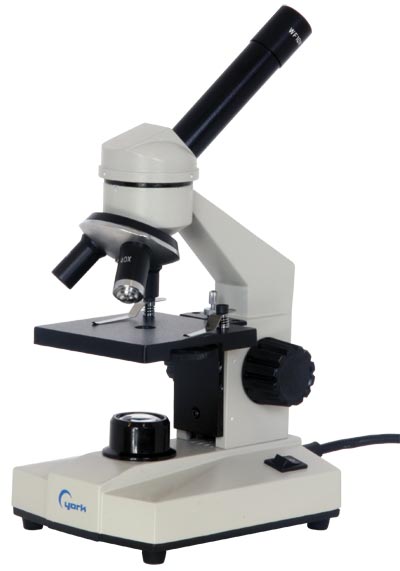
 Make sure you’ve completed the
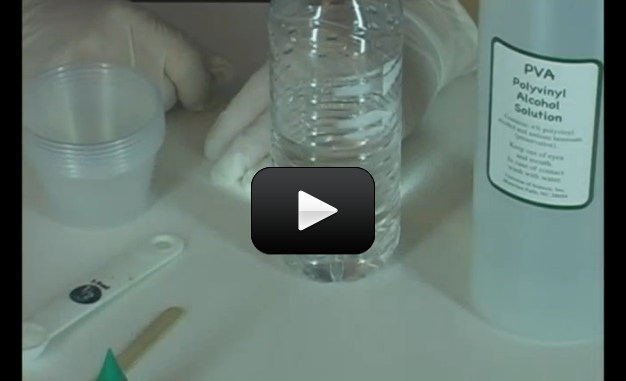


 Does it really matter what angle the solar cell makes with the incoming sunlight? If so, does it matter much? When the sun moves across the sky, solar cells on a house receive different amounts of sunlight. You’re going to find out exactly how much this varies by building your own solar boat.
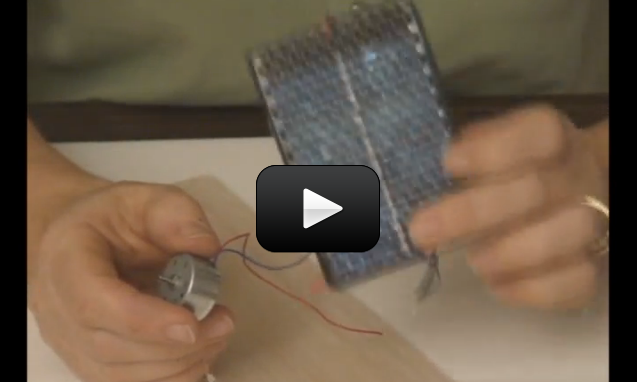
 Solar energy (power) refers to collecting this energy and storing it for another use, like driving a car. The sun blasts 174 x 1015 watts (which is 174,000,000,000,000,000 watts) of energy through radiation to the earth, but only 70% of that amount actually makes it to the surface. And since the surface of the earth is mostly water, both in ocean and cloud form, only a small fraction of the total amount makes it to land.
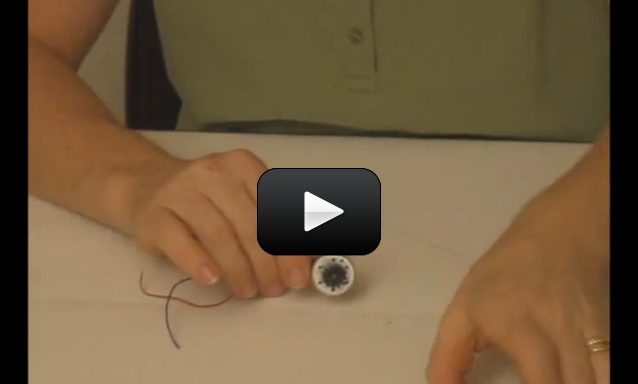


 This experiment is for advanced students. If you’ve attempted the
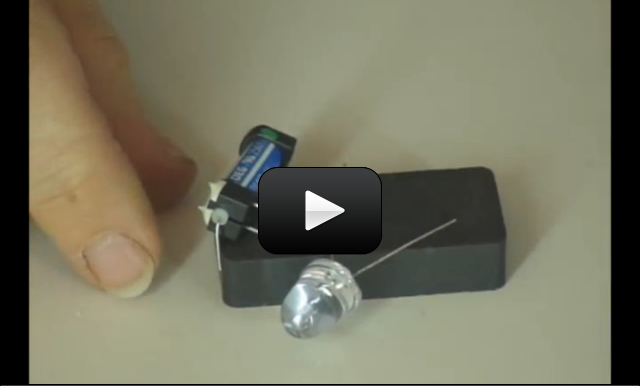
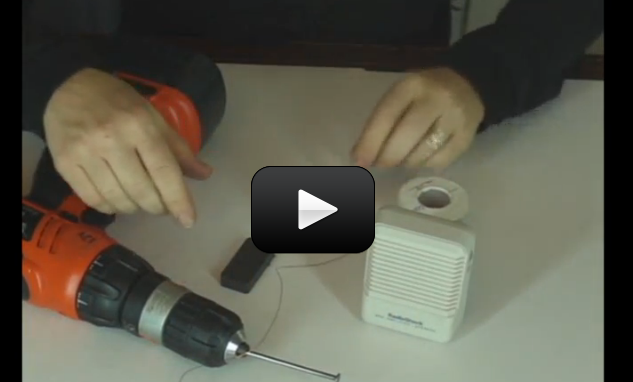
 Wouldn’t it be cool to have an alarm sound each time someone opened your door, lunch box, or secret drawer? It’s easy when you use a reed switch in your circuit! All you need to do it substitute this sensor for the
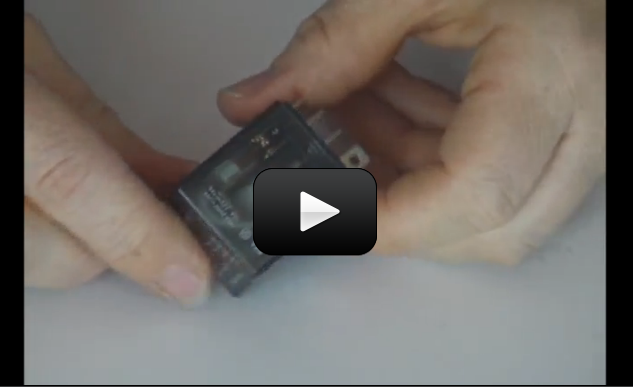
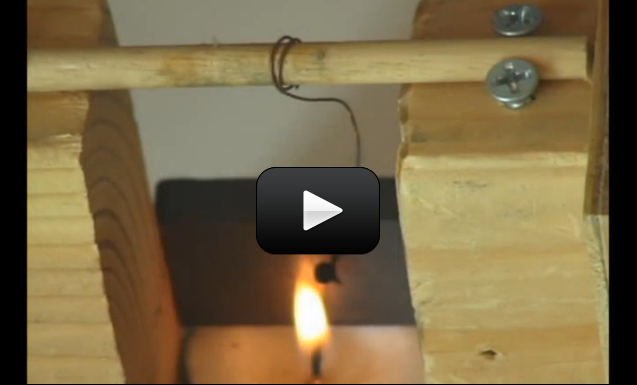
 Relays are telegraphs, and they both are basically “electrical switches”. This means you can turn something on and off without touching it – you can use electricity to switch something else on or off!
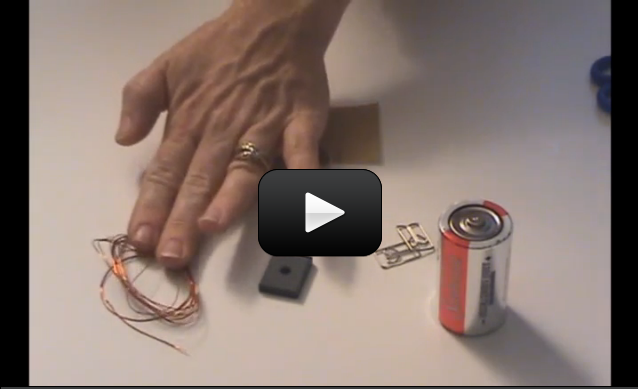
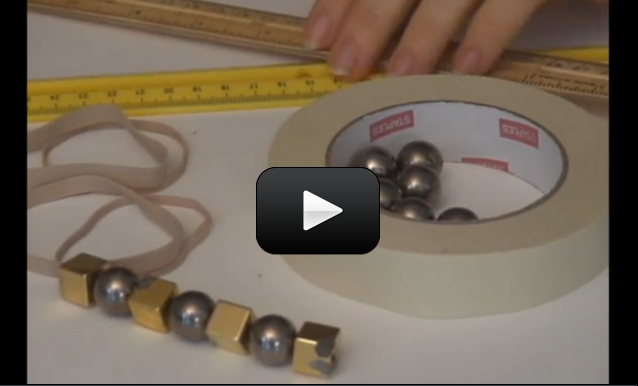
 Imagine you have two magnets. Glue one magnet on an imaginary record player (or a ‘lazy susan’ turntable) and hold the other magnet in your hand. What happens when you bring your hand close to the turntable magnet and bring the north sides together?
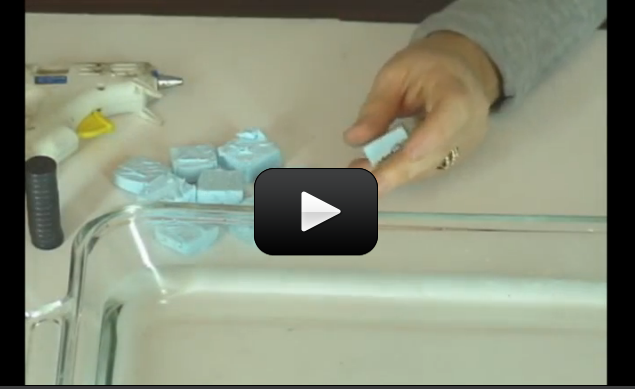

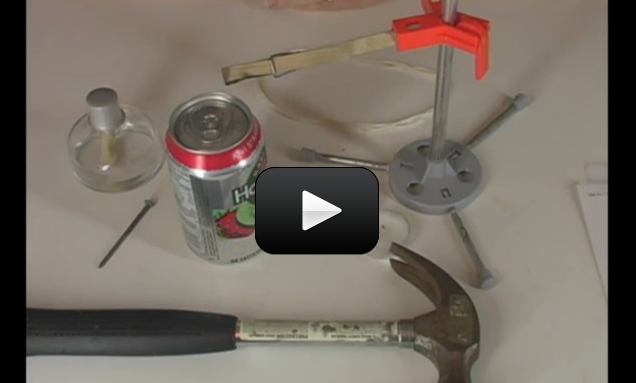
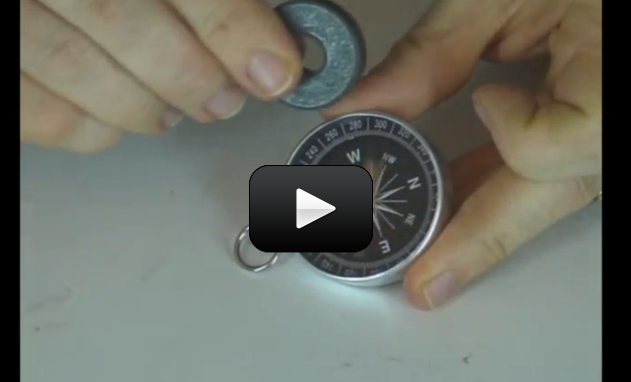
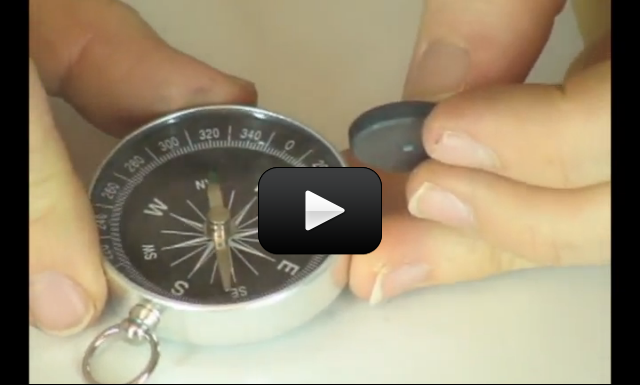
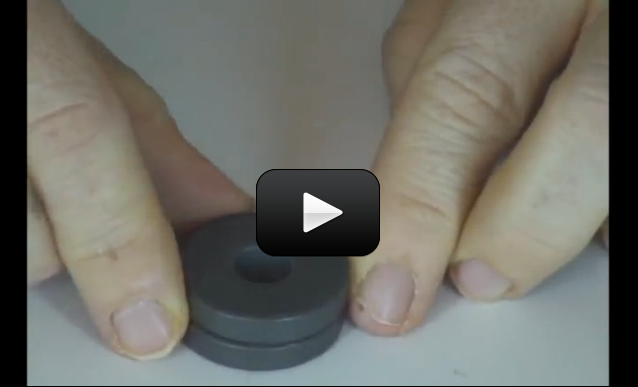
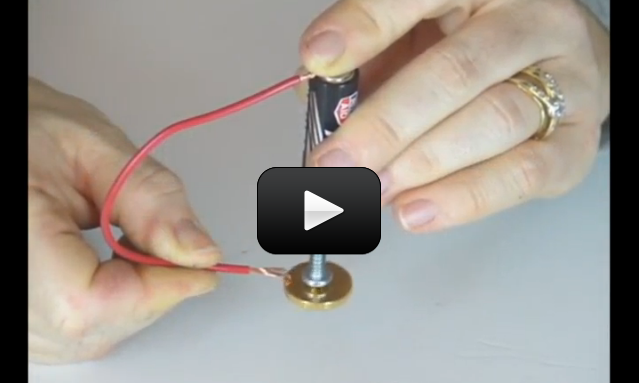
 There are two ways to create a magnetic field. First, you can wrap wire around a nail and attach the ends of the wire to a battery to make an electromagnet. When you connect the battery to the wires, current begins to flow, creating a magnetic field. However, the magnets that stick to your fridge are neither moving nor plugged into the electrical outlet – which leads to the second way to make a magnetic field: by rubbing a nail with a magnet to line up the electron spin. You can essential “choreograph” the way an electron spins around the atom to increase the magnetic field of the material. This project is for advanced students.
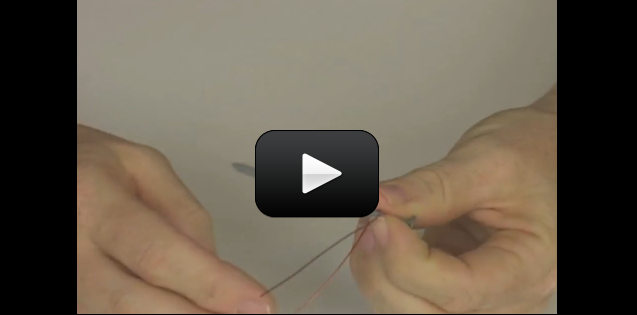
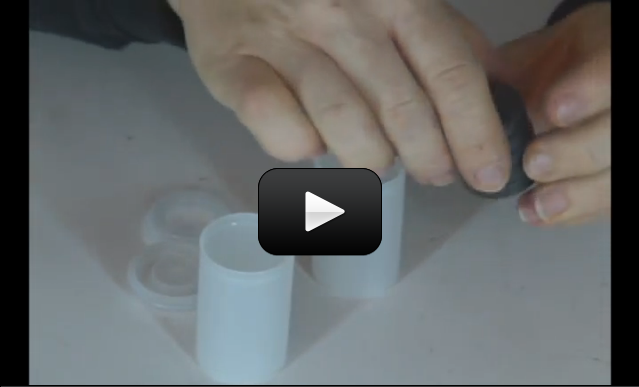
 Make yourself a grab bag of fun things to test: copper pieces (nails or pipe pieces), zinc washers, pipe cleaners, Mylar, aluminum foil, pennies, nickels, keys, film canisters, paper clips, load stones (magnetic rock), other rocks, and just about anything else in the back of your desk drawer.
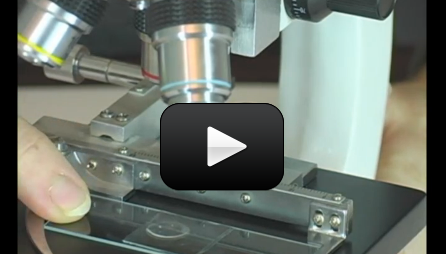
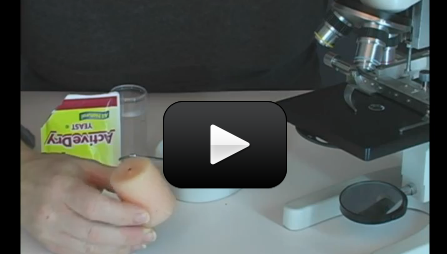
 One of the most useful tools a scientist can have! A
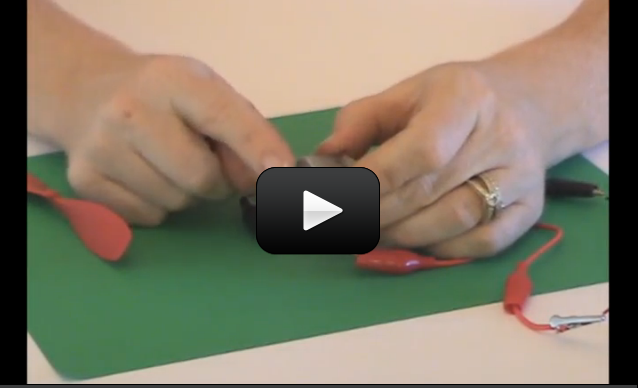

 So now you know how to hook up a
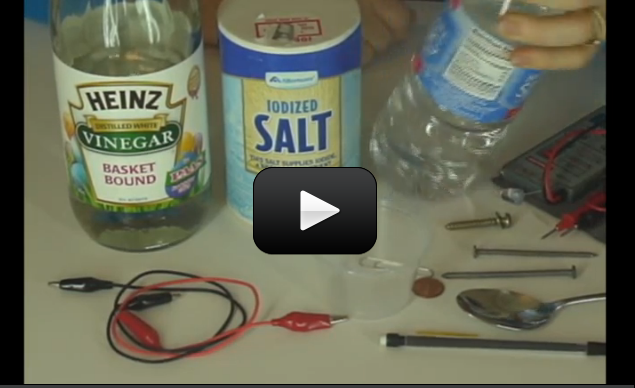
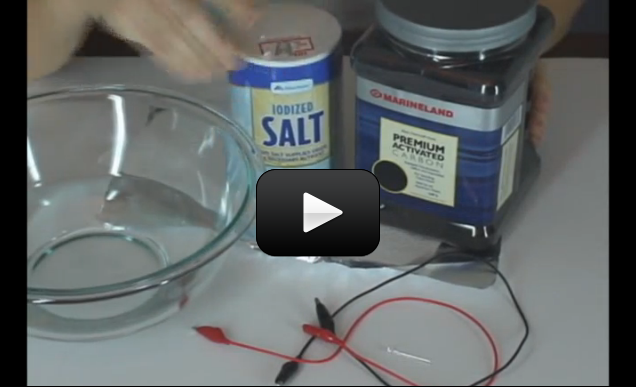
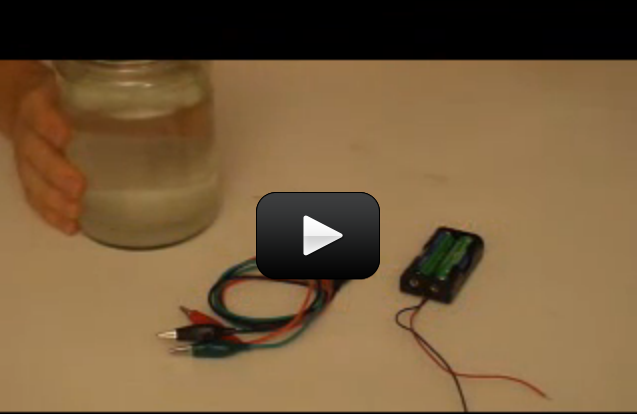
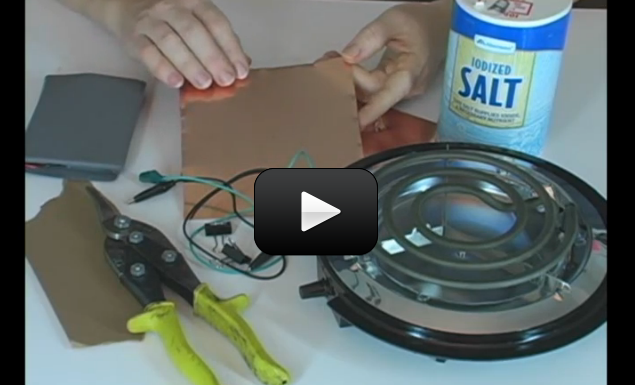
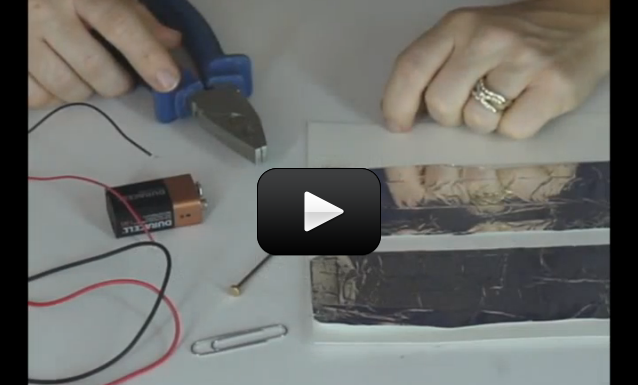
 It’s easy to use chemistry to generate electricity, once you understand the basics. With this experiment, you’ll use aluminum foil, salt, air, and a chemical from an aquarium to create an air battery. This experiment is for advanced students.
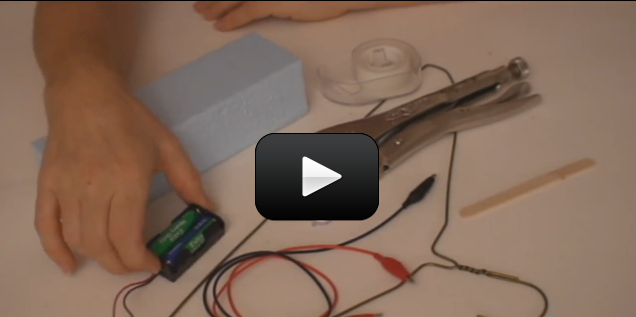
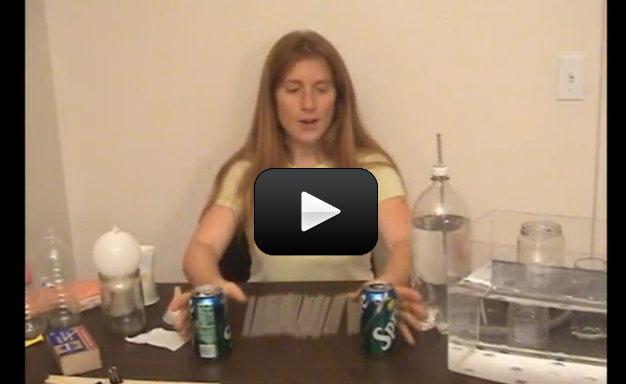
 Electrical circuits are used for all kinds of applications, from blenders to hair dryers to cars. And games! Here’s a quick and easy game using the principles of conductivity.