 Wouldn’t it be cool to have an alarm sound each time someone opened your door, lunch box, or secret drawer? It’s easy when you use a reed switch in your circuit! All you need to do it substitute this sensor for the trip wire and you’ll have a magnetic burglar alarm.
The first thing you need to do is get your reed switch out, because we have to tear into it in order to get the part we need. Here’s what you need:
Materials:
- reed switch
- magnet
- LED
- AA case
- 2 alligator wires
- 2 AA batteries
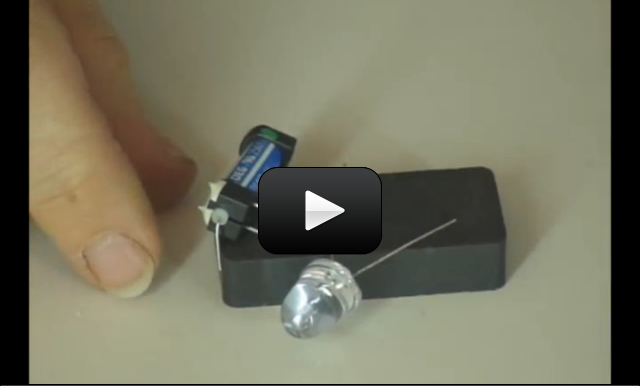
We are using two AA batteries to provide electricity for the light emitting diode (LED). We use a magnet to activate the reed switch. If you would like to know more about how to power an LED please take a look at these videos from Brian Cox under Unit 25: https://www.sciencelearningspace2.com/topics/unit-25-electronics-with-brian/electronics-september-2023-classes/
how do you light up the lightbulb
I think I mixed up the experiment list download sheet. I was going to put on there the experiments that matched up with the (shorter, abbreviated) material list, and I might have made a mistake, there, sorry! There’s a full-blown shopping list for Unit 11 that will have all the materials you need to do ALL the experiments in this section, not just the shorter, more abbreviated one. You can get a reed switch from Jameco or make one out of two strips of metal. Hope this helps!
hi, i dont remember a reed switch being on the shopping list for this month. we wanted to do this one but cant
That’s a big circle!
Did you do the burglar alarms first? It’s the same exact circuit except you replace the trip wire or pressure sensor with this one. Connect the power to one side of the LED, then another wire from the LED to one side of the reed witch, then a thrid wire from the other end of the reed switch back to power.
Hi! So, how do you light up the lightbulb….? I tried viewing it on the video but the parts the make it power up aren’t shown.
Thanks!!
We ran into this today as well and just wanted to share–don’t fret if the glass that holds the wires in place breaks when trying to separate the switch from the plastic box.(We apparently didn’t have all the glue removed like we thought.) We managed to salvage the switch by using modeling clay to hold the wires in place. It’s a bit challenging to keep the wires at the right distance apart, but eventually worked.
Hi Aurora,
We did the reed switch experiment in Unit 11 (Magnetism) today. We purchased the Radio Shack reed switch on your shopping list, plus another reed switch I found at a surplus store (Axman – cheap science stuff). Just an FYI, Radio Shack now encloses the switch piece you show in the video in a plastic box, and glues it in. So, to get it out you have to use 2 pairs of pliers to break the box off piece by piece, then you have to scrape the glue off the one end of the wire so you can pull out the switch (they glued one end of the wire onto the cylinder, and glued the ends of the cylinder inside the plastic box).
I had the Radio Shack people at the store double check the part number when I was there b/c I noticed it had the extra encasing, so I’m pretty sure that is how they make that part # now.
Thought you would want to know!