This is one of those 'chemistry magic show' type of experiments to wow your friends and family. Here's the scoop: you take a cup of clear liquid, add it to another cup of clear liquid, stir for ten seconds, and you'll see a color change, a state change from liquid to solid, and you can pull a rubber-like bouncy ball right out of the cup.
If you have trouble locating the ingredients, you can order them online here:
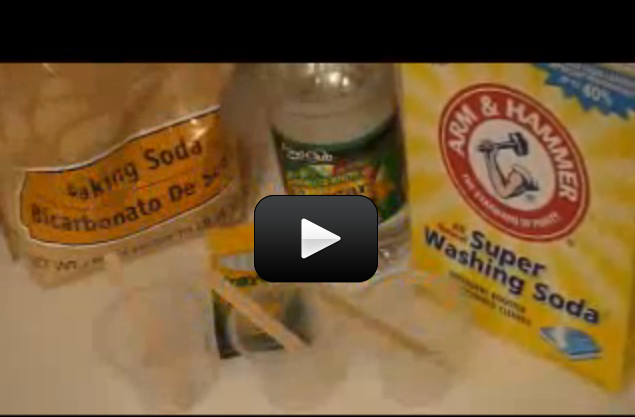
- Sodium Silicate (from Unit 3)
- Ethyl Alcohol (check your pharmacy)
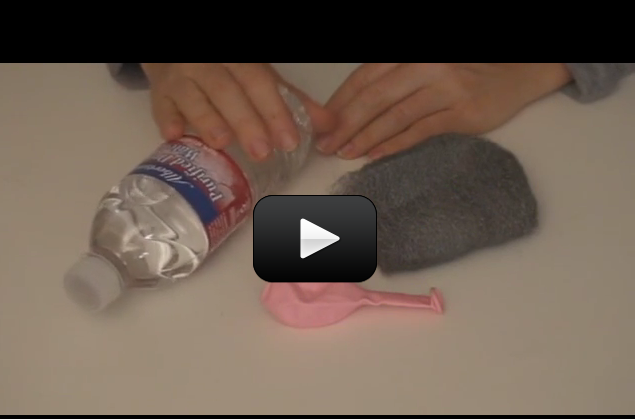
- Disposable cups (at least two - and don't use your kitchen glassware, as you'll never get it clean again)
- Popsicle sticks (again, use something disposable to stir with)
Download Student Worksheet & Exercises
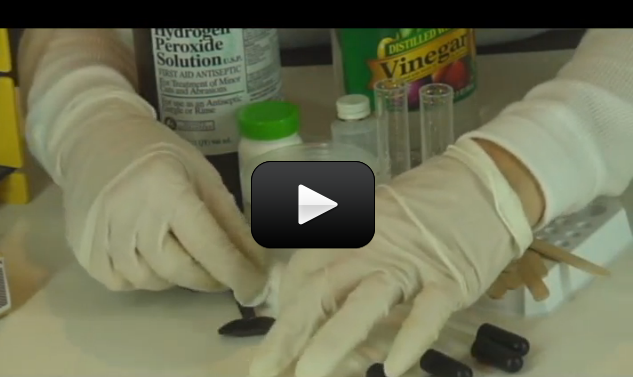
1. In one cup, measure four tablespoons of sodium silicate solution (it should be a liquid). Sodium silicate can be irritating to the skin for some people, so wear rubber gloves when doing this experiment!
2. Measure 1 tablespoon of ethyl alcohol into a second cup. Ethyl alcohol is extremely flammable—cap it and keep out of reach when not in use.
3. Pour the alcohol into the sodium silicate solution and stir with a Popsicle stick.
4. You’ll see a color change (clear to milky-white) and a state change (liquid to a solid clump.
5. Using gloves, gather up the polymer ball and firmly squeeze it in your hands.
6. Compress it into the shape you want—is it a sphere, or do you prefer a dodecahedron?
7. Bounce it!
8. Be patient when squeezing the compound together. If it breaks apart and crumbles, gather up the pieces and firmly press together.
Store your bouncy ball in a Ziploc bag!
What’s Going On?
Silicones are water repellent, so you’ll find that food dye doesn’t color your bouncy ball. You’ll find silicone in greases, oils, hydraulic fluids, and electrical insulators.
The sodium silicate is a long polymer chain of alternating silicon and oxygen atoms. When ethanol (ethyl alcohol) is added, it bridges and connects the polymer chains together by cross-linking them.
Think of a rope ladder—the wooden rungs are the cross-linking agents (the ethanol) and the two ropes are the polymer chains (sodium silicate).
Safety information for Sodium Silicate: MSDS.
Questions to Ask
1. Before the reaction, what was the sodium silicate like? Was it a solid, liquid, or gas? What color was it? Was it slippery, grainy, viscous, etc.?
2. What was the ethanol like before the reaction?
3. How is the product (the bouncy ball) different from the two chemicals in the beginning?
4. Was the bouncy ball the only molecule that was formed?
5. Was this reaction a physical or chemical change?
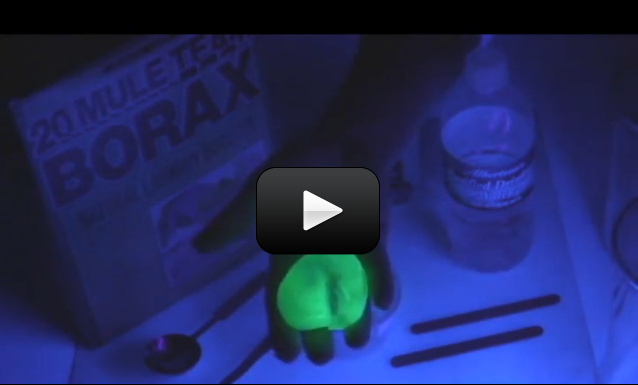
Did you know? Silly putty is actually a mixture of silicone and chalk!


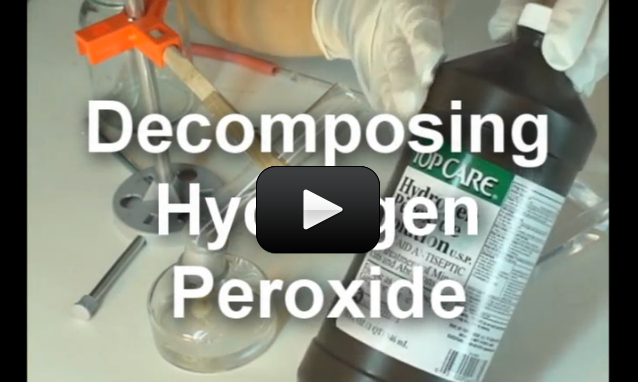
 This experiment below is for advanced students. If you’ve ever wondered why hydrogen peroxide comes in dark bottles, it’s because the liquid reacts with sunlight to decompose from H2O2 (hydrogen peroxide) into H2O (water) and O2 (oxygen). If you uncap the bottle and wait long enough, you’ll eventually get a container of water (although this takes a LOOONG time to get all of the H2O2 transformed.)
 If you’ve ever owned a fish tank, you know that you need a filter with a pump. Other than cleaning out the fish poop, why else do you need a filter? (Hint: think about a glass of water next to your bed. Does it taste different the next day?)
 I have tried for years to make whole wheat bread from scratch, but my loaves usually wound up as hockey pucks or door stops. Although my house always smelled great, my family could never choke down the crumbs of my latest creation. That’s when I enrolled in a bread-making class. Guess what I found out?
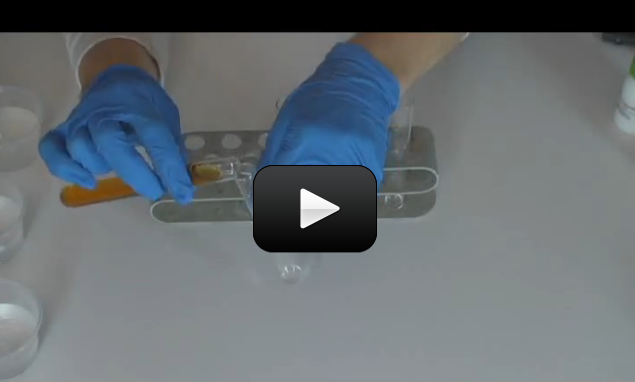
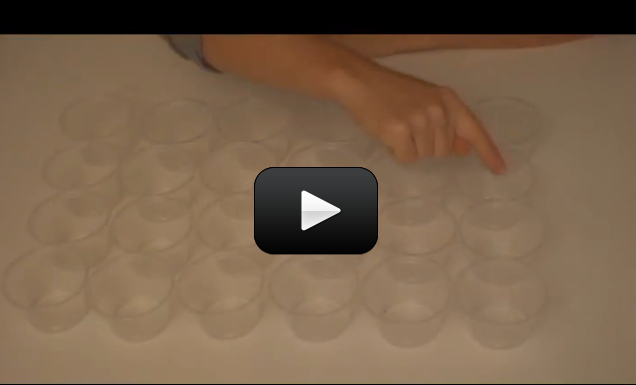
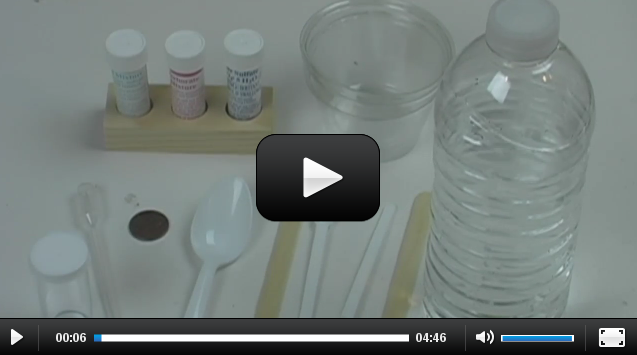
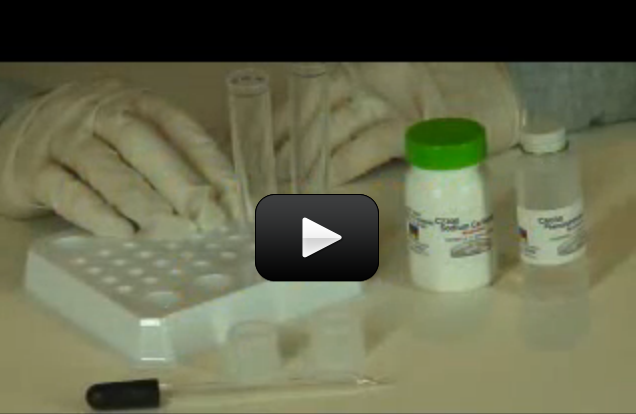
 If you love the idea of mixing up chemicals and dream of having your own mad science lab one day, this one is for you. You are going to mix up each solid with each liquid in a chemical matrix.
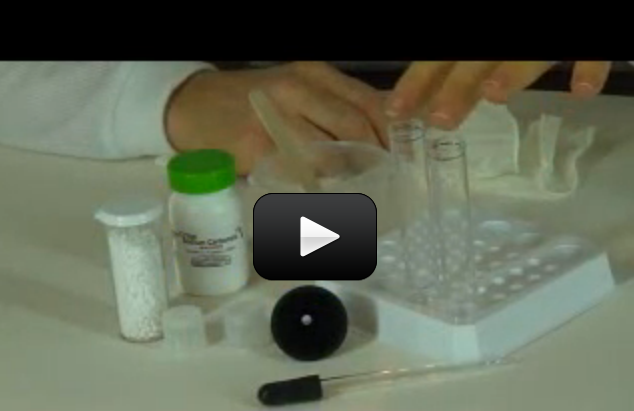
 So this is probably the last chemical in your set you haven’t used… I had to really dig into my ‘bag of tricks’ to find something suitable for you to practice with.