Sound is everywhere. It can travel through solids, liquids, and gases, but it does so at different speeds. It can rustle through trees at 770 MPH (miles per hour), echo through the ocean at 3,270 MPH, and resonate through solid rock at 8,600 MPH.
Sound is made by things vibrating back and forth, whether it’s a guitar string, drum head, or clarinet. The back and forth motion of an object (like the drum head) creates a sound wave in the air that looks a lot like a ripple in a pond after you throw a rock in. It radiates outward, vibrating it’s neighboring air molecules until they are moving around, too. This chain reaction keeps happening until it reaches your ears, where your “sound detectors” pick up the vibration and works with your brain to turn it into sound.
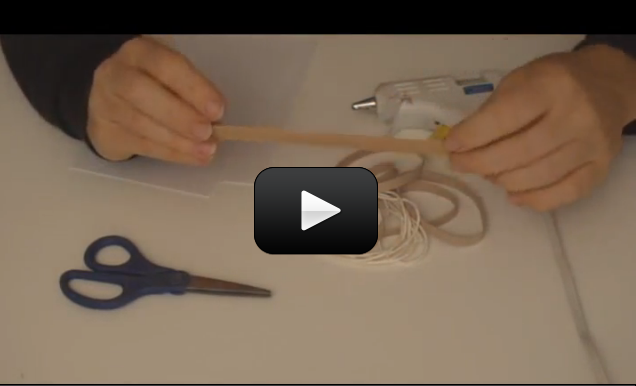
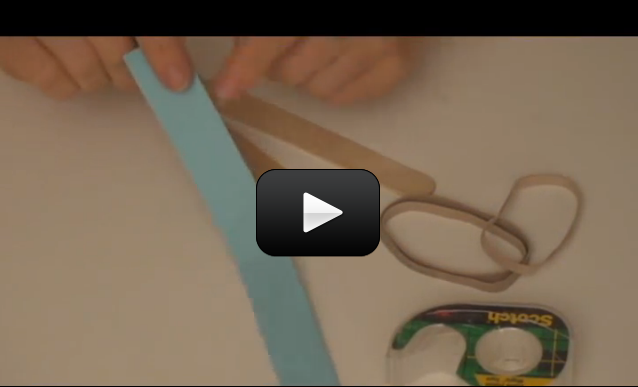
You can illustrate this principle using a guitar string – when you pluck the string, your ears pick up a sound. If you have extra rubber bands, wrap them around an open shoebox to make a shoebox guitar. You can also cut a hole in the lid (image left) and use wooden pencils to lift the rubber band off the surface of the shoebox.
Please
login or
register to read the rest of this content.

 Sound can change according to the speed at which it travels. Another word for sound speed is pitch. When the sound speed slows, the pitch lowers. With clarinet reeds, it’s high. Guitar strings can do both, as they are adjustable. If you look carefully, you can actually see the low pitch strings vibrate back and forth, but the high pitch strings move so quickly it’s hard to see. But you can detect the effects of both with your ears.
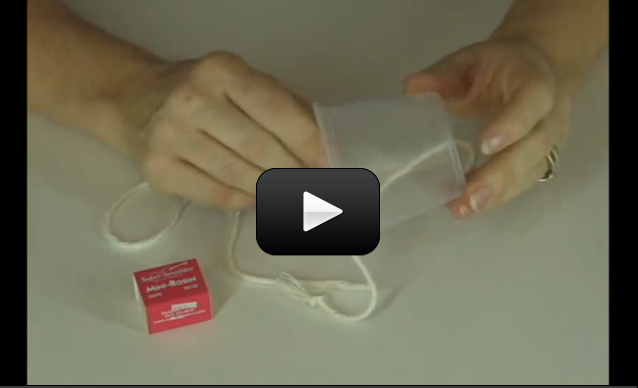
 This is the experiment that all kids know about… if you haven’t done this one already, put it on your list of fun things to do. (See the tips & tricks at the bottom for further ideas!)


 This experiment is just for advanced students. Ernst Florens Friedrich Chladni (1756-1827) is considered to be the ‘father of acoustics’. He was fascinated by vibrating things like plates and gases, and his experiments resulted in two new musical instruments to be developed.
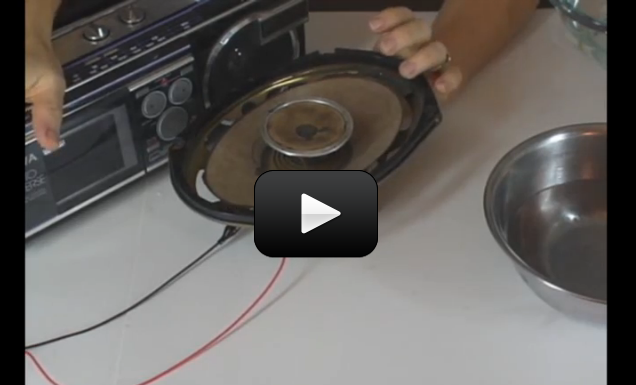
 Alexander Graham Bell developed the telegraph, microphone, and telephone back in the late 1800s. We'll be talking about electromagnetism in a later unit, but we're going to cover a few basics here so you can understand how loudspeakers transform an electrical signal into sound.