When people mention the word “hydraulics”, they could be talking about pumps, turbines, hydropower, erosion, or river channel flow. The term “hydraulics” means using
fluid power, and deals with machinesand devices that use liquids to move, lift, drive, and shove things around.
Liquids behave in certain ways: they are incompressible, meaning that you can’t pack the liquid into a tighter space than it already is occupying.

If you've ever filled a tube partway with water and moved it around, you've probably noticed that the water level will remain the same on either side of the tube.
However, if you add pressure to one end of the tube (by blowing into the tube), the water level will rise on the opposite side. If you decrease the pressure (by blowing
across the top of one side), the water level will drop on the other side.
In physics, this is defined through Pascal's law, which tells us how the pressure applied to one surface can be transmitted to the other surface. As liquids can't be squished, whatever happens on one surface affects what occurs on the other. Examples of this effect include siphons, water towers, and dams. Scuba divers know that as they dive 30 feet underwater, the pressure doubles. This effect is also show in hydraulics - and more importantly, in the project we're about to do!
But first, let's understand what's happening with liquids and pressure:
Here’s an example: If you fill a glass full to the brim with water, you reach a point where for every drop you add on top, one drop will fall out. You simply can’t squish any more water molecules into the glass without losing at least the same amount. Excavators, jacks, and the brake lines in your car use hydraulics to lift huge amounts of weight, and the liquid used to transfer the force is usually oil at 10,000 psi.
Air, however,
is compressible. When car tires are inflated, the hose shoves more and more air inside the tire, increasing the pressure (amount of air molecules in the tire). The more air you stuff into the tire, the higher the pressure rises. When machines use air to lift, move, spin, or drill, it’s called “pneumatics”. Air tools use compressed air or pure gases for pneumatic power, usually pressurized to 80-100 psi.
Different systems require either hydraulics or pneumatics. The advantage to using hydraulics lies in the fact that liquids are not compressible. Hydraulic systems minimize the “springy-ness” in a system because the liquid doesn’t absorb the energy being transferred, and the working fluids can handle much heavier loads than compressible gases. However, oil is flammable, very messy, and requires electricity to power the machines, making pneumatics the best choice for smaller applications, including air tools (to absorb excessive forces without injuring the user).
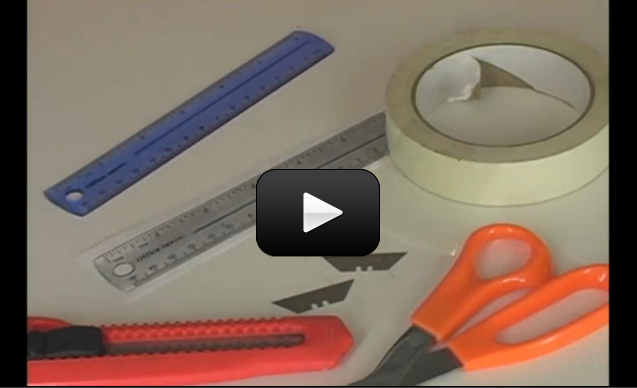
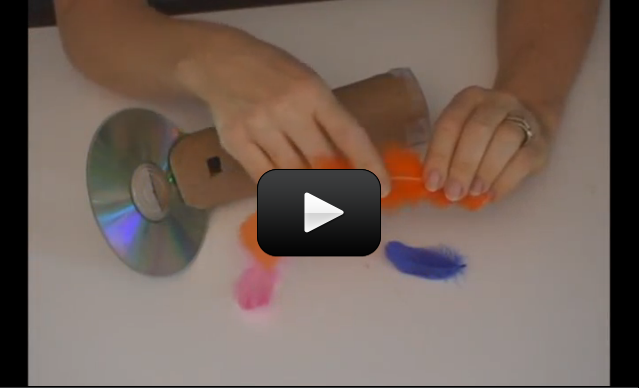
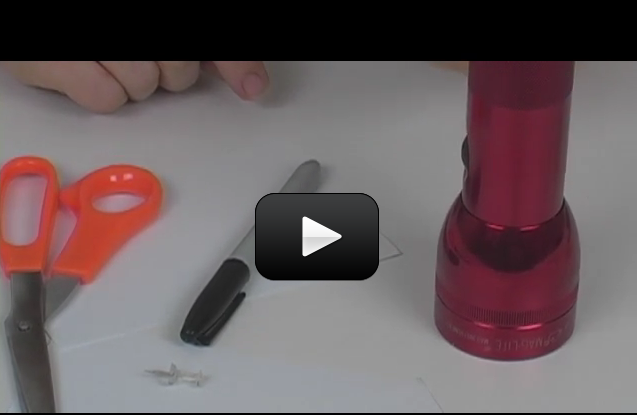
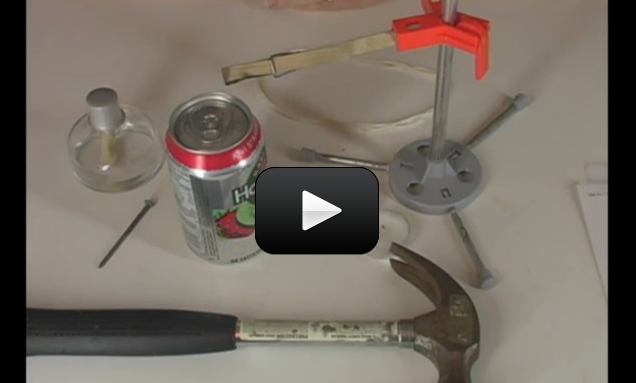
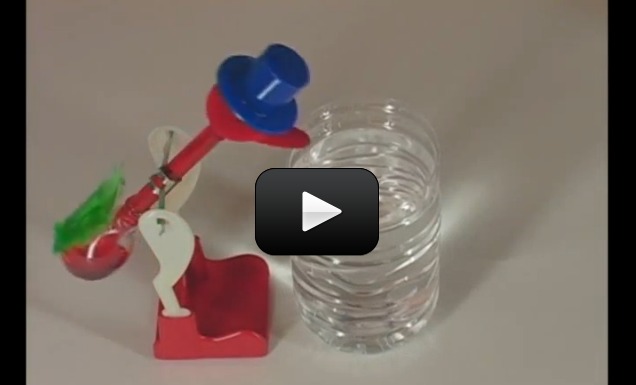
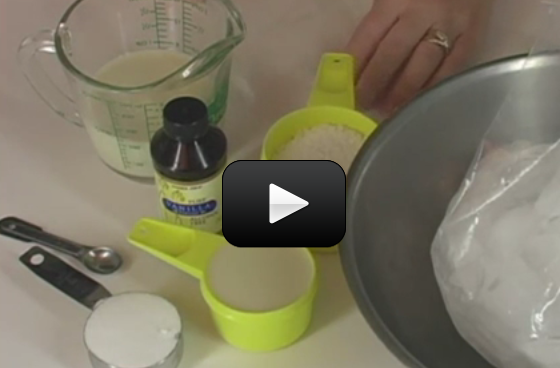
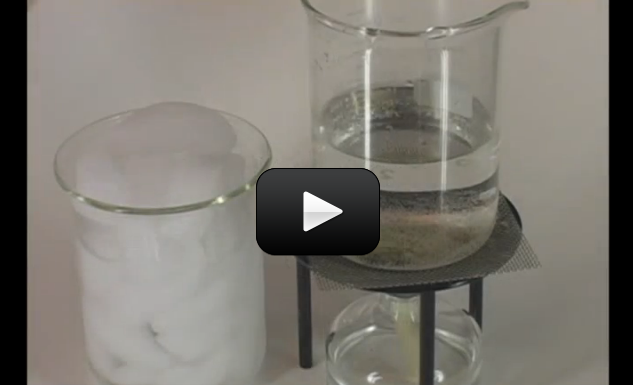
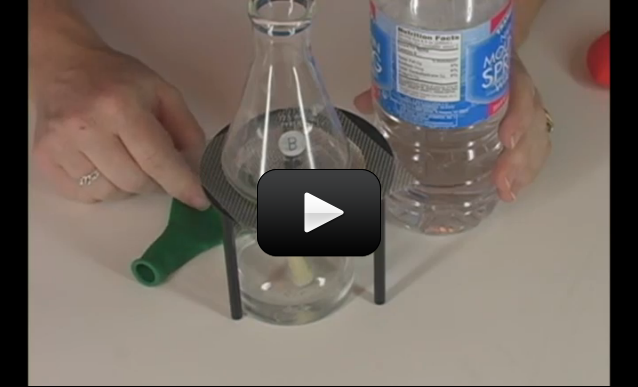
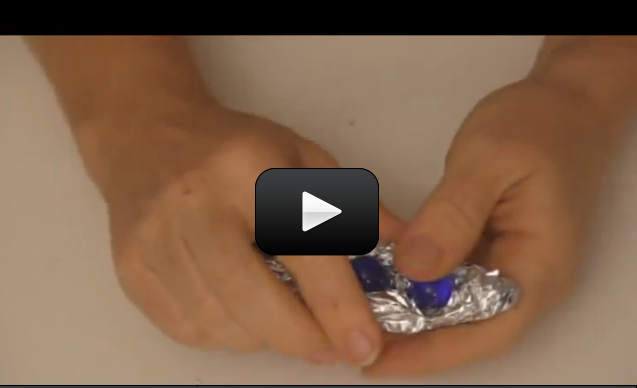
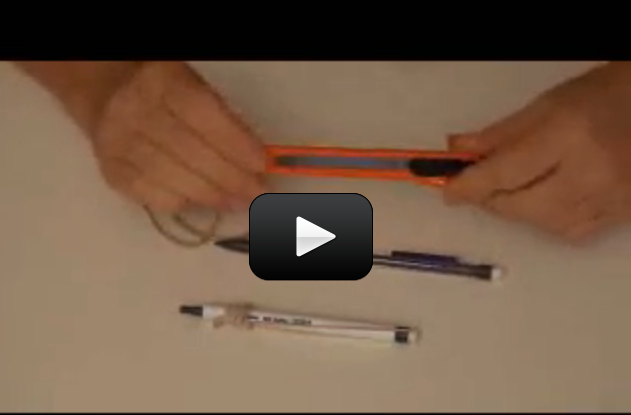
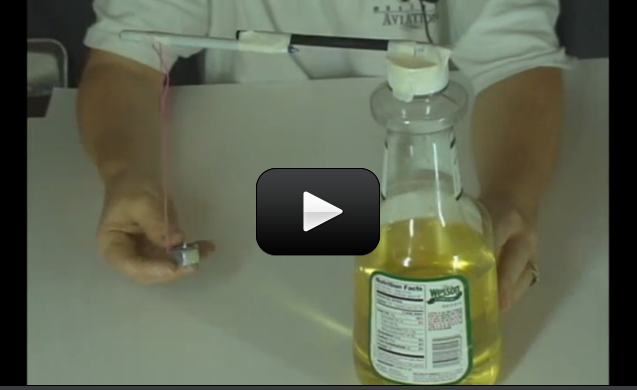
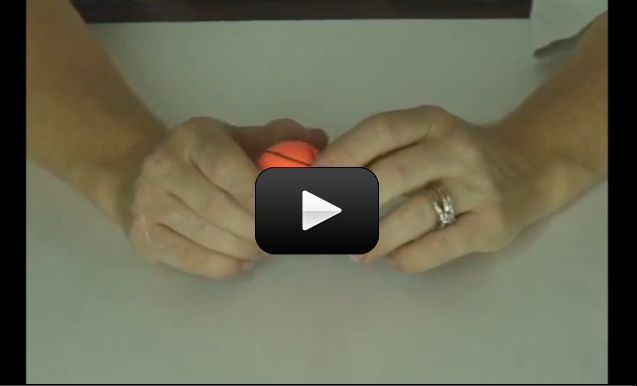
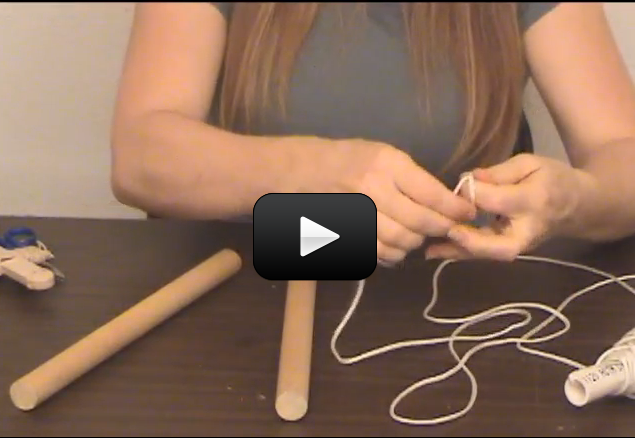
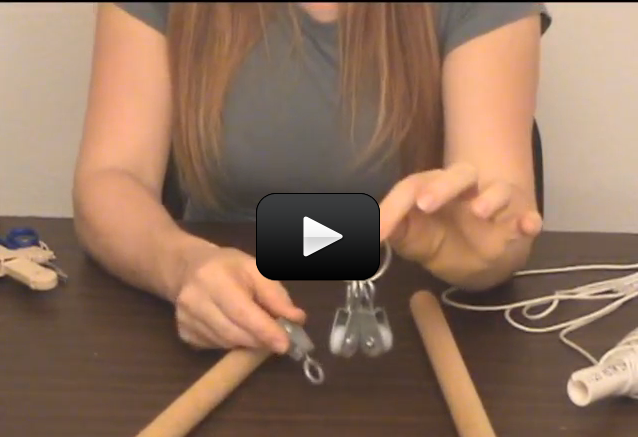
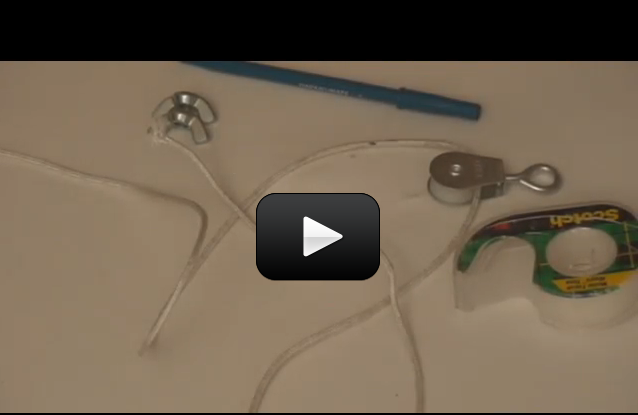
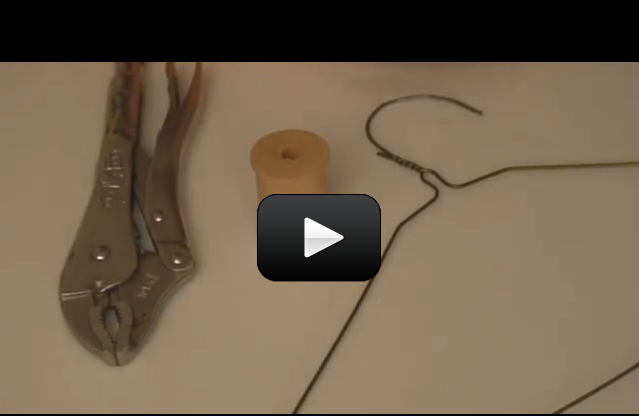
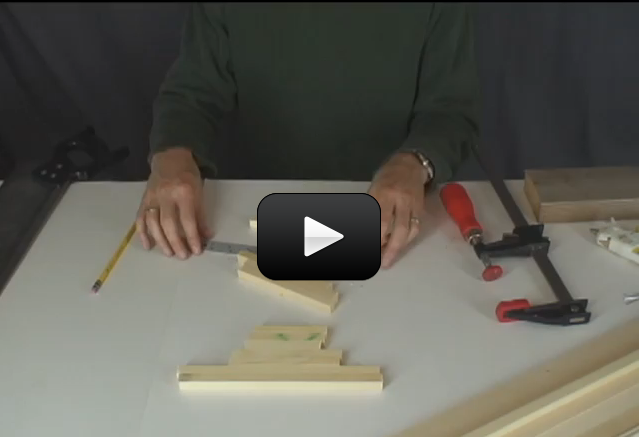
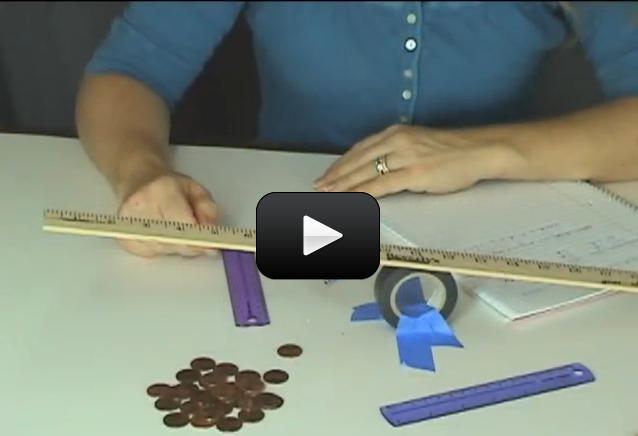
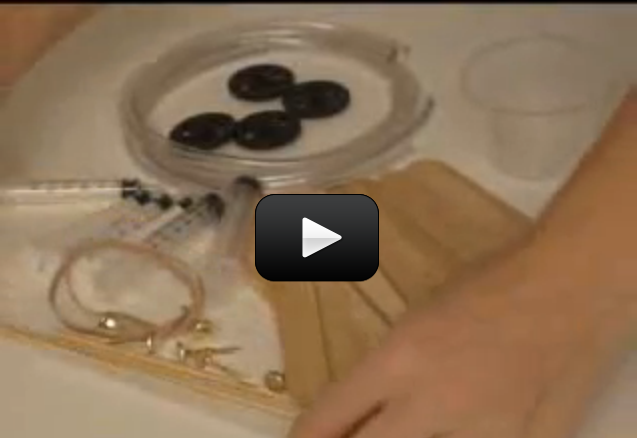
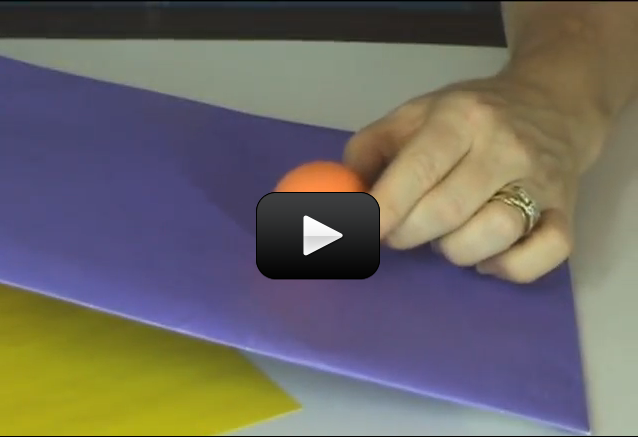
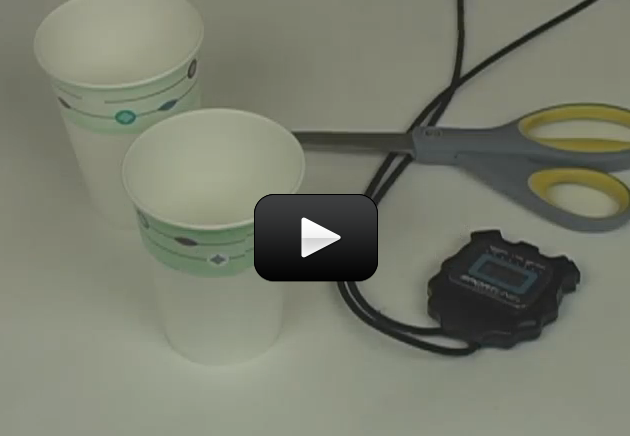
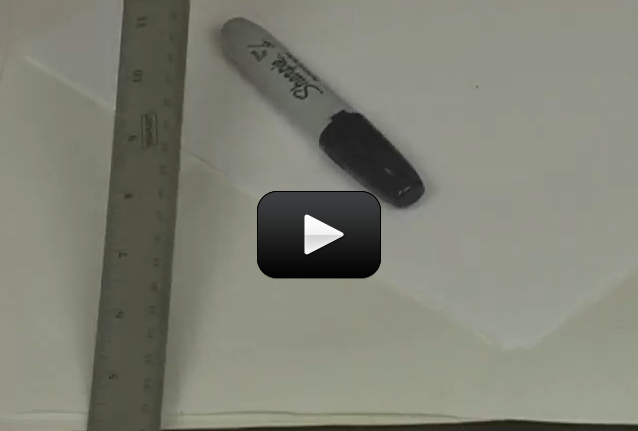
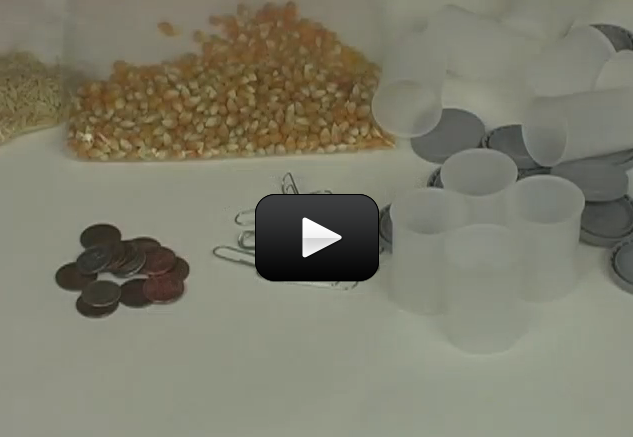
We're going to build our own hydraulic-pneumatic machine. Here's what you need to do:
Please
login or
register to read the rest of this content.


 So you've played with lenses, mirrors, and built an optical bench. Want to make a real telescope? In this experiment, you'll build a Newtonian and a refractor telescope using your
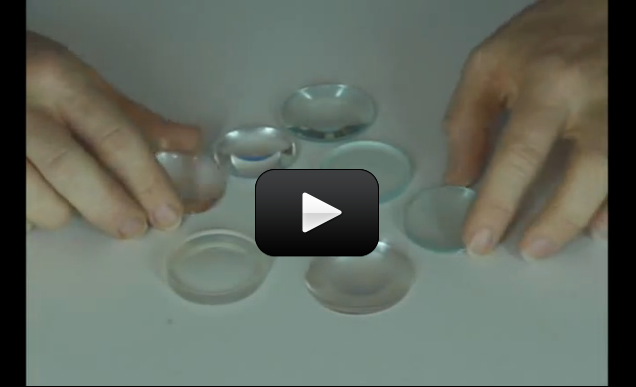
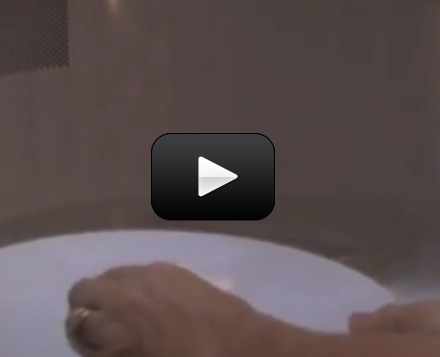
 An optical table gives you a solid surface to work on and nails down your parts so they don’t move. This is an image taken with Schlieren photography. This technique picks up the changes in air density (which is a measure of pressure and volume).
 It just so happens that the Sun’s diameter is about 400 times larger than the Moon, but the Moon is 400 times closer than the Sun. This makes the Sun and Moon appear to be about the same size in the sky as viewed from Earth. This is also why the eclipse thing is such a big deal for our planet. You’re about to make your own eclipses as you learn about syzygy.
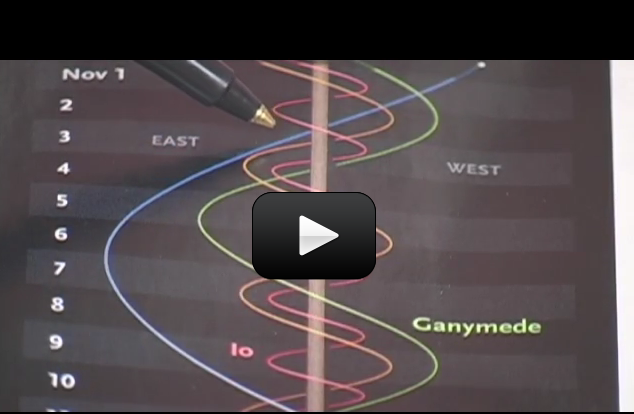

 If you watch the moon, you’d notice that it rises in the east and sets in the west. This direction is called ‘prograde motion’. The stars, sun, and moon all follow the same prograde motion, meaning that they all move across the sky in the same direction.

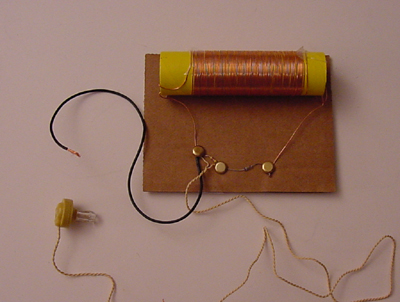
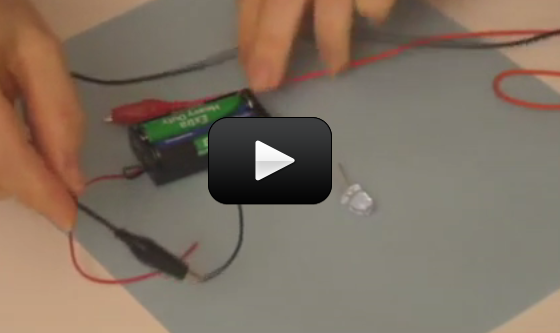
 In addition to laser experiments, I thought you’d like to learn how to pick up sound that’s traveling on a light wave. A crystal radio is among the simplest of radio receivers – there’s no battery or power source, and nearly no moving parts. The source of power comes directly from the radio waves (which is a low-power, low frequency light wave) themselves.
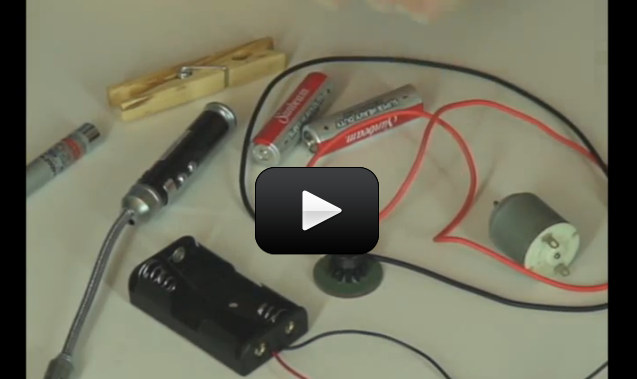
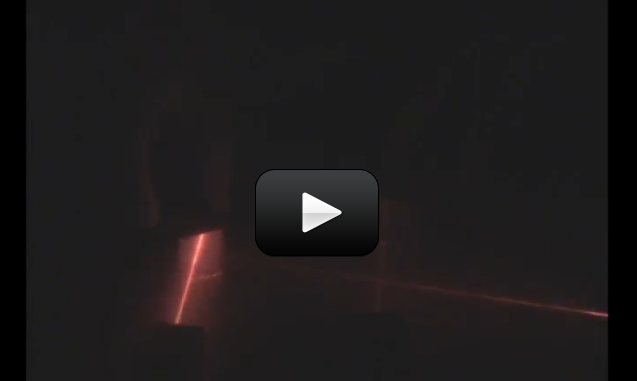
 What happens when you shine a laser beam onto a spinning mirror? In the
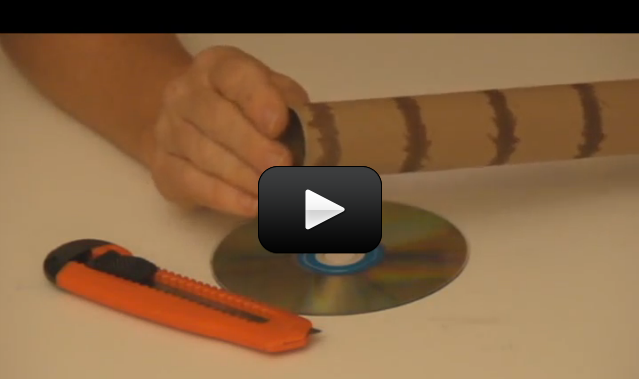
 Spectrometers are used in chemistry and astronomy to measure light. In astronomy, we can find out about distant stars without ever traveling to them, because we can split the incoming light from the stars into their colors (or energies) and “read” what they are made up of (what gases they are burning) and thus determine their what they are made of. In this experiment, you’ll make a simple cardboard spectrometer that will be able to detect all kinds of interesting things!
 When you warm up leftovers, have you ever wondered why the microwave heats the food and not the plate? (Well, some plates, anyway.) It has to do with the way microwaves work.


 This experiment is for Advanced Students. For ages, people have been hurling rocks, sticks, and other objects through the air. The trebuchet came around during the Middle Ages as a way to break through the massive defenses of castles and cities. It’s basically a gigantic sling that uses a lever arm to quickly speed up the rocks before letting go. A trebuchet is typically more accurate than a catapult, and won’t knock your kid’s teeth out while they try to load it.


 Although urine is sterile, it has hundreds of different kinds of wastes from the body. All sorts of things affect what is in your urine, including last night’s dinner, how much water you drink, what you do for exercise, and how well your kidneys work in the first place. This experiment will show you how the kidneys work to keep your body in top shape.
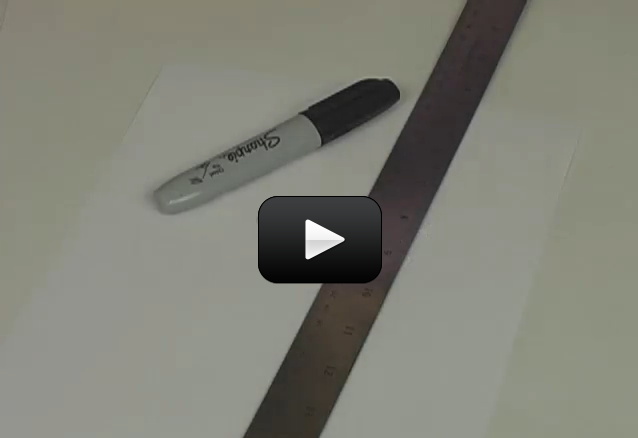