When I was in grad school, I needed to use an optical bench to see invisible things. I was trying to ‘see’ the exhaust from a new kind of F15 engine, because the aircraft acting the way it shouldn’t – when the pilot turned the controls 20o left, the plane only went 10o. My team had traced the problem to an issue with the shock waves, and it was my job to figure out what the trouble was. (Anytime shock waves appear, there’s an energy loss.)
Since shock waves are invisible to the human eye, I had to find a way to make them visible so we could get a better look at what was going on. It was like trying to see the smoke generated by a candle – you know it’s there, but you just can’t see it. I wound up using a special type of photography called Schlieren.
 An optical table gives you a solid surface to work on and nails down your parts so they don’t move. This is an image taken with Schlieren photography. This technique picks up the changes in air density (which is a measure of pressure and volume).
The air above a candle heats up and expands (increases volume), floating upwards as you see here. The Schlieren technique shines a super-bright xenon arc lamp beam of light through the candle area, bounces it off two parabolic mirrors and passes it through a razor-edge slit and a neutral density filter before reaching the camera lens. With so many parts, I needed space to bolt things down EXACTLY where I wanted them. The razor slit, for example, just couldn’t be anywhere along the beam – it had to be right at the exact point where the beam was focused down to a point.
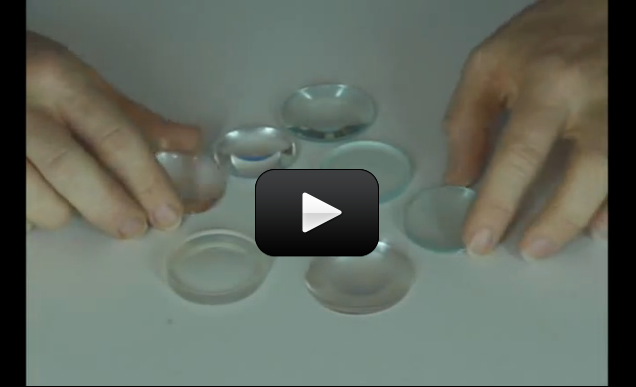
I’m going to show you how to make a quick and easy optical lab bench to work with your lenses. Scientists use optical benches when they design microscopes, telescopes, and other optical equipment. You’ll need a bright light source like a flashlight or a sunny window, although this bench is so light and portable that you can move it to garage and use a car headlight if you really want to get creative. Once your bench is set up, you can easily switch out filters, lenses, and slits to find the best combination for your optical designs. Technically, our setup is called an optical rail, and the neat thing about it is that it comes with a handy measuring device so you can see where the focal points are for your lenses. Let’s get started:
Please login or register to read the rest of this content.
It is both, depending on what the situation is.
So light is a wave? How come everyone says they don’t know if it’s a wave or a particle? Or both?