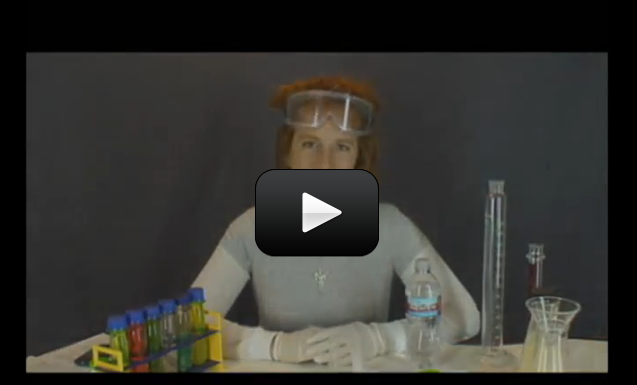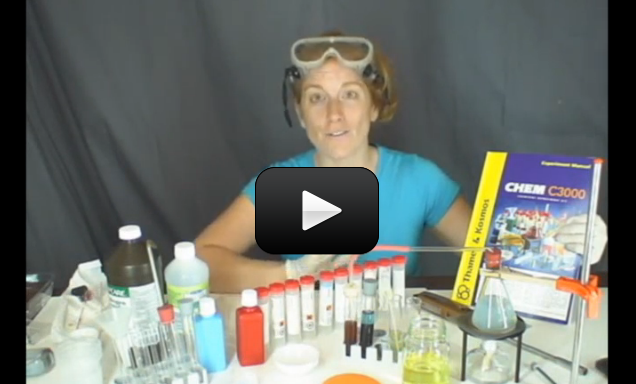
This is a recording of a recent live teleclass I did with thousands of kids from all over the world. I've included it here so you can participate and learn, too!
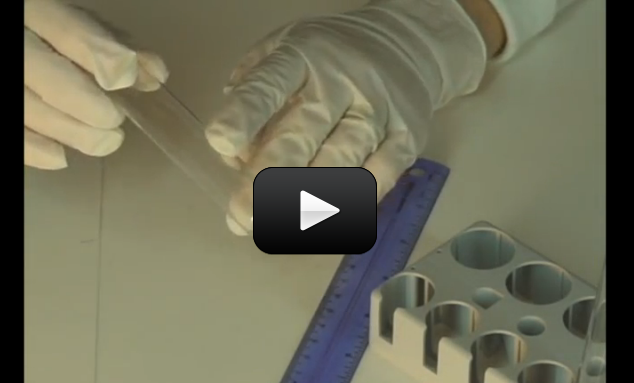
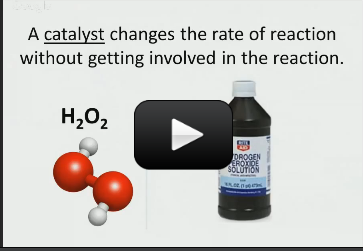
We’re going to be mixing up dinosaur toothpaste, doing experiments with catalysts, discovering the 5 states of matter, and building your own chemistry lab station as we cover chemical kinetics, phase shifts, the states of matter, atoms, molecules, elements, chemical reactions, and much more. We’re also going to turn liquid polymers into glowing putty so you can amaze your friends when it totally glows in the dark. AND make liquids freeze by heating them up (no kidding) using a scientific principle called supercooling,
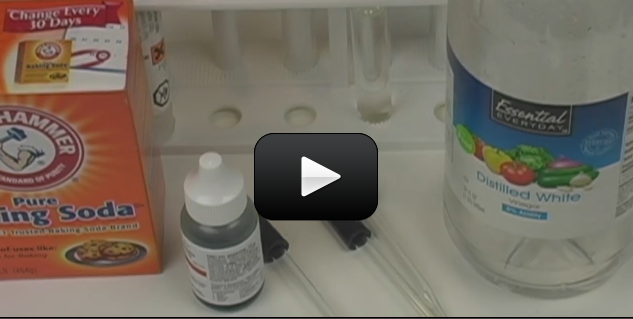
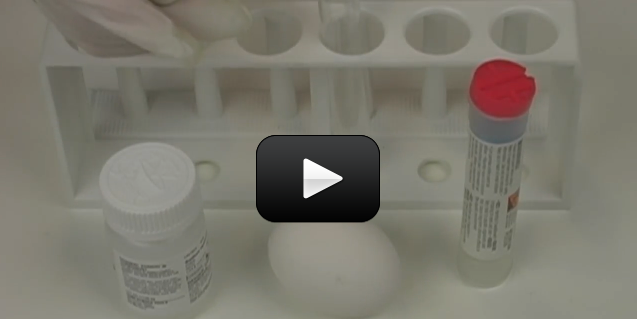
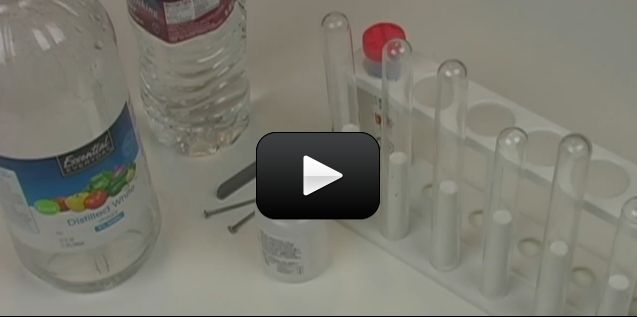
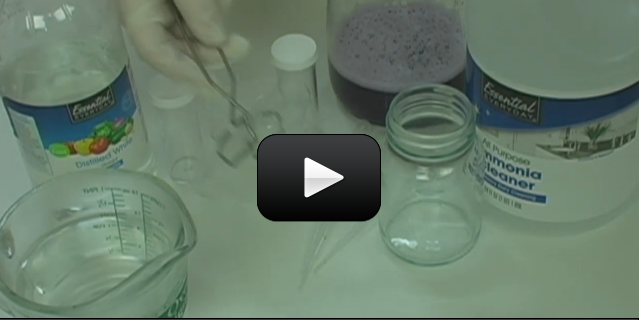
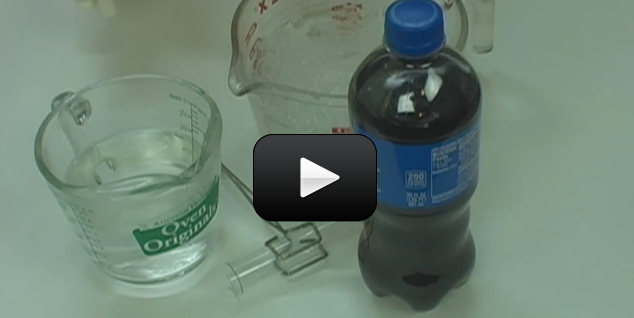
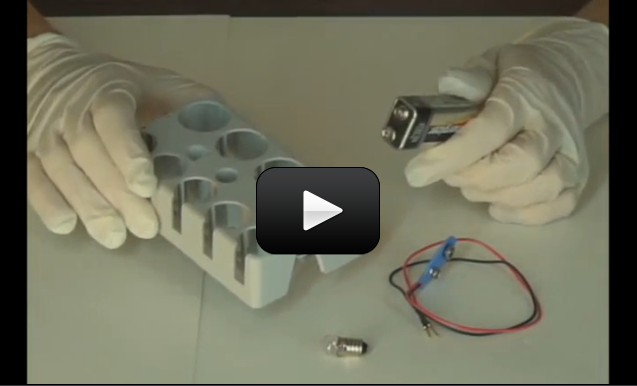
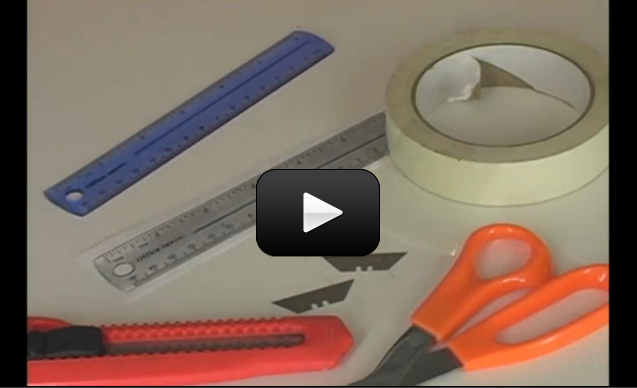
Materials:
We’re going to be mixing up dinosaur toothpaste, doing experiments with catalysts, discovering the 5 states of matter, and building your own chemistry lab station as we cover chemical kinetics, phase shifts, the states of matter, atoms, molecules, elements, chemical reactions, and much more. We’re also going to turn liquid polymers into glowing putty so you can amaze your friends when it totally glows in the dark. AND make liquids freeze by heating them up (no kidding) using a scientific principle called supercooling,
Materials:
- Chemistry Worksheet
- Aluminum pie plate
- Bowl
- Clear glue or white glue
- Disposable cups
- Goggles & gloves
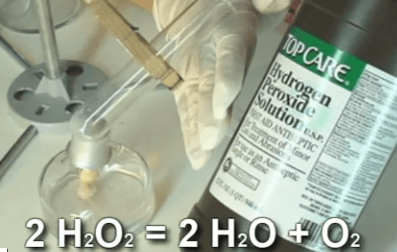
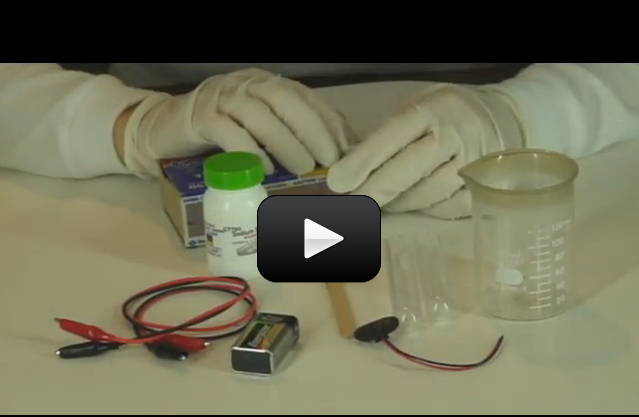
- Hydrogen peroxide
- OPTIONAL: Instant reusable hand warmer (containing sodium acetate )
- Liquid soap
- Popsicle sticks
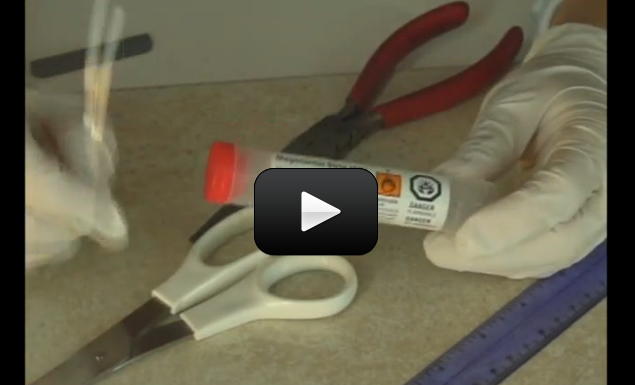
- Scissors or pliers
- Sodium tetraborate (also called “Borax”)
- Water bottle
- Yeast
- Yellow highlighter
- Optional: If you want to see your experiments glow in the dark, you'll need a fluorescent UV black light (about $10 from the pet store - look in cleaning supplies under "Urine-Off" for a fluorescent UV light). UV flashlights and UV LEDs will not work.