Let’s see how much you’ve picked up with these experiments and the reading – answer as best as you can. (No peeking at the answers until you’re done!) You can also print these out and jot down your answers in your science notebook.


Click here for a printer-friendly version of the exercises and answers for Unit 14.


[am4show have=’p9;p51;’ guest_error=’Guest error message’ user_error=’User error message’ ]


1. What is a momentary contact switch?


2. What is an LED?


3. What is a piezo buzzer?


4. What is a relay?


5. What is a meter?


6. What is a potentiometer?


7. What is a photoresistor?


8. What is a 555 timer?


9. Using the formula R = V / I calculate the resistance value of a circuit with 12 volts and 1 amp of current.


10. Using the formula I = V / R, calculate the current a circuit is using with 12 volts and 100 ohms of resistance.


11. Using the formula E = I * R, calculate the voltage of a circuit that has a resistance of 100 ohms and is using 150 milliamps of current.


12. What happens if we connect an LED’s anode to ground and the cathode to positive voltage?


13. Why do we use a transformer in the audio experiments using the speaker?


14. What is a voltage divider?


15. What is a seven segment display?


16. What are the two types of transistors?


17. Why do we use transistors in electronics?


18. What is a voltage regulator?


19. What is the full name of an Op-Amp?


20. What does an Op-Amp do?


21. What is a bargraph?


[/am4show]


Let’s see how you did! If you didn’t get a few of these, don’t let it stress you out – it just means you need to play with more experiments in this area. We’re all works in progress, and we have our entire lifetime to puzzle together the mysteries of the universe!


Answers:
[am4show have=’p9;p51;’ guest_error=’Guest error message’ user_error=’User error message’ ]
1. What is a momentary contact switch?
A switch that is only closed while being pressed.


2. What is an LED?
A diode that emits light.


3. What is a piezo buzzer?
A buzzer that converts electricity into sound.


4. What is a relay?
A device that turns on a secondary circuit when the primary circuits activates the relay.


5. What is a meter?
A device that is used to display electrical information so people can visualize the information.


6. What is a potentiometer?
An electrical device that can either divide a voltage and produce a variable voltage output or act as a variable resistor.


7. What is a photoresistor?
A photoresistor that varies its internal resistance based on the amount of light hitting the photoresistor’s sensor.


8. What is a 555 timer?
A integrated circuit that can be configured to produce a wide range of output frequencies.


9. Using the formula R = V / I calculate the resistance value of a circuit with 12 volts and 1 amp of current.
We know that the voltage is 12 volts and the current is 1 amp. So we divide 12 by 1 and that gives us the answer: 12. So the resistance is 12 Ohms. (12 = 12 / 1)


10. Using the formula I = V / R, calculate the current a circuit is using with 12 volts and 100 ohms of resistance.
We know that the voltage is 12 volts and the resistance is 100 ohms, so we divide 12 by 100 and that gives us the answer: 0.12, so the current is 0.12 Amps (0.12 = 12 / 100)


11. Using the formula E = I * R, calculate the voltage of a circuit that has a resistance of 100 ohms and is using 150 milliamps of current.
We know that the current is .15 amps and the resistance is 100 ohms. So we multiply .15 times 100 and that gives us the answer: 15, so the voltage is 15 volts (15 = .15 / 100)


12. What happens if we connect an LED’s anode to ground and the cathode to positive voltage?
Nothing, the LED will block the flow of current and it will remain off.


13. Why do we use a transformer in the audio experiments using the speaker?
To protect the circuit from excessive current draw, which can and probably will damage components.


14. What is a voltage divider?
A circuit that uses an electronic component (Resistors, Diodes, LEDs) to divide a voltage to a safe level for more sensitive electronic components.


15. What is a seven segment display?
A display that uses 7 LEDs to represent numbers and letters that people can understand.


16. What are the two types of transistors?
NPN (Negative-Positive-Negative) and PNP (Positive-Negative-Positive)


17. Why do we use transistors in electronics?
To protect low current circuits from other circuits that need higher current to operate. And also to amplify signals for devices that need higher strength to operate properly.


18. What is a voltage regulator?
A integrated circuit that takes a higher voltage and reduces it to a set lower voltage. The 7805 voltage regulator in your kit provides a constant 5 volts output from a source voltage of 6 volts to as high as 35 volts.


19. What is the full name of an Op-Amp?
Operational Amplifier


20. What does an Op-Amp do?
Amplifies an input signal for a electronic device or circuit that requires more power.


21. What is a bargraph?
A group of LEDs that are tied together to represent electrical information visually.


[/am4show]


In this experiment you’ll learn how to use the one of the Learning Lab’s push button swtiches to turn on the buzzer, then we’ll add in the DPDT (Double Throw Double Pole) switch to see how two switches can be used to control the buzzer.


[am4show have=’p9;p51;p103;p108;’ guest_error=’Guest error message’ user_error=’User error message’ ]


[/am4show]


LEDs are a lot of fun, and in this experiment we’ll use the DPDT (Double Throw Double Pole) to turn on the buzzer and light up the LED while using a different voltage to control both of them.


[am4show have=’p9;p51;p103;p108;’ guest_error=’Guest error message’ user_error=’User error message’ ]


[/am4show]


Did you know that the DPDT (Double Throw Double Pole) switch can control up to four different devices? In this experiment we’ll see how the DPDT switch can be used to control multiple devices at the same time!


[am4show have=’p9;p51;p103;p108;’ guest_error=’Guest error message’ user_error=’User error message’ ]


[/am4show]


Switches are a lot of fun, they allow us to control when a circuit is on and when it’s off. In this experiment we’ll see how two switches can be connected in series to control when a single device is on or off.


[am4show have=’p9;p51;p103;p108;p58;’ guest_error=’Guest error message’ user_error=’User error message’ ]


We’ve seen how switches can be used to turn stuff on and off, now let’s take a look at how a switch in different locations can turn the same thing on or off. A lot like a doorbell with a button at the front door and a button at the back door.


[am4show have=’p9;p51;p103;p108;p58;’ guest_error=’Guest error message’ user_error=’User error message’ ]


[/am4show]


Relays are really neat, they help us control high power circuits with low power circuits. In this experiment you’ll get to use the normally off contacts of the relay to control the buzzer using a switch.


[am4show have=’p9;p51;p103;p108;’ guest_error=’Guest error message’ user_error=’User error message’ ]


[/am4show]


Did you know the relay also has normally closed contact as well? In this experiment we’ll see how these contacts differ from the normally open contact with the learning lab’s buzzer.


[am4show have=’p9;p51;p103;p108;’ guest_error=’Guest error message’ user_error=’User error message’ ]


[/am4show]


We’ve seen how we can use the really to control the buzzer, now let’s use the relay as a buzzer! In this experiment we’ll see how to connect the relay to work as a buzzer. However, be careful the relay isn’t really designed to work like this for very long, but it’s okay for a short demonstration.


[am4show have=’p9;p51;p103;p108;’ guest_error=’Guest error message’ user_error=’User error message’ ]


[/am4show]


Seeing electricity turn things on and off is a lot of fun, but we also need to have methods to see what’s going on in the circuit. What good is an alarm clock with numbers? Or a clock with no hands? In this experiment we’ll see how to use the learning lab’s meter to tell us what a circuit is doing.


[am4show have=’p9;p51;p103;p108;’ guest_error=’Guest error message’ user_error=’User error message’ ]


[/am4show]


Now it’s time to learn about voltage dividers and in this experiment we’ll build one and use the meter to see what voltage the divider is supplying to the circuit.


[am4show have=’p9;p51;p103;p108;’ guest_error=’Guest error message’ user_error=’User error message’ ]


[/am4show]


Yeah, it’s time to get back to some LED magic. In this experiment we’ll build an LED brightness control. We’ll be able to see the LED light up just a little or a whole lot.


[am4show have=’p9;p51;p103;p108;’ guest_error=’Guest error message’ user_error=’User error message’ ]


[/am4show]


Photoresistors are a lot of fun, the can turn a circuit on or off based on how much light is getting to them. In this experiment we’ll see how a photoresistor can be used to turn an LED on or off.


[am4show have=’p9;p51;p103;p108;’ guest_error=’Guest error message’ user_error=’User error message’ ]


[/am4show]


Wow, now it’s time to really get deeper into electronics and use our first IC in a circuit. IC stands for integrated circuit and the one we’ll be using is a legend in the electronics community. We are going to use a 555 timer to build an LED flasher!


[am4show have=’p9;p51;p103;p108;’ guest_error=’Guest error message’ user_error=’User error message’ ]


[/am4show]


Ready to make some noise? We are going to build a “black box” test circuit using the 555 timer. A black box is a circuit that’s there when you need it, and in this one we will build it to produce a tone for us when we need it. Trust me, this one is a lot of fun.


[am4show have=’p9;p51;p103;p108;’ guest_error=’Guest error message’ user_error=’User error message’ ]


[/am4show]


Our black box test circuit is capable of generating a lot of different sounds. In this experiment let’s take a look at how we can use resistors to generate different tones from our black box!


[am4show have=’p9;p51;p103;p108;’ guest_error=’Guest error message’ user_error=’User error message’ ]


[/am4show]


Really ready to hear some weird sounds from the black box test circuit? Well, in this experiment we’ll modify the black box to use the photoresistor to generate sounds with our black box, and trust me, you won’t want to miss this one!


[am4show have=’p9;p51;p103;p108;’ guest_error=’Guest error message’ user_error=’User error message’ ]


[/am4show]


Let’s change the tone up a little bit using a voltage divider. In this experiment we’ll see how we can use a variable resistor, a potentiometer, to control the tone frequency from the black box.


[am4show have=’p9;p51;p103;p108;’ guest_error=’Guest error message’ user_error=’User error message’ ]


[/am4show]


In this black box experiment let’s use the photoresistor to reduce the tone frequency our black box generates. And, if you remember from a previous experiment the photoresistor can help us make some really wild sounds!


[am4show have=’p9;p51;p103;p108;’ guest_error=’Guest error message’ user_error=’User error message’ ]


[/am4show]


Wow, we’ve had a lot of fun making strange sounds from the black box. Now, let’s try something a little different. In this experiment we’ll setup three push button switches to generate tones for us, with each switch giving us a different tone.


[am4show have=’p9;p51;p103;p108;’ guest_error=’Guest error message’ user_error=’User error message’ ]


[/am4show]


Making weird sounds from the buzzer is a lot of fun, so let’s do some more! In this experiment we’ll use a capacitor to make the buzzer “chirp” for us! And then we’ll switch things up a bit and make the buzzer “warbler”.


[am4show have=’p9;p51;p103;p108;’ guest_error=’Guest error message’ user_error=’User error message’ ]


[/am4show]


The black box test circuit has been a lot of fun, and this next experiment is going to be a noisy one, too! In this experiment we’ll setup our black box test circuit to generate either a rising tone or a falling tone using two capacitors and two push button swtiches.


[am4show have=’p9;p51;p103;p108;’ guest_error=’Guest error message’ user_error=’User error message’ ]


[/am4show]


Time for some more keyboard action with the “black box”, in this experiment we’ll create a keyboard that will allow us to control the tone frequency of our black box. This experiment is neat since you can use the keyboard to generate up to nine different tones.


[am4show have=’p9;p51;p103;p108;’ guest_error=’Guest error message’ user_error=’User error message’ ]


[/am4show]


We’ve had a ton of fun making a whole lot of different sounds with our black box test circuit. Now, let’s get more specific and make a space gun sound effect with the black box!


[am4show have=’p9;p51;p103;p108;’ guest_error=’Guest error message’ user_error=’User error message’ ]


[/am4show]


We can do even more sound effects with the black box and we’ve had a lot of fun doing it. Now, it’s time to create another sound effect and this time we’ll make a siren using the black box test circuit and a few other components.


[am4show have=’p9;p51;p103;p108;’ guest_error=’Guest error message’ user_error=’User error message’ ]


[/am4show]


I just love LEDs, they are fun to look at and provide useful purpose of communicating information from the circuit to us humans. Your learning lab also has a seven segment display built in, so let’s take a look at this and see how it works.


[am4show have=’p9;p51;p103;p108;’ guest_error=’Guest error message’ user_error=’User error message’ ]


[/am4show]


Did you know that the seven segment display can create a whole lot of different symbols and characters? In this experiment we’ll make a small square on the seven segment display and get a better feel for what the display can do!


[am4show have=’p9;p51;p103;p108;’ guest_error=’Guest error message’ user_error=’User error message’ ]


[/am4show]


Transistors are powerful electronic components that help us control a circuit. You can think of a transistor as an electronic switch. And, in this experiment we’ll see how a NPN (negative, positive, negative) transistor works and how to use them.


[am4show have=’p9;p51;p103;p108;’ guest_error=’Guest error message’ user_error=’User error message’ ]


[/am4show]


Did you know a transistor can be only partially on? Well, in this experiment we take a look at turning a NPN transistor only partially on to light an LED. We’ll be using a potentiometer to control the transistor and be able to adjust when the transistor is off, to partially on, to full on.


[am4show have=’p9;p51;p103;p108;’ guest_error=’Guest error message’ user_error=’User error message’ ]


[/am4show]


Electronic devices can either use a little bit of power or a whole lot of power. Think of your microwave, it uses a lot of power, but a lamp only uses a little bit of power. We use relays to allow low power circuits to control more powerful circuits. And, in this experiment we’ll use a NPN transistor to turn on the relay, which in turn will operate the buzzer.


[am4show have=’p9;p51;p103;p108;’ guest_error=’Guest error message’ user_error=’User error message’ ]


[/am4show]


Time to make more noise! In this experiment we are going to use two transistors to make an oscillator. An oscillator is a circuit that generates a frequency, a pulse of signals, and we’ll use the oscillator to drive the speaker. You’ll be able to hear the pulse our oscillator generates as a tone from the speaker.


[am4show have=’p9;p51;p103;p108;’ guest_error=’Guest error message’ user_error=’User error message’ ]


[/am4show]


Resistors are a very important part of electronics, in fact without them we wouldn’t even have electronics. Resistors help us control the flow of current through a circuit and protect components from being damaged. This video talks about what resistors are, how to read them, and how to use them.


[am4show have=’p9;p51;p103;p108;p58;’ guest_error=’Guest error message’ user_error=’User error message’ ]


[/am4show]


When you wire up a circuit, it may not work right away. But don’t worry, even experience engineers face this problem, sometimes we don’t get it right the first time either! This video covers some basic steps you can take to track down problems and fix them.


[am4show have=’p9;p51;p103;p108;’ guest_error=’Guest error message’ user_error=’User error message’ ]


[/am4show]


Let’s have some more audio fun. In this experiment we are going to build a two transistor audio amplifier using two NPN transistors. We’ll be able to use the earphone as a microphone and listen in on just about anything.


[am4show have=’p9;p51;p103;p108;’ guest_error=’Guest error message’ user_error=’User error message’ ]


[/am4show]


Let’s take a look at a new electronic component, the Power MOSFET. Now, we don’t have to call them “MOSFET” all the time, we can just call them “FET” and most people do. A FET is a lot like a transistor, but works a bit differently and in this experiment we’ll take a look at a FET and learn about them and how to use them.


[am4show have=’p9;p51;p103;p108;’ guest_error=’Guest error message’ user_error=’User error message’ ]


[/am4show]


Now it’s time to have some fun with timers. And in this experiment we’ll be using a power MOSFET and a timer circuit to control how long an LED stays lit.


[am4show have=’p9;p51;p103;p108;’ guest_error=’Guest error message’ user_error=’User error message’ ]


[/am4show]


Now that we’ve made a timer using an LED, let’s change the circuit up a bit and use the timer to control the buzzer. More noise, yeah!


[am4show have=’p9;p51;p103;p108;’ guest_error=’Guest error message’ user_error=’User error message’ ]


[/am4show]


Let’s take a moment and get a better understanding of the analog ICs included with your project learning lab. In this video we’ll take a look at those different ICs and get a better understanding of what they are, what they do, and how to use them.


[am4show have=’p9;p51;p103;p108;’ guest_error=’Guest error message’ user_error=’User error message’ ]


[/am4show]


Now it’s time to listen in on some ants! Yes, I said ants! In this experiment we’ll be using two Operational Amplifiers, Op Amp for short, to build a super sensitive audio amplifier. This amplifier is so sensitive it can pick up very low sounds and amplify them so we can hear what’s going on.


[am4show have=’p9;p51;p103;p108;’ guest_error=’Guest error message’ user_error=’User error message’ ]


[/am4show]


But there’s no LED, and you know I love LEDs, so let’s add an LED to the super sensitive audio amplifier to include an LED. And, we’ll use the LED to indicate how strong the signal the microphone (earphone) is picking up.


[am4show have=’p9;p51;p103;p108;’ guest_error=’Guest error message’ user_error=’User error message’ ]


[/am4show]


Well, maybe not. The LED is nice and all, but it doesn’t really give us a good feeling for the strength of the signal. So, let’s change the circuit to use the meter instead. This will give us a better visual indicator of the signal strength and also allow us to assign a value to a sound picked up by the amplifier.


[am4show have=’p9;p51;p103;p108;’ guest_error=’Guest error message’ user_error=’User error message’ ]


[/am4show]


We’ve had a lot of fun making a lot of different circuits, now let’s step it up a notch and build a percussion instrument synthesizer. This circuit will build on what we’ve learned so far and use a lot of different parts to create a synthesizer that will generate a plucked string or drum sound. Are you ready to make some more noise? I am!


[am4show have=’p9;p51;p103;p108;’ guest_error=’Guest error message’ user_error=’User error message’ ]


[/am4show]


A comparators is a form of an Op AMP that can either be on or off. This may not sound useful, but you can do things with comparators that are very useful. To demonstrate this, let’s take a look at comparators, what they are, and how to use them. In this experiment we’ll get use a comparator to control two different LEDs, and when the comparator is off, one LED will glow and when the comparator is on the other LED will glow.


[am4show have=’p9;p51;p103;p108;’ guest_error=’Guest error message’ user_error=’User error message’ ]


[/am4show]


Now, let’s take a closer look at Op Amps and what they can do. In this experiment we’ll use an Op Amp to generate a frequency and then use that signal to produce a sound from the speaker.


[am4show have=’p9;p51;p103;p108;’ guest_error=’Guest error message’ user_error=’User error message’ ]


[/am4show]


Making sounds has been a lot of fun, so lets do some more! In this experiment we’ll use two Op Amps to build a tone mixer and I think you’ll be surprised at the sounds you can get out of this project!


[am4show have=’p9;p51;p103;p108;’ guest_error=’Guest error message’ user_error=’User error message’ ]


[/am4show]


Oh, this one is about LED bargraphs, and you know I love LEDs. In this experiment we are going to build an LED bargraph and then use that bargraph to measure how much light is hitting the photoresistor. In essence, we are going to build an LED bargraph light meter!


[am4show have=’p9;p51;p103;p108;’ guest_error=’Guest error message’ user_error=’User error message’ ]


[/am4show]


Let’s have some more fun with the photoresistor and build a buzzer that has two modes. The first will be the buzzer triggering off of light and the second will be the buzzer triggering off of darkness. This circuit is exactly how a laser eye alarm works and we can try this by setting the circuit up to trigger when someone walks through a door! I’m not waiting, I’m doing this one now!


[am4show have=’p9;p51;p103;p108;’ guest_error=’Guest error message’ user_error=’User error message’ ]


[/am4show]


Did you like the bargraph experiment? Well, in this one we are going to build a bigger and better bargraph. In this experiment we’ll build a 8 segment LED bargraph that has a sensitivity adjustment. You know me and LEDs, so let’s get wiring!


[am4show have=’p9;p51;p103;p108;’ guest_error=’Guest error message’ user_error=’User error message’ ]


[/am4show]


Let’s have some more 555 timer fun and build a keyboard oscillator. In this experiment we’ll use a 555 timer and 4 switches, each with a different value capacitor, to create up to 16 different tones.


[am4show have=’p9;p51;p103;p108;’ guest_error=’Guest error message’ user_error=’User error message’ ]


[/am4show]


Did you know that VCO stand for Voltage Controller Oscillator? Well, in this experiment we are going to build one using a 555 timer, a few capacitors, and a potentiometer. We’ll then send the signal from the VCO to the speaker and make some neat tones!


[am4show have=’p9;p51;p103;p108;’ guest_error=’Guest error message’ user_error=’User error message’ ]


[/am4show]


Timers are really neat, and we’ve already seen a few in action. Now, let’s build one that operate the buzzer and an LED and can run both for up to 100 seconds. We’ll be using a 555 timer, several capacitors, a potentiometer, and a few switches as well. Sound like fun to me!


[am4show have=’p9;p51;p103;p108;’ guest_error=’Guest error message’ user_error=’User error message’ ]


[/am4show]


We’ve created a lot of circuits together and now it’s time to start looking at a new part, the 4046 is a Phased-Locked Loop IC that contains both analog and digital circuitry inside. Well be using the 4046 to help generate the siren sound for this circuit. We’ll also be using the 555 timer and all the potentiometers in the kit. So let’s get started and build us a siren!


[am4show have=’p9;p51;p103;p108;’ guest_error=’Guest error message’ user_error=’User error message’ ]


[/am4show]


If you enjoyed these experiments, then you’re in for a real treat, because there’s a lot MORE experiments in Lesson 4: Digital Logic!


Since the mid 1980’s, digital electronics have slowly become an ever increasing part of our lives. And now, you’d be hard pressed to find any device that doesn’t use digital electronics. Digital electronics are in the TV you watch, your computer, your phone, your car, the appliances in your kitchen, and so much more. So, to help understand how digital works, we’ll be exploring digital electronics in this series of videos.
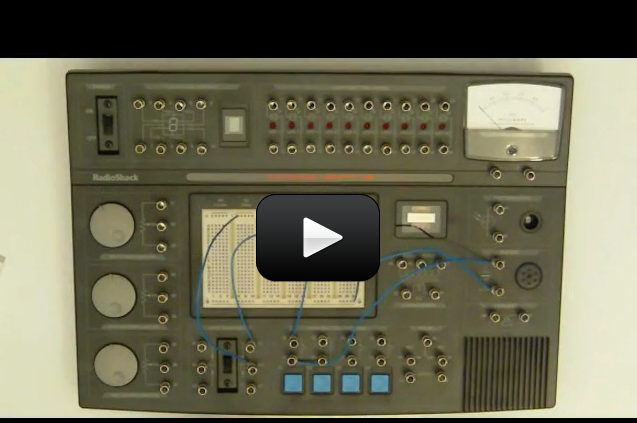
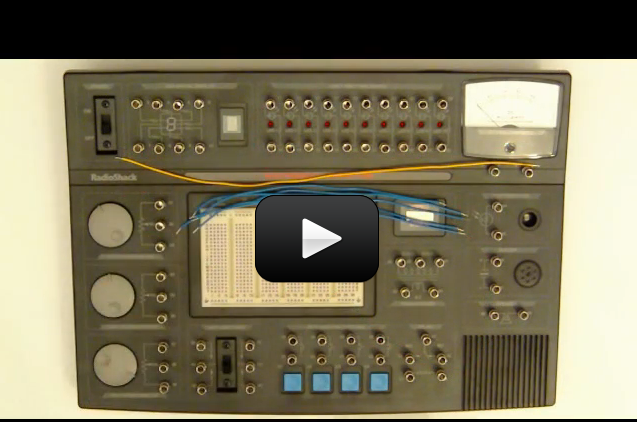
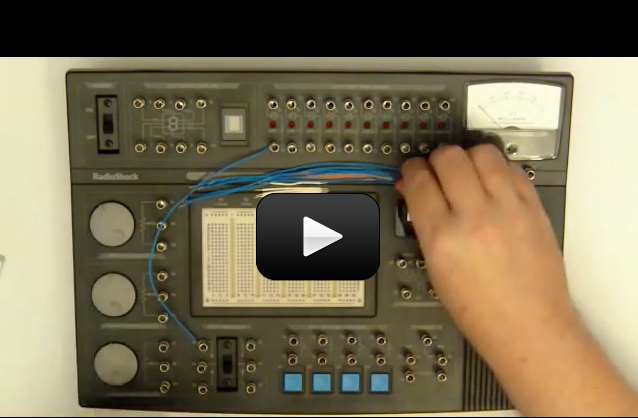
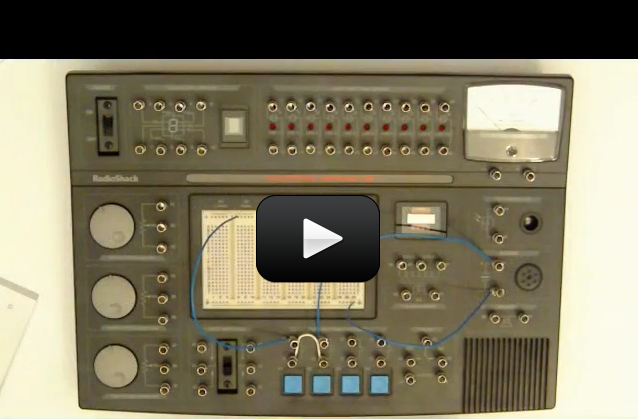
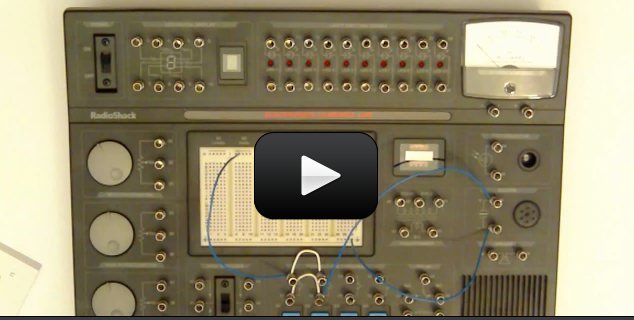
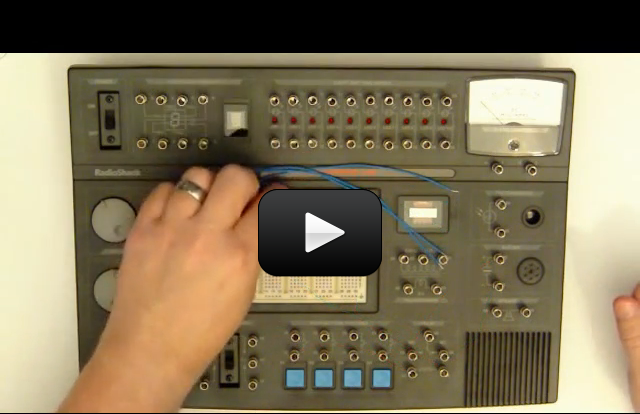
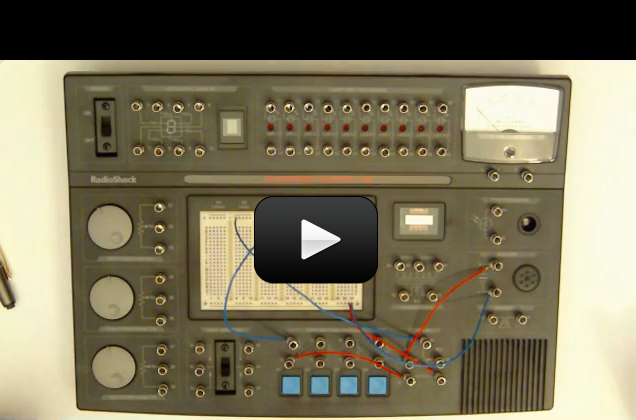
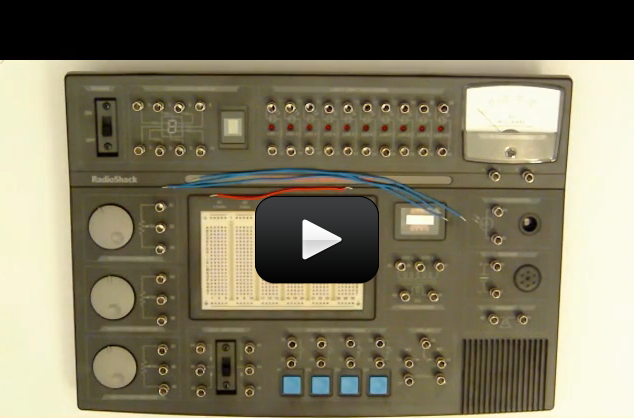
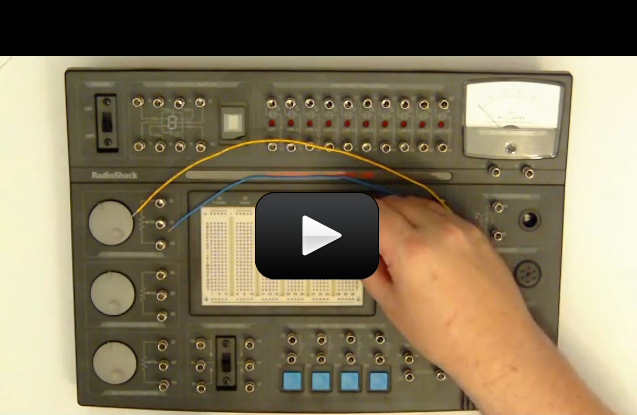
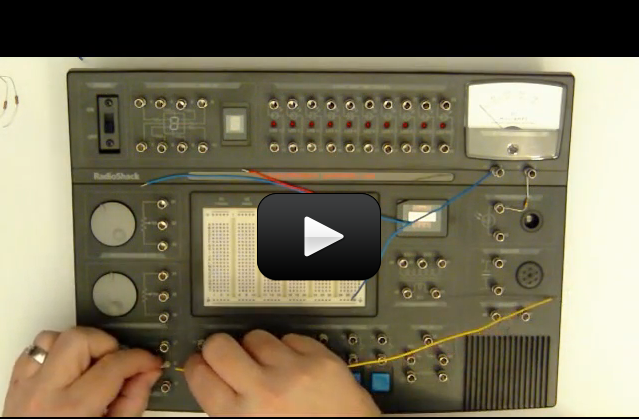
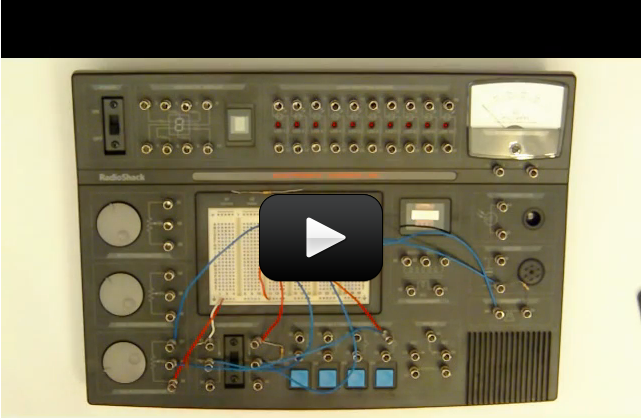
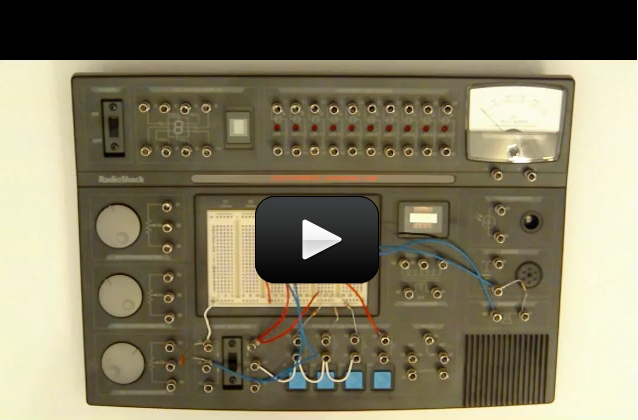
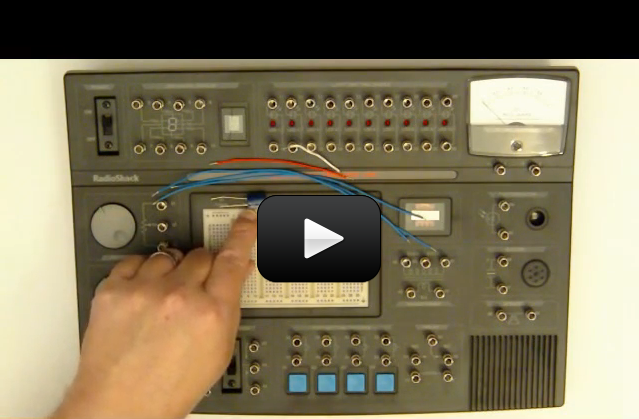
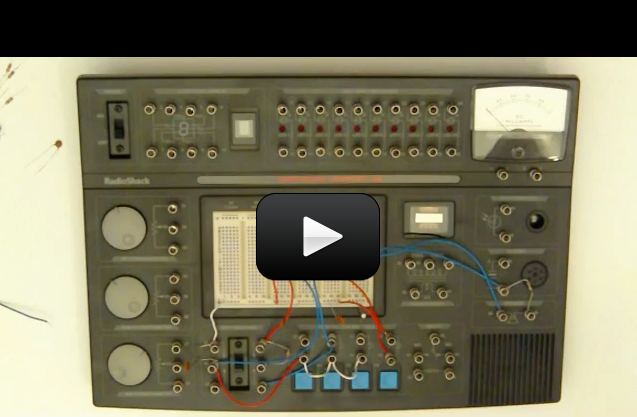
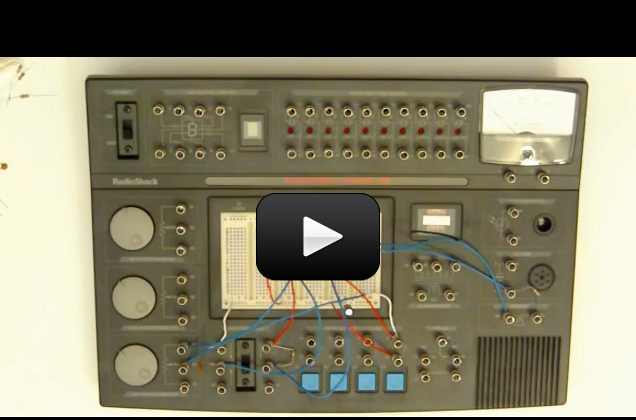
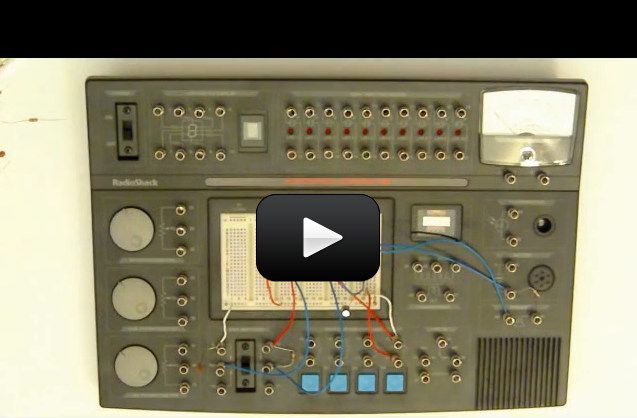
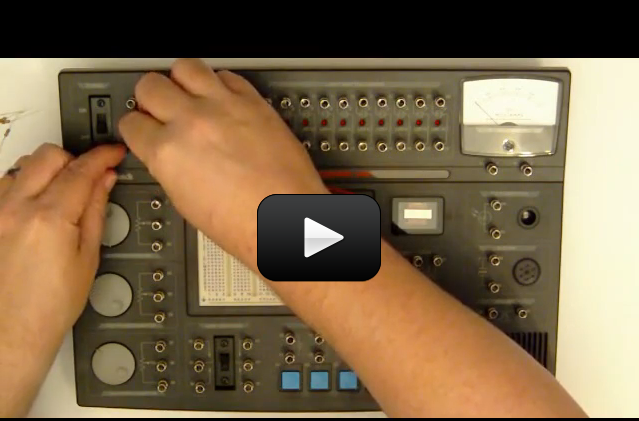
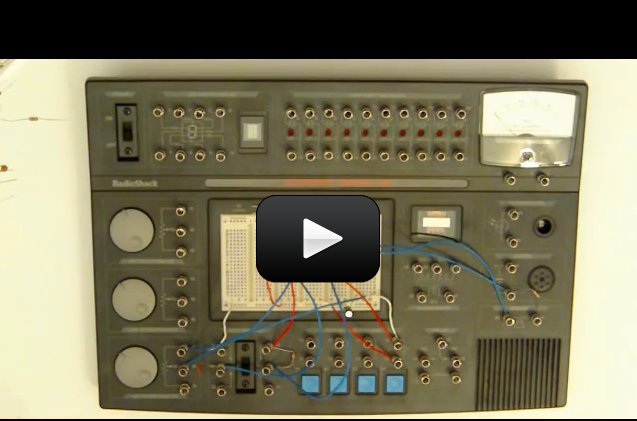
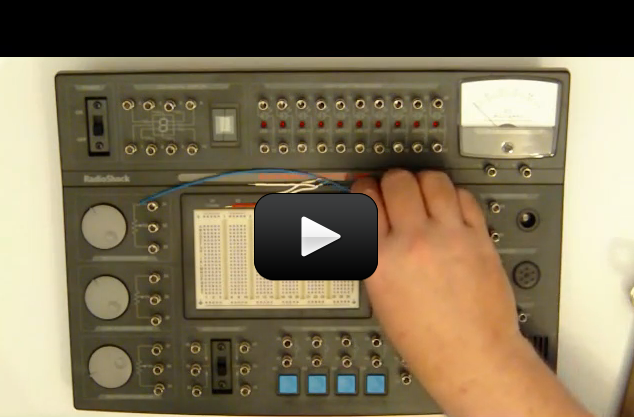
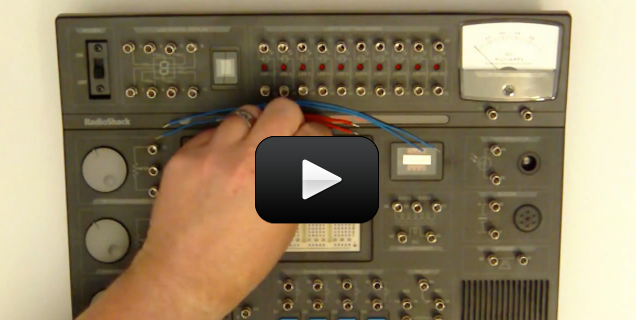
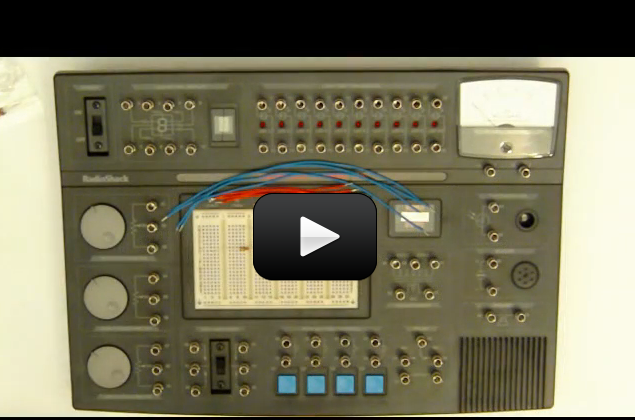
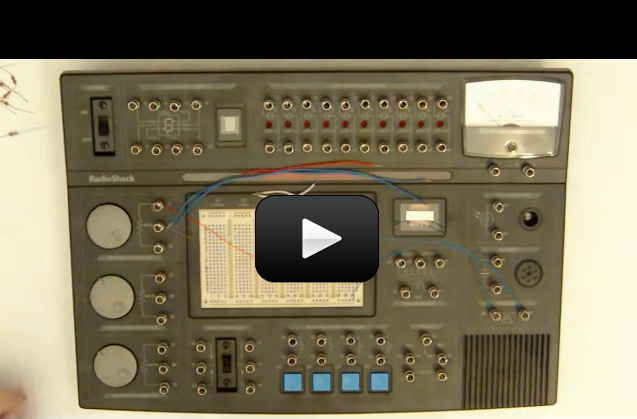
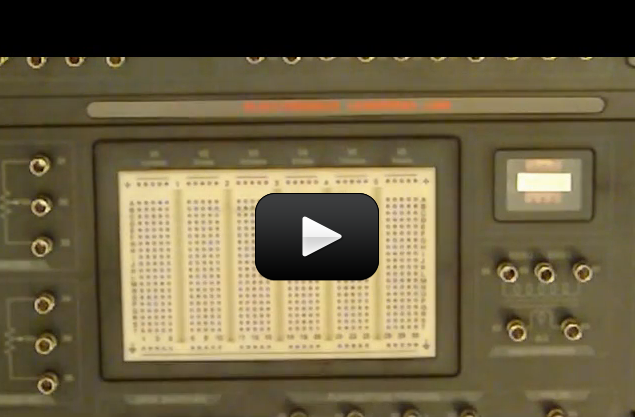
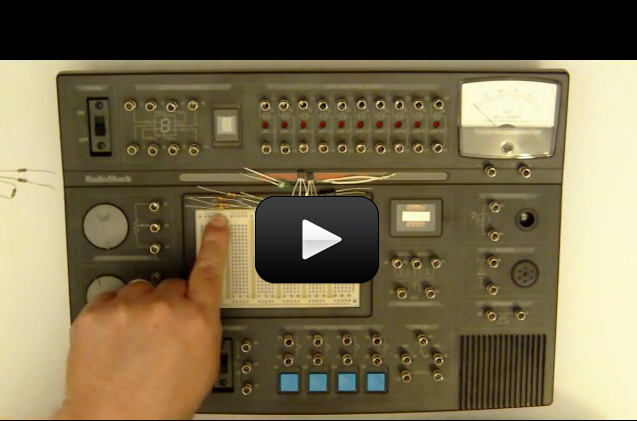
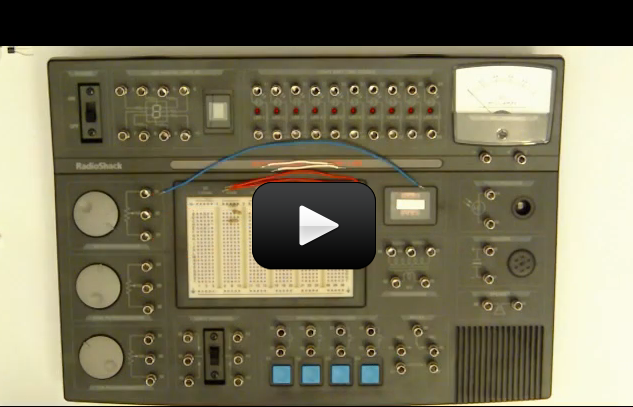
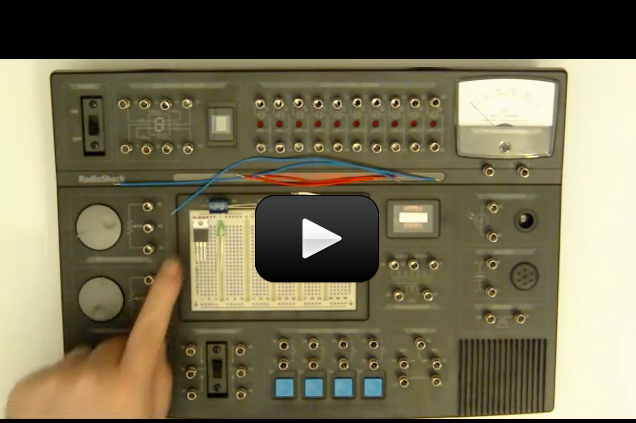
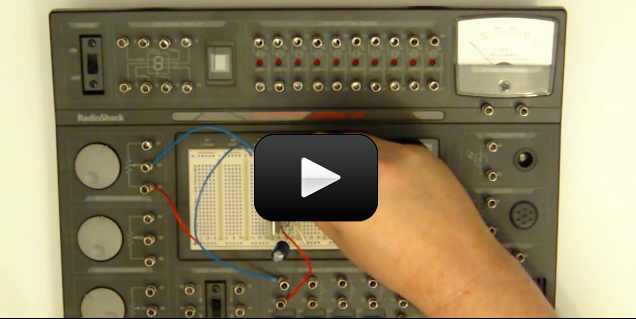
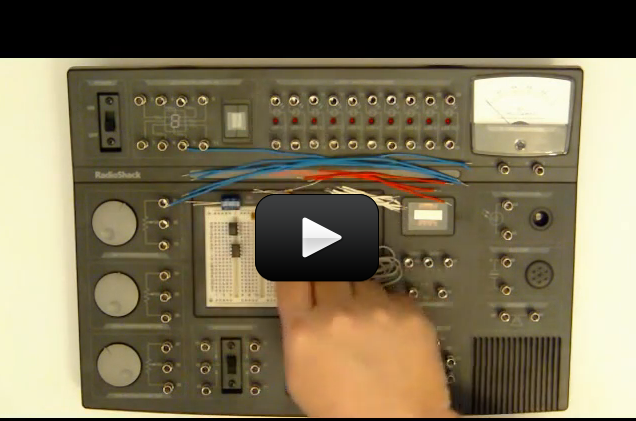
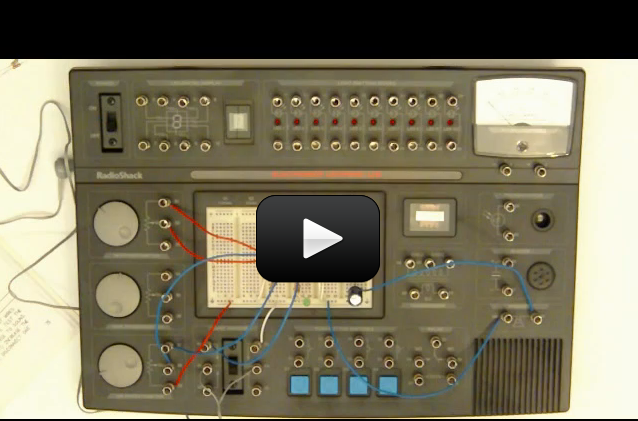
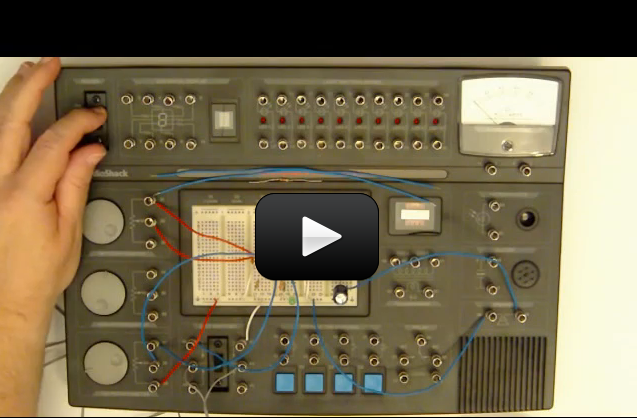
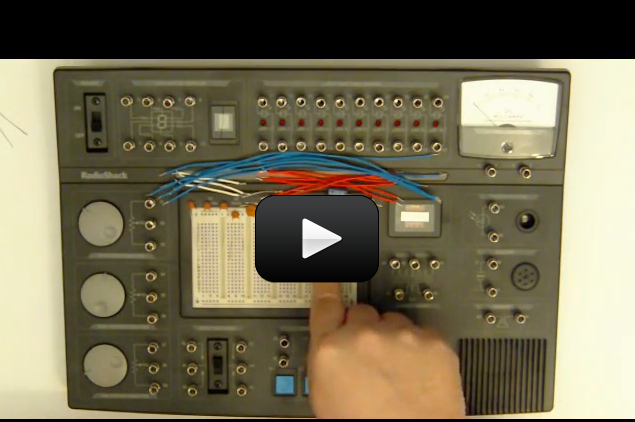
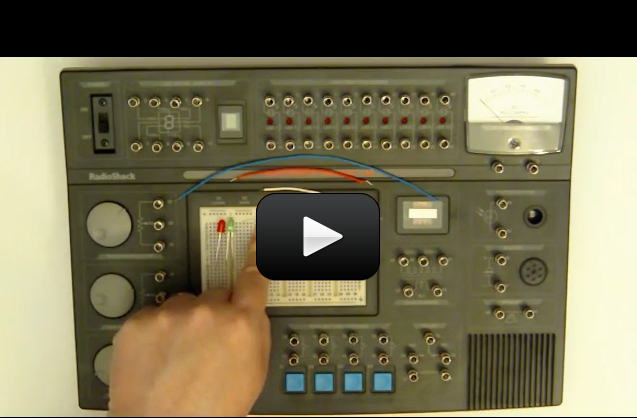
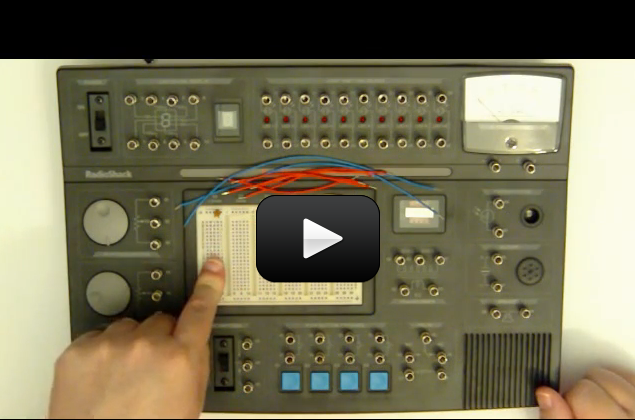
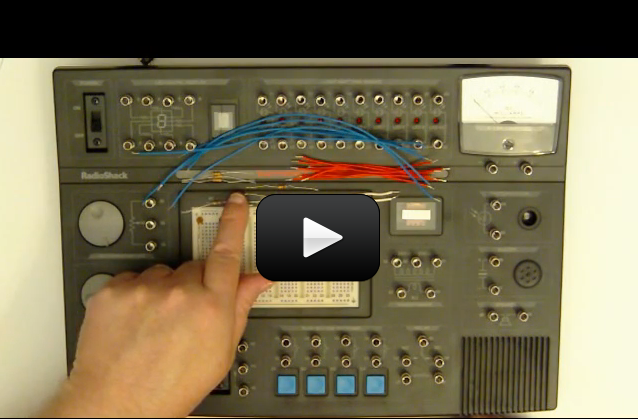
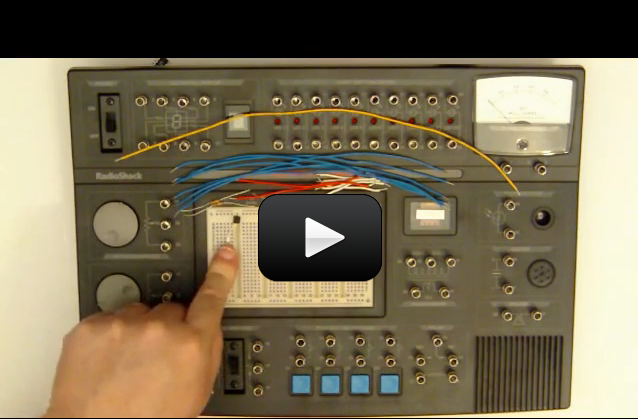
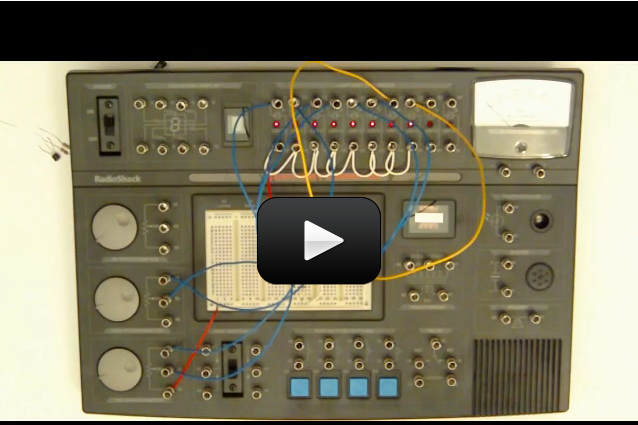
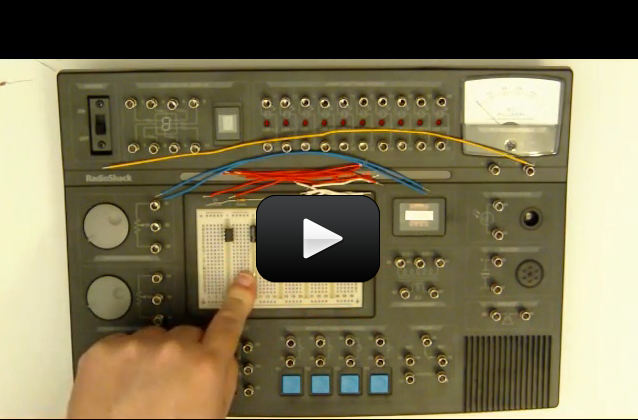
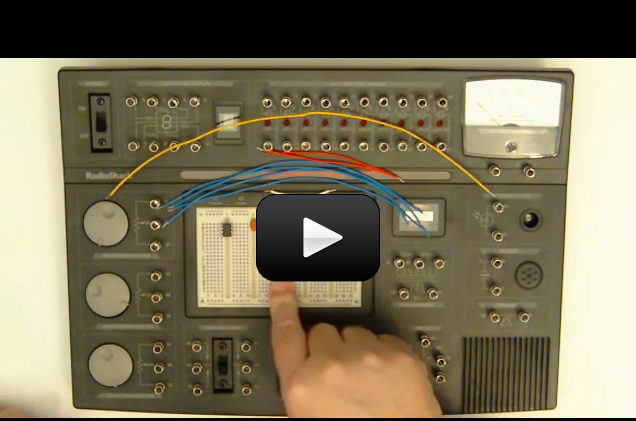
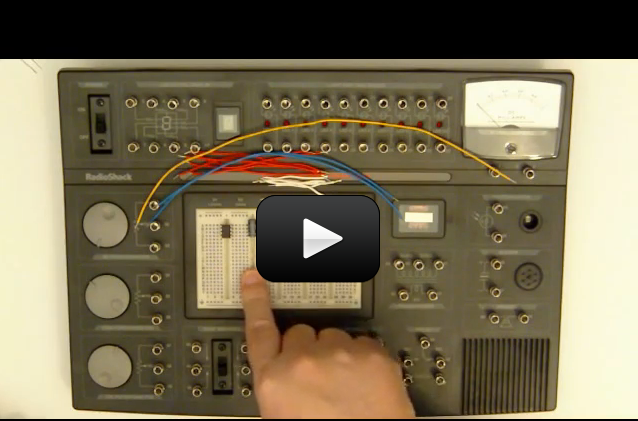
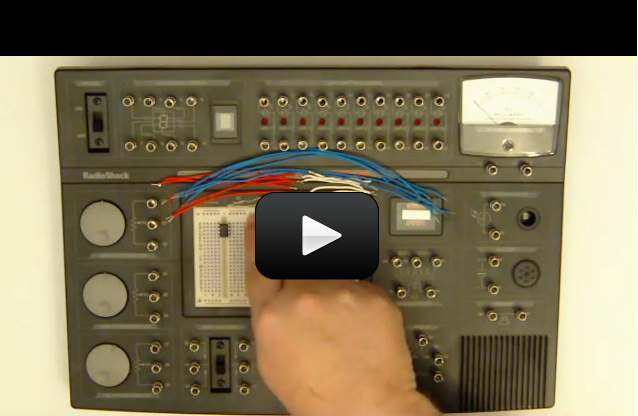
We are going to cover a lot of ground in workbook 2 beginning with learning about the basics of digital electronics. This will include learning what a bit is, what a high and a low are, basic digital gates, among other topics.


Click here to view the next set of experiments in Electronics.