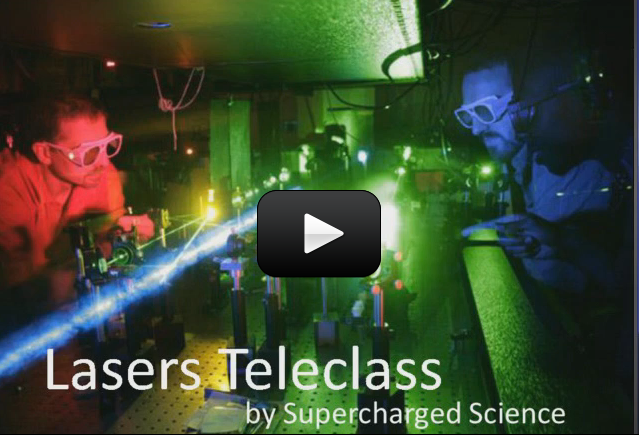
This is a recording of a recent live teleclass I did with thousands of kids from all over the world. I've included it here so you can participate and learn, too!
This class is all about Light Waves! Energy can take one of two forms: matter and light (called electromagnetic radiation). Light is energy in the form of either a particle or a wave that can travel through space and some kinds of matter, like glass.
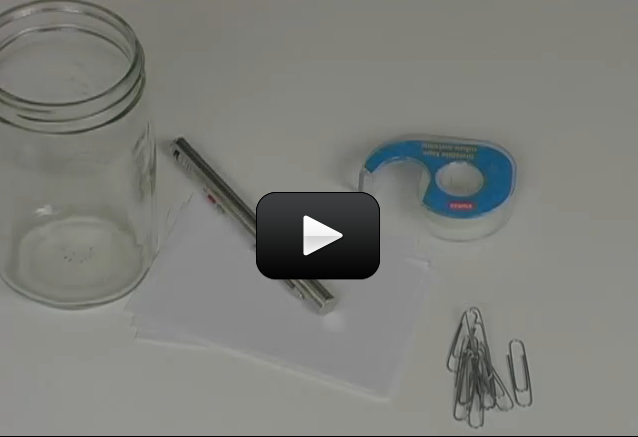
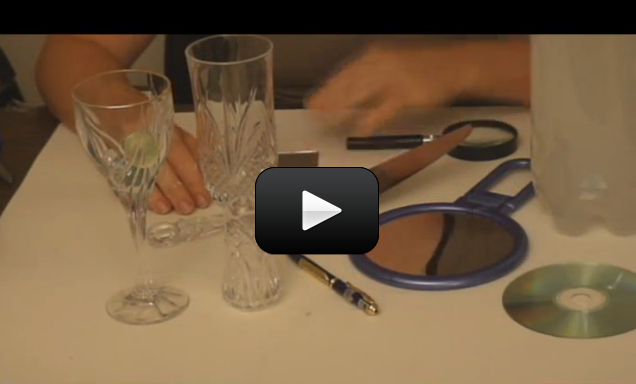
We're going to investigate the wild world of the photon that has baffled scientists for over a century. We'll also do experiments in shattering laser beams, bending and twisting light, and also split light waves into rainbow shadows. Materials:
The ripples are like light. Notice the waves are not really moving the water from one side of the pond to the other, but rather move energy across the surface of the water. To put it another way, energy travels across the pond in a wave. Light works the same way – light travels as energy waves. Only light doesn't need water to travel through the way the water waves do - it can travel through a vacuum (like outer space).
Light can change speed the same way sound vibrations change speed. (Think of how your voice changes when you inhale helium and then try to talk.) The fastest light can go is 186,282 miles per second – that's fast enough to circle the Earth seven times every second, but that's also inside a vacuum. You can get light going slower by aiming it through different gases. In our own atmosphere, light travels slower than it does in space.
Your eyeballs are photon detectors. These photons move at the speed of light and can have all different wavelengths, which correspond to the colors we see. Red light has a longer wavelength (lower energy and lower frequency) that blue light.
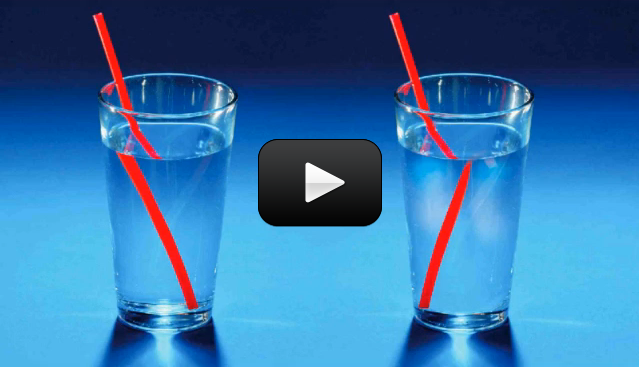
For example, if you stick a pencil is a glass of water and look through the side of the glass, you'll notice that the pencil appears shifted. The speed of light is slower in the water (140,000 miles per second) than in the air (186,000 miles per second), called optical density, and the result is bent light beams and broken pencils.
You'll notice that the pencil doesn't always appear broken. Depending on where your eyeballs are, you can see an intact or broken pencil. When light enters a new substance (like going from air to water) perpendicular to the surface (looking straight on), refractions do not occur.
However, if you look at the glass at an angle, then depending on your sight angle, you'll see a different amount of shift in the pencil. Where do you need to look to see the greatest shift in the two halves of the pencil?
Depending on if the light is going from a lighter to an optically denser material (or vice versa), it will bend different amounts. Glass is optically denser than water, which is denser than air.
Not only can you change the shape of objects by bending light (broken pencil or whole?), but you can also change the size. Magnifying lenses, telescopes, and microscopes use this idea to make objects appear different sizes.
This class is all about Light Waves! Energy can take one of two forms: matter and light (called electromagnetic radiation). Light is energy in the form of either a particle or a wave that can travel through space and some kinds of matter, like glass.
We're going to investigate the wild world of the photon that has baffled scientists for over a century. We'll also do experiments in shattering laser beams, bending and twisting light, and also split light waves into rainbow shadows. Materials:
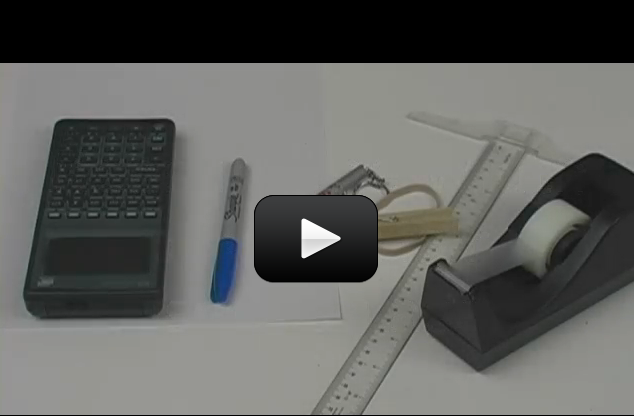
- laser pointer
- flashlight
- paper clip
- gummy bear (green and red)
- old CD
- paper clip
- rubber band
- pond water (just a little bit)
Key Concepts
Imagine tossing a rock into a still pond and watching the circles of ripples form and spread out into rings. Now look at the ripples in the water - notice how they spread out. What makes the ripples move outward is energy , and there are different kinds of energy, such as electrical (like the stuff from your wall socket), mechanical (a bicycle), chemical (a campfire) and others.The ripples are like light. Notice the waves are not really moving the water from one side of the pond to the other, but rather move energy across the surface of the water. To put it another way, energy travels across the pond in a wave. Light works the same way – light travels as energy waves. Only light doesn't need water to travel through the way the water waves do - it can travel through a vacuum (like outer space).
Light can change speed the same way sound vibrations change speed. (Think of how your voice changes when you inhale helium and then try to talk.) The fastest light can go is 186,282 miles per second – that's fast enough to circle the Earth seven times every second, but that's also inside a vacuum. You can get light going slower by aiming it through different gases. In our own atmosphere, light travels slower than it does in space.
Your eyeballs are photon detectors. These photons move at the speed of light and can have all different wavelengths, which correspond to the colors we see. Red light has a longer wavelength (lower energy and lower frequency) that blue light.
What's Going On?
When a beam of light hits a different substance (like a window pane or a lens), the speed that the light travels at changes. (Sound waves do this, too!) In some cases, this change turns into a change in the direction of the beam.For example, if you stick a pencil is a glass of water and look through the side of the glass, you'll notice that the pencil appears shifted. The speed of light is slower in the water (140,000 miles per second) than in the air (186,000 miles per second), called optical density, and the result is bent light beams and broken pencils.
You'll notice that the pencil doesn't always appear broken. Depending on where your eyeballs are, you can see an intact or broken pencil. When light enters a new substance (like going from air to water) perpendicular to the surface (looking straight on), refractions do not occur.
However, if you look at the glass at an angle, then depending on your sight angle, you'll see a different amount of shift in the pencil. Where do you need to look to see the greatest shift in the two halves of the pencil?
Depending on if the light is going from a lighter to an optically denser material (or vice versa), it will bend different amounts. Glass is optically denser than water, which is denser than air.
Not only can you change the shape of objects by bending light (broken pencil or whole?), but you can also change the size. Magnifying lenses, telescopes, and microscopes use this idea to make objects appear different sizes.
Questions to Ask
- Can light change speeds?
- Can you see ALL light with your eyes?
- Give three examples of a light source.
- Why does the pencil appear bent? Is it always bent? Does the temperature of the water affect how bent the pencil looks? What if you put two pencils in there?
- What if you use oil instead of water for bending a pencil?
- How does a microscope work?
- What's the difference between a microscope and a telescope?
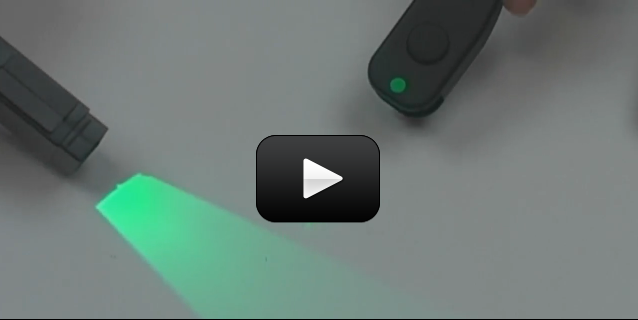
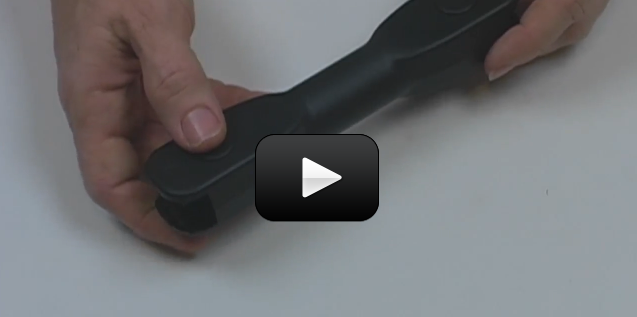
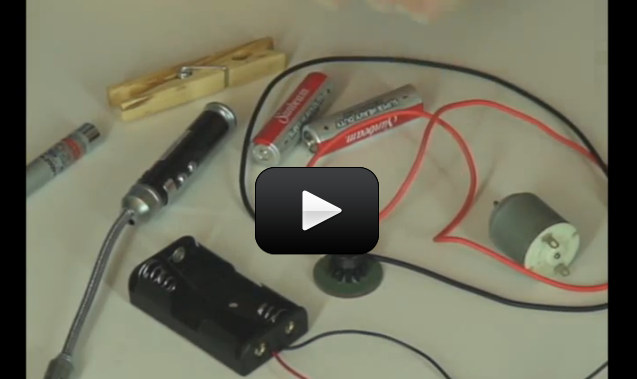
 Have you ever wondered why you just can’t just shine a flashlight through a lens and call it a laser? It’s because of the way a laser generates light in the first place.
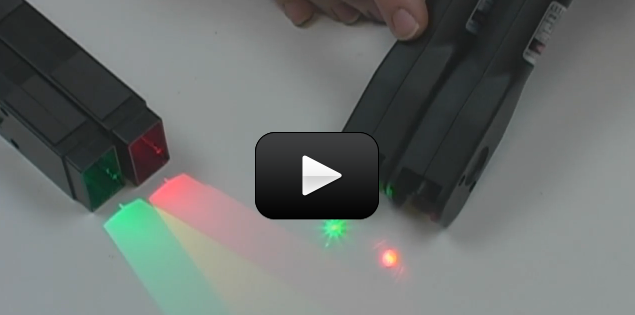
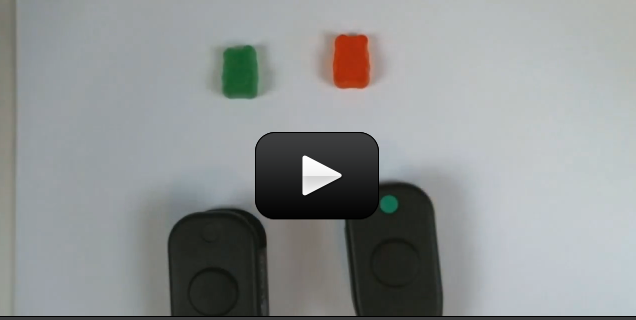
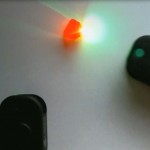 Gummy bears are a great way to bust one of the common misconceptions about light reflection. The misconception is this: most students think that color is a property of matter, for example if I place shiny red apple of a sheet of paper in the sun, you’ll see a red glow on the paper around the apple.
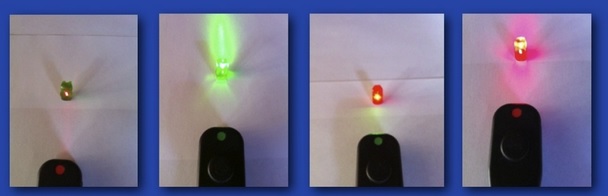
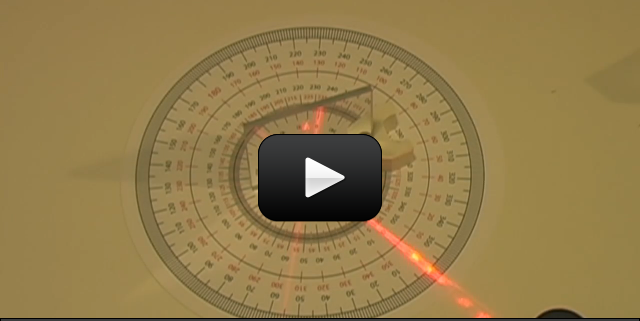
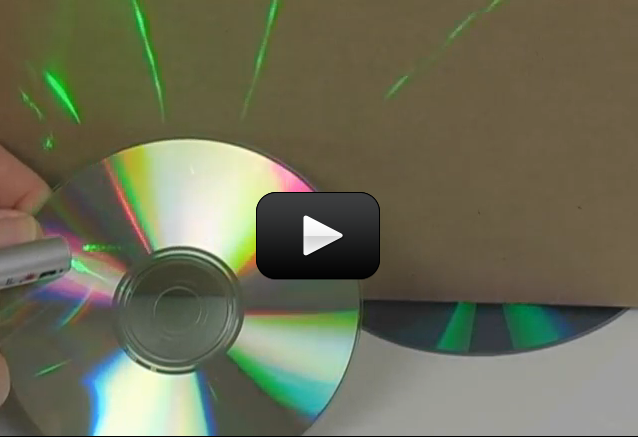
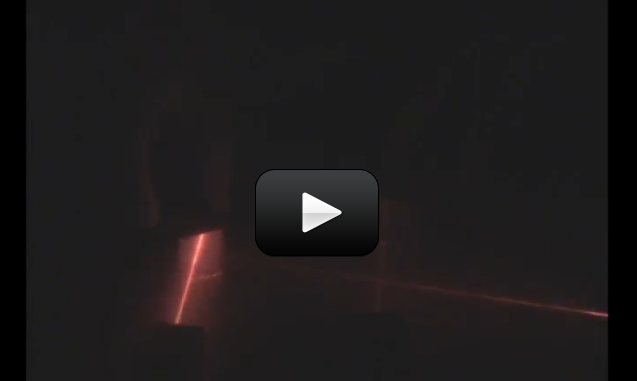
 What happens when you shine a laser beam onto a spinning mirror? In the
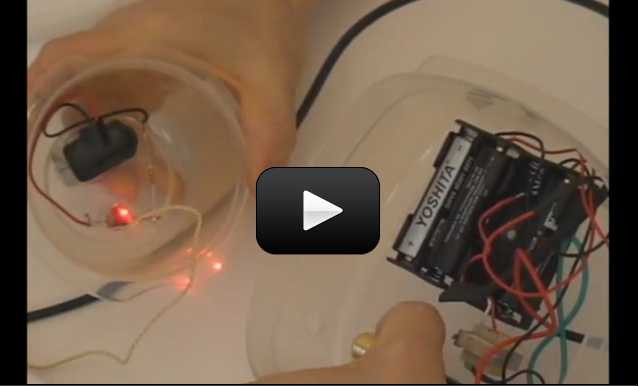
 This experiment is for advanced students.Did you know that when you talk inside a house, the windows vibrate very slightly from your voice? If you stand outside the house and aim a laser beam at the window, you can pick up the vibrations in the window and actually hear the conversation inside the house.