When you warm up leftovers, have you ever wondered why the microwave heats the food and not the plate? (Well, some plates, anyway.) It has to do with the way microwaves work.
Microwaves generate high energy electromagnetic waves that when aimed at water molecules, makes these molecules get super-excited and start bouncing around a lot.
We see this happen when we heat water in a pot on the stove. When you add energy to the pot (by turning on the stove), the water molecules start vibrating and moving around faster and faster the more heat you add. Eventually, when the pot of water boils, the top layer of molecules are so excited they vibrate free and float up as steam.
When you add more energy to the water molecule, either by using your stove top or your nearest microwave, you cause those water molecules to vibrate faster. We detect these faster vibrations by measuring an increase in the temperature of the water molecules (or in the food containing water). Which is why it’s dangerous to heat anything not containing water in your microwave, as there’s nowhere for that energy to go, since the electromagnetic radiation is tuned to excite water molecules.
To explain this to younger kids (who might confuse radio waves with sounds waves) you might try this:
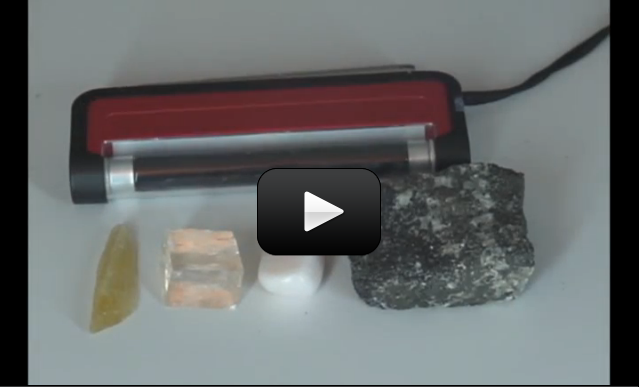
There’s light everywhere, some of which you can see (like rainbows) and others that you can’t see (like the infrared beam coming from your TV remote, or the UV rays from the sun that give you a sunburn). The microwave shoots invisible light beams at your food that are tuned to heat up the water molecule.
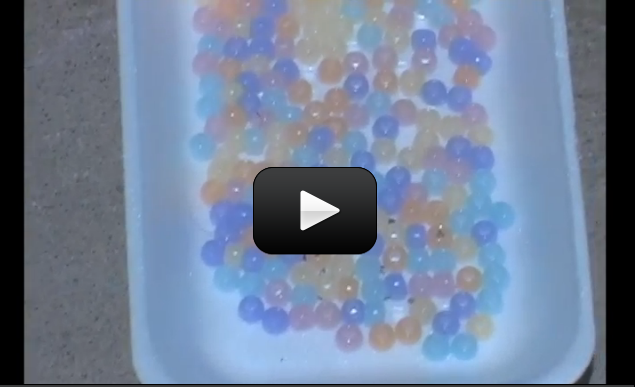
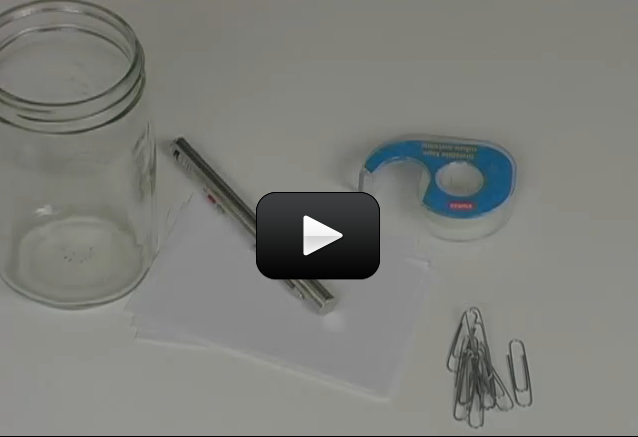
The microwave radiation emitted by the microwave oven can also excite other polarized molecules in addition to the water molecule, which is why some plates also get hot. The soap in this experiment below will show you how a bar of Ivory soap contains air, and that air contains water vapor which will get heated by the microwave radiation and expand. Are you ready?
Here’s what you need:
Please
login or
register to read the rest of this content.
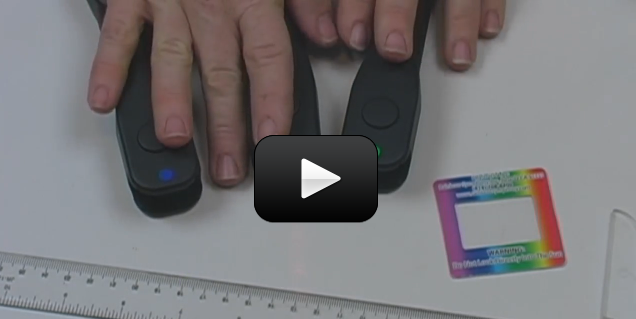
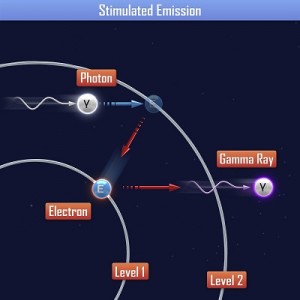 Have you ever wondered why you just can’t just shine a flashlight through a lens and call it a laser? It’s because of the way a laser generates light in the first place.
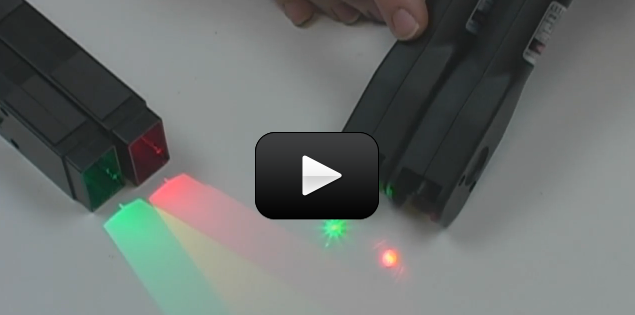
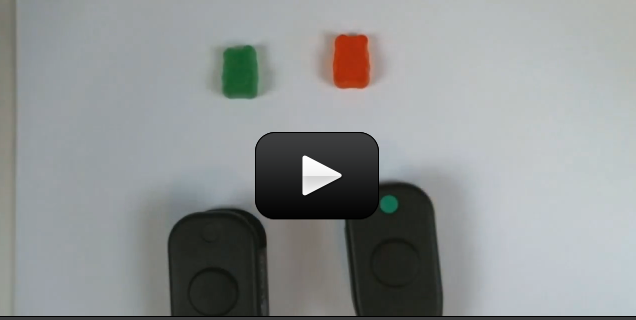
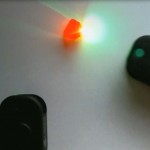 Gummy bears are a great way to bust one of the common misconceptions about light reflection. The misconception is this: most students think that color is a property of matter, for example if I place shiny red apple of a sheet of paper in the sun, you’ll see a red glow on the paper around the apple.

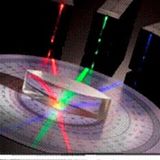
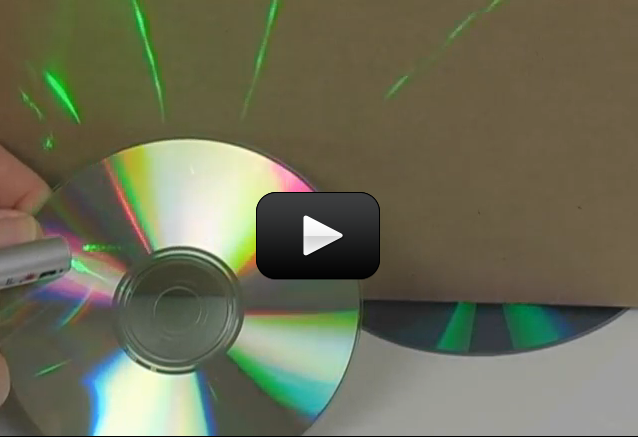

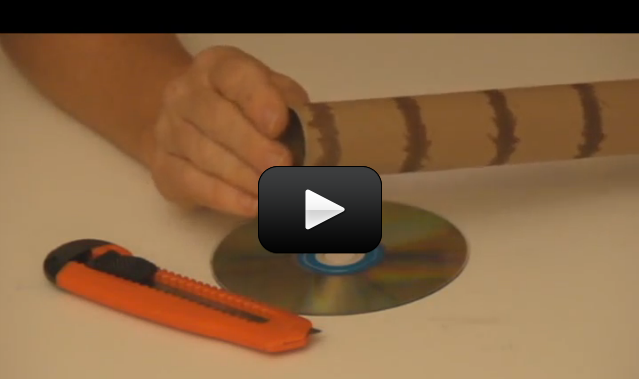
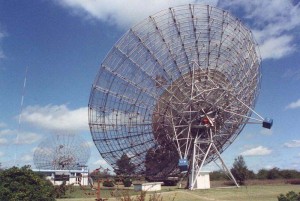
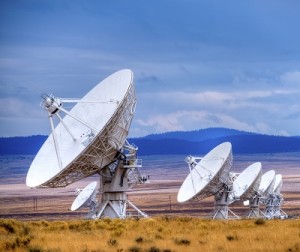
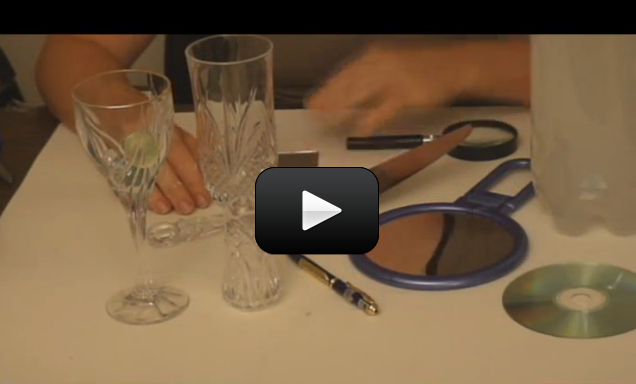
 Spectrometers are used in chemistry and astronomy to measure light. In astronomy, we can find out about distant stars without ever traveling to them, because we can split the incoming light from the stars into their colors (or energies) and “read” what they are made up of (what gases they are burning) and thus determine their what they are made of. In this experiment, you’ll make a simple cardboard spectrometer that will be able to detect all kinds of interesting things!

 Imagine you’re a painter. What three colors do you need to make up any color in the universe? (You should be thinking: red, yellow, and blue… and yes, you are right if you’re thinking that the real primary colors are cyan, magenta, and yellow, but some folks still prefer to think of the primary colors as red-yellow-blue… either way, it’s really not important to this experiment which primary set you choose.)
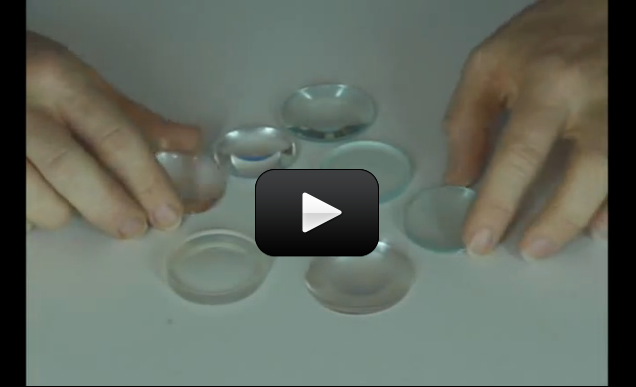
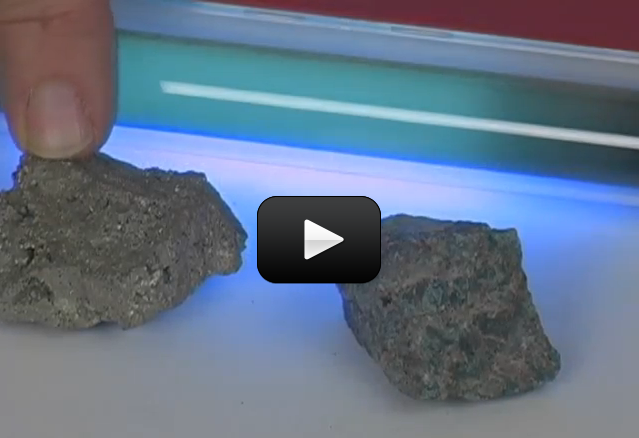
 An optical table gives you a solid surface to work on and nails down your parts so they don’t move. This is an image taken with Schlieren photography. This technique picks up the changes in air density (which is a measure of pressure and volume).
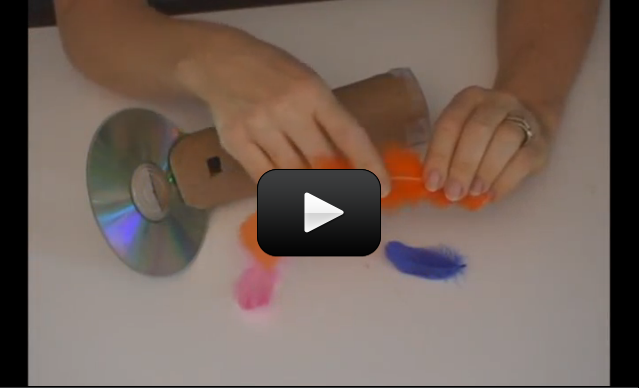
 Charles Benhamho (1895) created a toy top painted with the pattern (images on next page). When you spin the disk, arcs of color (called “pattern induced flicker colors”) show up around the disk. And different people see different colors!
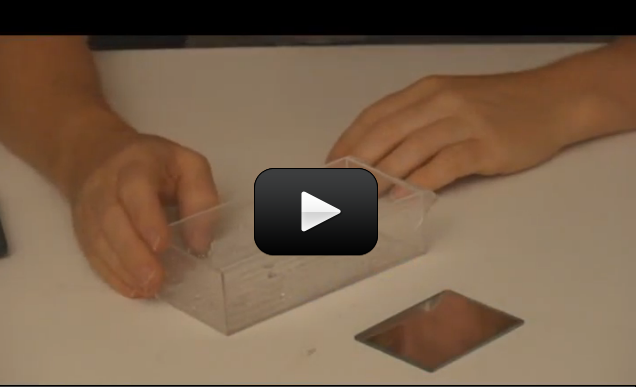
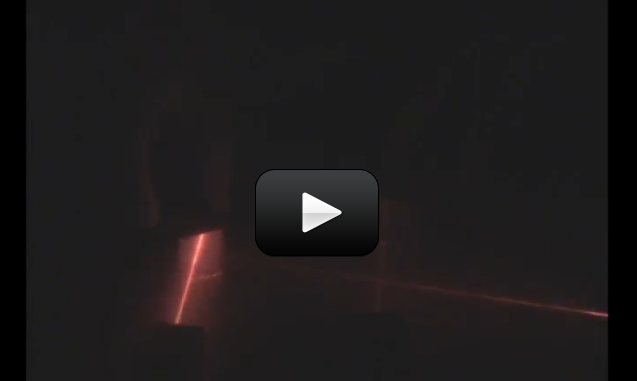

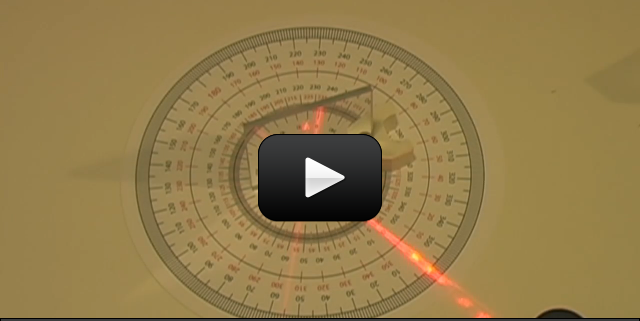
 What happens when you shine a laser beam onto a spinning mirror? In the
 This experiment is for advanced students.Did you know that when you talk inside a house, the windows vibrate very slightly from your voice? If you stand outside the house and aim a laser beam at the window, you can pick up the vibrations in the window and actually hear the conversation inside the house.
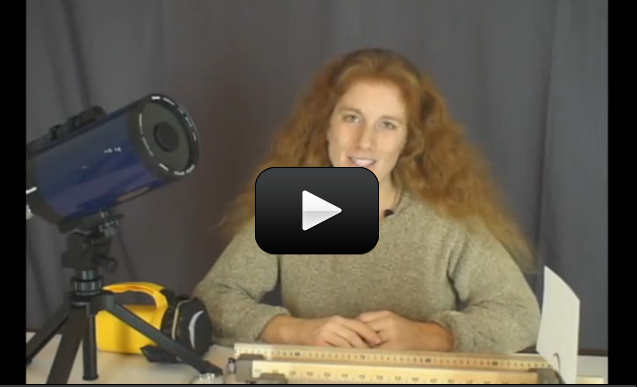
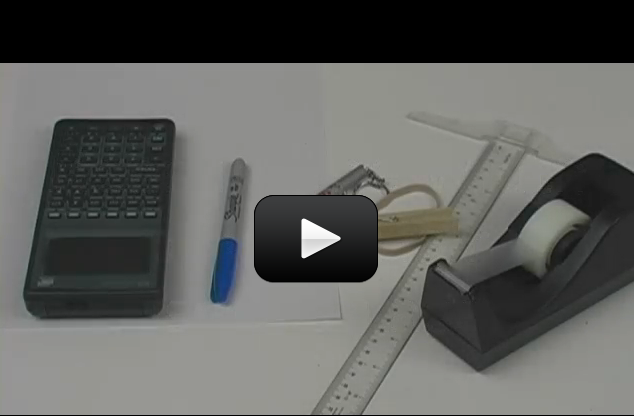
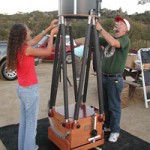 So you’ve played with lenses, mirrors, and built an optical bench. Want to make a real telescope? In this experiment, you’ll build a Newtonian and a refractor telescope using your