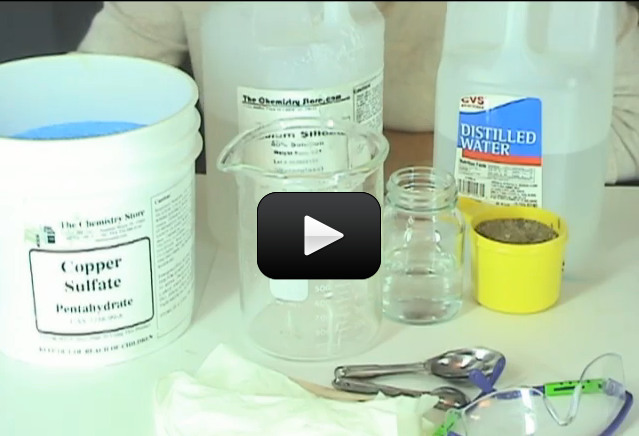
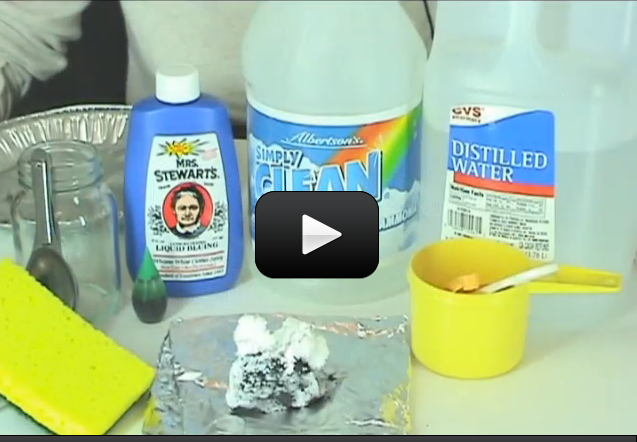
This is a recording of a recent live teleclass I did with thousands of kids from all over the world. I’ve included it here so you can participate and learn, too! (Click here if you’re looking for the more recent version that also includes Chemical Engineering.)


When you think of slime, do you imagine slugs, snails, and puppy kisses? Or does the science fiction film The Blob come to mind? Any way you picture it, slime is definitely slippery, slithery, and just plain icky — and a perfect forum for learning real science. But which ingredients work in making a truly slimy concoction, and why do they work? Let’s take a closer look…


Materials:


  • Sodium tetraborate (also called “Borax” – it’s a laundry whitener) – about 2 tablespoons
  • Clear glue or white glue (clear works better if you can find it) – about 1/2 cup
  • Yellow highlighter
  • Pliers or sharp razor (with adult help). (PREPARE: Use this to get the end off your highlighter before class starts so you can extract the ink-soaked felt inside. Leave the felt inside highlighter with the end loosely on (so it doesn’t dry out))
  • Resuable Instant Hand Warmer that contains sodium acetate (Brand Name: EZ Hand Warmer) – you’ll need two of these
  • Scissors
  • Glass half full of COLD water (PREPARE: put this in the fridge overnight)
  • Mixing bowl full of ice (PREPARE: leave in freezer)
  • Salt
  • Disposable aluminum pie place or foil-wrapped paper plate
  • Disposable cups for solutions (4-6)
  • Popsicle sticks for mixing (4-6)
  • Rubber gloves for your hands
  • Optional: If you want to see your experiments glow in the dark, you’ll need a fluorescent UV black light (about $10 from the pet store – look in cleaning supplies under “Urine-Off” for a fluorescent UV light). UV flashlights and UV LEDs will not work.

[am4show have=’p8;p9;p11;p38;p101;’ guest_error=’Guest error message’ user_error=’User error message’ ]


Key Concepts

If you’ve ever mixed together cornstarch and water, you know that you can get it to be both a liquid and a solid at the same time. (If you haven’t you should definitely try it! Use a 2:1 ratio of cornstarch:water.) The long molecular chains (polymers) are all tangled up when you scrunch them together (and the thing feels solid), but the polymers are so slick that as soon as you release the tension, they slide free (and drips between your fingers like a liquid).


Scientists call this a non-Newtonian fluid. You can also fill an empty water bottle or a plastic test tube half-full with this stuff and cap it. Notice that when you shake it hard, the slime turns into a solid and doesn’t slosh around the tube. When you rotate the tube slowly, it acts like a liquid.


Long, spaghetti-like chains of molecules (called polymers) don’t clump together until you cross-link the molecule strands (polymers) together into something that looks more like a fishnet. This is how we’re going to make slime.


What’s Going On?

Imagine a plate of spaghetti. The noodles slide around and don’t clump together, just like the long chains of molecules (called polymers) that make up slime. They slide around without getting tangled up. The pasta by itself (fresh from the boiling water) doesn’t hold together until you put the sauce on. Slime works the same way. Long, spaghetti-like chains of molecules don’t clump together until you add the sauce – something to cross-link the molecule strands together.


The borax mixture holds the glue mixture together in a gloppy, gelatinous mass. In more scientific terms, the sodium tetraborate cross-links the long polymer chains in the glue to form the slime.


Why does the slime glow? Note that a black light emits high-energy UV light. You can’t see this part of the spectrum (just as you can’t see infrared light, found in the beam emitted from the remote control to the TV), which is why “black lights” were named that. Stuff glows because fluorescent objects absorb the UV light and then spit light back out almost instantaneously. Some of the energy gets lost during that process, which changes the wavelength of the light, which makes this light visible and causes the material to appear to glow.


Questions to Ask

  1. What happens when you freeze your slime? Is there a color change?
  2. How long does it take to thaw your slime in the microwave?
  3. Do you see the little bubbles in your slime?
  4. How many states of matter do you have in your slime now?
  5. Does this work with any laundry detergent, or just borax?
  6. What happens if you omit the water in the 50-50- glue-water mixture, and just use straight glue? (Hint – use the glow juice with the borax to keep the glowing feature.)
  7. Does your slime pick up newsprint from a newspaper?
  8. What other kinds of glue work well with this slime?

[/am4show]


If you've ever teetered on the edge of a diving board, you know that the board flexes under your weight.  The heavier you are, the more it bends.  The top of the board gets slightly stretched further than the normal length (tension) while the underside gets slightly shorter (compressed). We're going to duplicate this without needing to visit the pool.

We're going to expand on the topic covered in the Tension and Compression section of this article. All you need for this experiment is:
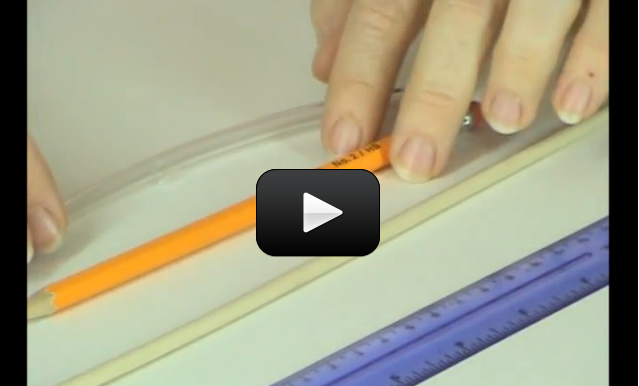
  • a pencil or a craft stick that you don’t mind breaking
  • a pair of hands
[am4show have='p8;p9;p13;p40;' guest_error='Guest error message' user_error='User error message' ] 1. Grab the pencil or the craft stick with one hand on one end of the object and the other hand on the opposite end.

2. Bend the pencil or craft stick a bit, but not too far....yet. Notice how you can bend it quite a bit without it breaking.

3. Now, feel free to bend it slowly until it breaks.


Download Student Worksheet

You have just played with tension, compression and elasticity. When you bent the pencil it had no problem going back to its original shape right? Wood is fairly elastic, meaning it can bend quite a bit before breaking. This comes in quite handy if you happen to be a tree, since you can bend in the wind which allows you to survive most storms without breaking.

Now, let’s look at tension and compression. If you look at the pencil or craft stick that you just broke you may notice that one side of the break may look different then the other side. Tension is when things get pulled apart. Compression is when things get squashed together.

If you bent your pencil towards the ground for example, the molecules along the top of the pencil were pulled apart, and the molecules along the bottom were squashed together. If you didn’t bend too far they just went back to normal when you stopped applying force. However if you bent too far, “SNAP”, the pencil broke in two! Just like objects have an elastic limit that if you go beyond it you will break it, things also have a tension and compression limit. Pull something or push something too far, and you’ll break it. [/am4show]

A non-Newtonian fluid is a substance that changes viscosity, such as ketchup.  Ever notice how ketchup sticks to the bottom of the bottle one minute and comes sliding out the next?


Think of viscosity as the resistance stuff has to being smeared around.   Water is “thin” (low viscosity); honey is “thick” (high viscosity).  You are about to make a substance that is both (low and high viscosity), depending on what ratio you mix up. Feel free to mix up a larger batch then indicated in the video – we’ve heard from families that have mixed up an entire kiddie pool of this stuff!


[am4show have=’p8;p9;p13;p40;p68;’ guest_error=’Guest error message’ user_error=’User error message’ ]


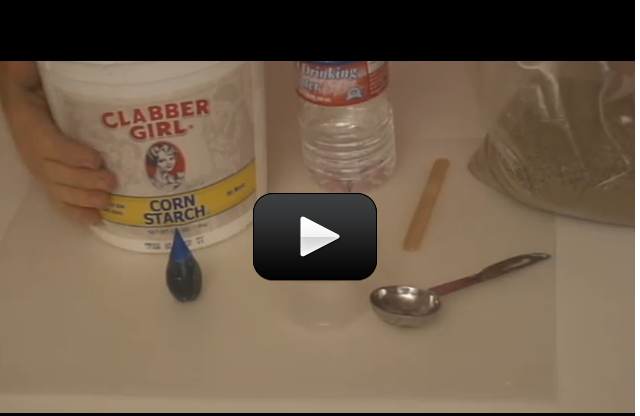
  • cornstarch (about 2 cups)
  • water (about 1 cup)
  • sand (about 2 cups)

Your first step is to create a 2:1 ratio of cornstarch to water (2 cups cornstarch to 1 cup water).  (This is your non-Newtonian fluid.)  Grab it with your fist and it will turn rock-solid and crumble; open your hand and it will flow right between your fingers. It’s both a solid and a liquid (it changes viscosity depending on its environment, which is your hand right now).  By adding sand to this concoction, you can make moon sand.


Download Student Worksheet & Exercises


Moon sand is basically clay with a beach twist.  If you’ve ever tried making a sand castle, you know the disappointment of having the structure crumble after hours of work.  Moon sand adds the best properties of clay to the sand for a moldable, sandy texture that’s easy to work with — and it’s dirt cheap to mix up your weight in moon sand.


Your task is to find the perfect ratio of the three ingredients to make this weird substance.  If you have too much water, you’ll get a substance that is both a liquid and a solid (as you did before with the non-Newtonian fluid).  Too much solid, and it crumbles.


Troubleshooting: The smaller the grain of sand you have, the easier it is to form intricate shapes.  If you find white sand, it’ll make better colors when you add food dye to the mixture. Use a large enough bowl and try to keep one hand clean so you can add more (of whatever you need) as you go along.  The ideal mixture is approximately 2 cups sand, 2 cups cornstarch, and 1 cup water, give or take a bit.  Notice how adding just a small amount of water turns it into a liquid, and adding a tiny bit more cornstarch (or sand) makes it crumble as if it were solid?  Take your time to get this mixture just right. (We’ve filled up an entire plastic kiddie pool with this stuff!)
[/am4show]


Now, that you’ve spent some quality time with atoms and that wacky electron fellow you have a bit of an understanding of what is inside everything. The next thing you need to know is…what’s everything?


soapWhen you warm up leftovers, have you ever wondered why the microwave heats the food and not the plate? (Well, some plates, anyway.) It has to do with the way microwaves work.
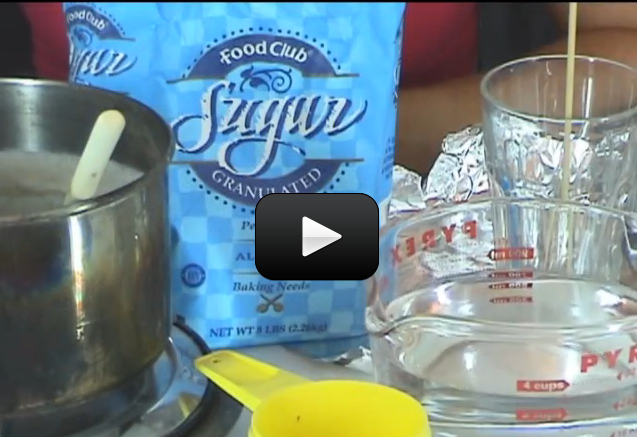
Microwaves generate high energy electromagnetic waves that when aimed at water molecules, makes these molecules get super-excited and start bouncing around a lot.


We see this happen when we heat water in a pot on the stove. When you add energy to the pot (by turning on the stove), the water molecules start vibrating and moving around faster and faster the more heat you add. Eventually, when the pot of water boils, the top layer of molecules are so excited they vibrate free and float up as steam.


When you add more energy to the water molecule, either by using your stove top or your nearest microwave,  you cause those water molecules to vibrate faster. We detect these faster vibrations by measuring an increase in the temperature of the water molecules (or in the food containing water). Which is why it’s dangerous to heat anything not containing water in your microwave, as there’s nowhere for that energy to go, since the electromagnetic radiation is tuned to excite water molecules.


To explain this to younger kids (who might confuse radio waves with sounds waves) you might try this:


There’s light everywhere, some of which you can see (like rainbows) and others that you can’t see (like the infrared beam coming from your TV remote, or the UV rays from the sun that give you a sunburn). The microwave shoots invisible light beams at your food that are tuned to heat up the water molecule.


The microwave radiation emitted by the microwave oven can also excite other polarized molecules in addition to the water molecule, which is why some plates also get hot. The soap in this experiment below will show you how a bar of Ivory soap contains air, and that air contains water vapor which will get heated by the microwave radiation and expand. Are you ready?


Here’s what you need:


[am4show have=’p8;p9;p13;p40;p68;p89;’ guest_error=’Guest error message’ user_error=’User error message’ ]


  • bar of Ivory soap
  • microwave (not a new or expensive one)
  • plate (optional)

The following experiment is a quick example of this principle using a naked bar of Ivory soap. The trick is to use Ivory, which contains an unusually high amount of air. Since air contains water moisture, Ivory also has water hidden inside the bar of soap. The microwave will excite the water molecules and your kids will never look at the soap the same way again.


Download Student Worksheet & Exercises


Toss a naked bar of Ivory soap onto a glass or ceramic plate and stick it into the microwave (don’t use a new or expensive microwave!) on HIGH for 2-3 minutes. Watch intently and remove when it reaches a “maximum”. Be careful when you touch it after taking it out of the microwave oven – it may still hold steam inside. You can still use the soap and the microwave after this experiment!


Note: Scientists refer to ‘light’ as the visible part of the electromagnetic spectrum, where radio and microwaves are lower energy and frequency than light (and the height of the wave can be the size of a football field). Gamma rays and x-rays are higher energy and frequency than light (these tend to pass through mirrors rather than bounce off them. More on that in Unit 9.)


Exercises


  1.  What is it in your food (and the soap) that is actually heated by the microwave?
  2.  How does a microwave heat things?
  3.  Touch the soap after it has been allowed to cool for a few minutes and record your observations.

[/am4show]


Crystals are formed when atoms line up in patterns and solidify.  There are crystals everywhere — in the form of salt, sugar, sand, diamonds, quartz, and many more!


To make crystals, you need to make a very special kind of solution called a supersaturated solid solution.  Here’s what that means: if you add salt by the spoonful to a cup of water, you’ll reach a point where the salt doesn’t disappear (dissolve) anymore and forms a lump at the bottom of the glass.


The point at which it begins to form a lump is just past the point of saturation. If you heat up the saltwater, the lump disappears.  You can now add more and more salt, until it can’t take any more (you’ll see another lump starting to form at the bottom).  This is now a supersaturated solid solution.  Mix in a bit of water to make the lump disappear.  Your solution is ready for making crystals.  But how?


[am4show have=’p8;p9;p13;p40;p70;p79;’ guest_error=’Guest error message’ user_error=’User error message’ ]


Here’s what you need:


  • pencil or wooden skewer
  • string
  • glass jar (cleaned out pickle, jam or may jars work great)
  • 8 cups of sugar
  • 3 cups water
  • paper clip
  • adult help and a stove
  • food coloring  is optional but fun!

If you add something for the crystals to cling to, like a rock or a stick, crystals can grow.  If you “seed” the object (coat it with the stuff you formed the solution with, such as salt or sugar), they will start forming faster. If you have too much salt (or other solid) mixed in, your solution will crystallize all at the same time and you’ll get a huge rock that you can’t pull out of the jar.  If you have too little salt, then you’ll wait forever for crystals to grow. Finding the right amount takes time and patience.


Download Student Worksheet & Exercises


1. If you plan on eating the sugar crystal when you’re done you probably want to boil water with the jar and the paper clip in it to get rid of any nasties. Be careful, and don’t touch them while they are hot.


2. Tie one end of the string to the pencil and the opposite end to the paper clip.  (You can alternatively use a skewer instead of a piece of string to make it look more like the picture above, but you’ll need to figure out a way to suspend the skewer in the jar without touching the sides or bottom of the jar.)


3. Wet the string a bit and roll it in some sugar. This will help give the sugar crystals a place to start.


4. Place the pencil across the top of the jar. Make sure the clip is at the bottom of the jar and that the string hangs straight down into the jar. Try not to let the sting touch the side of the jar.


5. Heat 3 cups of water to a boil


6. Dissolve 8 cups of sugar in the boiling water (again be careful!). Stir as you add. You should be able to get all the sugar to dissolve. You can add more sugar until you start to see undissolved bits at the bottom of the pan.  If this happens, just add a bit of water until they disappear.


7. Feel free to add some food coloring to the water.


rockcandy8. Pour the sugar water into the jar. Put the whole thing aside in a quiet place for 2 days to a week. You may want to cover the jar with a paper towel to keep dust from getting in.


You should see crystals start to grow in about 2 days. They should get bigger and bigger over the few days. Once you’re happy with how big your crystals get, you can eat them! It’s nothing but sugar! (Be sure to brush your teeth!)  This one (left) us about 6 months old.


There you go! Next time you hold a pencil, throw a ball, or put on a shoe try to keep in mind that what you’re doing is using an object that is made of tiny strange atoms all held tightly together by their bonds.


[/am4show]


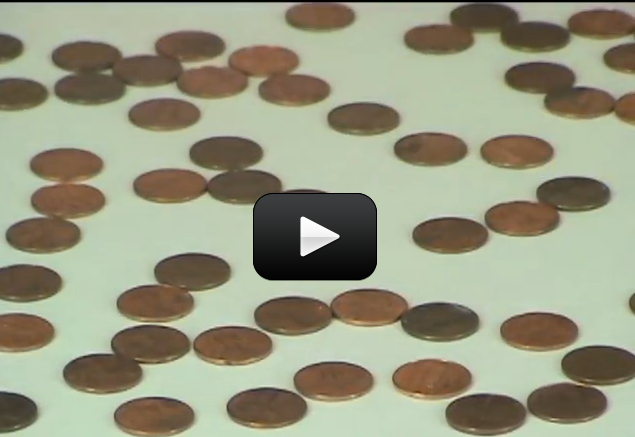
penny-structureThe atoms in a solid, as we mentioned before, are usually held close to one another and tightly together. Imagine a bunch of folks all stuck to one another with glue. Each person can wiggle and jiggle but they can’t really move anywhere.

Atoms in a solid are the same way. Each atom can wiggle and jiggle but they are stuck together. In science, we say that the molecules have strong bonds between them. Bonds are a way of describing how atoms and molecules are stuck together.


There’s nothing physical that actually holds them together (like a tiny rope or something). Like the Earth and Moon are stuck together by gravity forces, atoms and molecules are held together by nuclear and electromagnetic forces. Since the atoms and molecules come so close together they will often form crystals.


Try this experiment and then we will talk more about this:
[am4show have=’p8;p9;p13;p40;p70;p79;’ guest_error=’Guest error message’ user_error=’User error message’ ]


Here’s what you need:


  • 50 pennies
  • ruler


Download worksheet and exercises


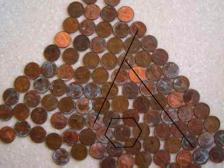
Lay about 20-50 pennies on the table so that they are all sitting flat on the table. Now, use the ruler (or your hand) to push the pennies toward one another so that you have one big glob of pennies on the table all touching one another. Don’t push so hard that they pile on top of one another. Just get one nice big flat blob of pennies.


Pretty simple huh? However, take a look at the pennies, do you notice anything? You may notice that the pennies form patterns. How could that happen? You just shoved them together you didn’t lay them out in any order. Taa daa! That’s what often happens when solids form.


The molecules are pulled so close to one another that they will form patterns, also known as matrices. These patterns are very dependent on the shape of the molecule so different molecules have a tendency to form different shaped crystals. Salt has a tendency to be “cubey”. Go take a look… and you’ll find that they are like little blocks!


Water has a tendency to from triangle or hexagon shapes which is why snowflakes have six sides. Your pennies also form a hexagon shape. Solids don’t always form crystals but they are more common than you might think. A solid that’s not in a crystalline form is called amorphous. Before you put your pennies away I want you to notice one more thing.


Here’s what you do:


1. Take your pennies and lay them flat on the table.


2. Push them together so they all touch without overlapping.


3. Place your ruler on the right hand side of your penny blob so that it’s touching the bottom half of your pennies.


4. Slowly push the ruler to the left and watch the pennies.


You may have noticed that the penny “crystal” split in quite a straight line. This is called cleavage. Since crystals form patterns the way they do they will tend to break in pretty much the same way you saw your pennies break.


Break an ice cube and take a look. You may see many straight sections. This is because the ice molecules “cleave” according to how they formed. The reason you can write with a pencil is due to this concept. The pencil is formed of graphite crystal. The graphite crystal cleaves fairly easily and allows you to write down your amazing physics discoveries!


(The image here is a graphite crystal.) [/am4show]


Can we really make crystals out of soap?  You bet!  These crystals grow really fast, provided your solution is properly saturated.  In only 12 hours, you should have sizable crystals sprouting up.

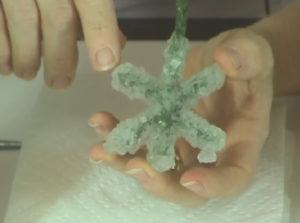
You can do this experiment with either skewers, string, or pipe cleaners.  The advantage of using pipe cleaners is that you can twist the pipe cleaners together into interesting shapes, such as a snowflake or other design.  (Make sure the shape fits inside your jar.)


[am4show have=’p8;p9;p13;p40;p68;p79;’ guest_error=’Guest error message’ user_error=’User error message’ ]


Here’s what you need:


  • pipe cleaners (or string or skewer)
  • cleaned out pickle, jam, or mayo jar
  • water
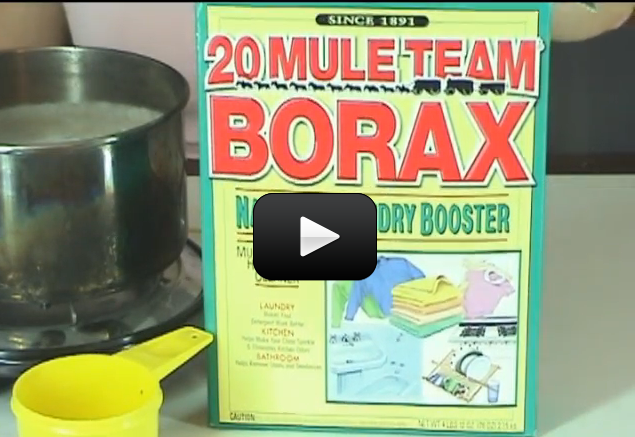
  • borax (AKA sodium tetraborate)
  • adult help, stove, pan, and stirring spoon

Here’s what you do:


1. Cut a length of string and tie it to your pipe cleaner shape; tie the other end around a pencil or wooden skewer. You want the shape suspended in the jar, not touching the bottom or sides.


2. Bring enough water to fill the jar (at least 2 cups) to a boil on the stove (food coloring is fun, but entirely optional).


3. Add 1 cup of borax (aka sodium tetraborate or sodium borate) to the solution, stirring to dissolve. If there are no bits settling to the bottom, add another spoonful and stir until you cannot dissolve any more borax into the solution. When you see bits of borax at the bottom, you’re ready.  (You’ll be adding in a lot of borax, which is why we asked you to get a full box). You have made a supersaturated solution.  Make sure your solution is saturated, or your crystals will not grow.


4. Wait until your solution has cooled to about 130oF (hot to the touch, but not so hot that you yank your hand away). Pour this solution (just the liquid, not the solid bits) into the jar with the shape.  Put the jar in a place where the crystals can grow undisturbed overnight, or even for a few days.  Warmer locations (such as upstairs or on top shelves) is best.


Download worksheet and exercises


DO  NOT EAT!!! Keep these crystals out of reach of small kids, as they look a lot like the Rock Candy Crystals.


Here are photos from kids ages 2, 7, 9 that made their own! Great job to the Fluker Family!!


[/am4show]


We’re going to take two everyday materials, salt and vinegar, and use them to grow crystals by creating a solution and allowing the liquids to evaporate.  These crystals can be dyed with food coloring, so you can grow yourself a rainbow of small crystals overnight.


The first thing you need to do is gather your materials.  You will need:


[am4show have=’p8;p9;p13;p40;p79;’ guest_error=’Guest error message’ user_error=’User error message’ ]


Here’s what you need:


  • 1 cup of warm water
  • 1/4 cup salt (non-iodized works better)
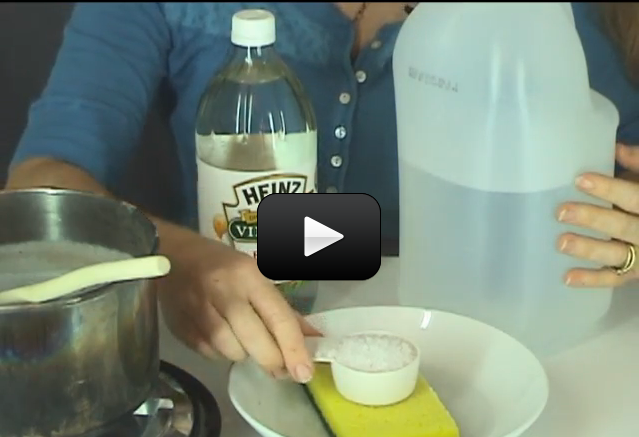
  • 2 teaspoons to 2 tablespoons of vinegar (you decide how much you want to use)
  • a shallow dish (like a pie plate)
  • a porous material to grow your crystals on (like a sponge)

First, mix together the salt, vinegar, and water in a cup.  (You cal alternatively boil the water on the stove and stir in as much salt as the water will dissolve.)  Add the vinegar after you turn off the heat. Next, place your sponge in a bowl and pour the solution over the sponge, submerging the sponge in the solution.  Leave out, undisturbed, until the liquids evaporate, leaving behind a sheet of crystals.


Download worksheet and exercises


You can add more liquid carefully to the bowl to continue the growth of your crystals for long after the first solution dries up.  Also, as your crystals grow, dot the sponge with drops of food coloring to crow various colors of crystals.


Although it takes awhile for the crystals to start growing, once they do, they will continue to grow quickly!


[/am4show]


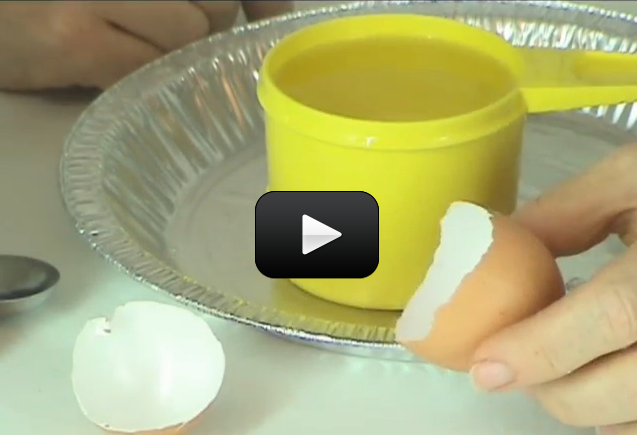
Geodes are formed from gas bubbles in flowing lava. Up close, a geode is a crystallized mineral deposit that is usually very dull and ordinary-looking on the outside.  When you crack open a geode, however, it’s like being inside a crystal cave.  We’ll use an eggshell to simulate a gas bubble in flowing lava.


We’re going to dissolve alum in water and place the solution into an eggshell. In real life, minerals are dissolved in groundwater and placed in a gas bubble pocket.  In both cases, you will be left with a geode.


Note: These crystals are not for eating, just for looking.


[am4show have=’p8;p9;p13;p40;p79;’ guest_error=’Guest error message’ user_error=’User error message’ ]


Here’s what you need:


  • clean egg shells
  • alum (check the spice section of the grocery store)
  • food dye
  • water


Download worksheet and exercises


This is a continuation of the Laundry Soap and Rock Candy experiments, so make sure you’ve done those before trying this one.


Find a clean half eggshell.  Fill a small cup with warm water and dissolve as much alum in the water as you can to make a saturated solution (meaning that if you add any more alum, it will fall to the bottom and not dissolve).


Fill the eggshells with the solution and set aside.  Observe as the solution evaporates over the next few days.  When the solution has completely evaporated, you will have a homemade geode.  If no crystals formed, then you had too much water and not enough alum in your solution.


[/am4show]


This is a continuation of the Laundry Soap and Rock Candy experiments, so make sure you’ve done those before trying this one.


[am4show have=’p8;p9;p13;p40;p79;’ guest_error=’Guest error message’ user_error=’User error message’ ]


Here’s what you need:


two clean glass jars
yarn or string
epsom salts
water
tin foil or cook sheet
adult help, sauce pot, and a stove.


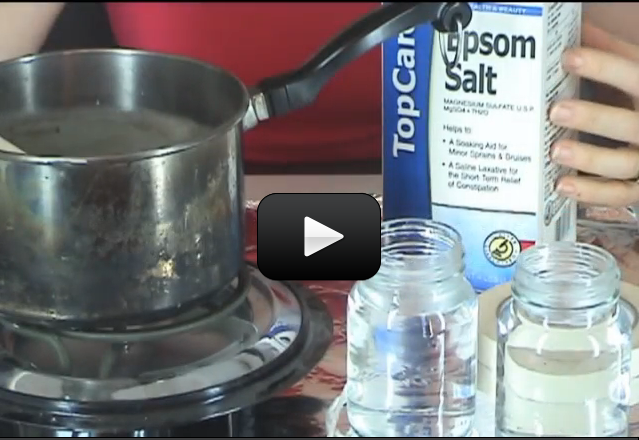
Make a supersaturated saturated solution from warm water and Epsom salts (magnesium sulfate).  (Add enough salt so that if you add more, it will not dissolve.)  Fill two empty glass jars with the salt solution.  Space the jars a foot apart on a layer of foil or on a cookie sheet.  Suspend a piece of yarn or string from one jar to the other.  Wait impatiently for about three days.  A stalactite should form from the middle of the string!


Download worksheet and exercises


[/am4show]


This experiment is for advanced students. Water Glass is another name for Sodium Silicate (Na2SiO3), which is one of the chemicals used to grow underwater rock crystal gardens. Metal refers to the metal salt seed crystal you will use to start your crystals growing.  You can use any of the following metals listed.  Note however, that certain metals will give you different colors of crystals.


Your crystals begin growing the instant you toss in the seed crystals.  These crystals are especially delicate and fragile – just sloshing the liquid around is enough to break the crystal spikes, so place your solution in a safe location before adding your seed crystals.


After your garden has finished growing to the height and width you want, simply pour out the sodium silicate solution and replace with fresh water (or no water at all).  Due do the nature of these chemicals, keep out of reach of small children, and build your garden with adult supervision.


Here’s what you need to get:


[am4show have=’p9;p40;p79;’ guest_error=’Guest error message’ user_error=’User error message’ ]


  • Clean glass jar
  • Sodium silicate (check shopping list for online ordering)
  • One (or more) of the following for different colors:
    • White – calcium chloride (found on the laundry aisle of some stores)
    • Purple – manganese (II) chloride
    • Blue – copper (II) sulfate (common chemistry lab chemical, also used for aquaria and as an algicide for pools)
    • Red – cobalt (II) chloride
    • Orange – iron (III) chloride


Download worksheet and exercises


The seed crystals are metal salts that react with the water/sodium silicate solution to climb upwards in the solution, as the products are less dense than the surrounding solution.


Troubleshooting: If you add too many seed crystals, your solution will turn cloudy and you’ll need to start all over again!  Add your seed crystals sparingly – you can always add more later.


[/am4show]


Charcoal crystals uses evaporation to grow the crystals, which will continue to grow for weeks afterward.  You’ll need a piece of very porous material, such as a charcoal briquette, sponge, or similar object to absorb the solution and grow your crystals as the liquid evaporates.  These crystals are NOT for eating, so be sure to keep your growing garden away from young children and pets! This project is exclusively for advanced students, as it more involves toxic chemicals than just salt and sugar.


[am4show have=’p9;p40;p79;’ guest_error=’Guest error message’ user_error=’User error message’ ]


The materials you will need for this project:


  • Charcoal Briquettes (or pieces of sponge or brick or porous rock)
  • Distilled Water
  • Uniodized Salt
  • Ammonia (Keep this out of reach of children!)
  • Laundry Bluing
  • Food Coloring (optional)
  • Pie Plate (glass or tin)
  • Measuring Spoons
  • Disposable Cup
  • Popsicle Stick


Download worksheet and exercises


The first thing you’ll need to whip up a batch of solution, then you’ll start growing your garden.  Here’s how you do it:


1. Into a disposable cup, stir together (use a popsicle stick to mix it up, not your good silverware) 1 cup of water, 1 tablespoon of ammonia, 1/2 cup of laundry bluing, and 1/2 cup of salt (non-iodized).


2. Place your charcoal or sponge in a pie tin and pour your solution from step 1 over it.


3. Wait impatiently for a few days to one week.  As the liquid evaporates, the salts are left behind, forming your crystals.


4. Continue to add more solution (to replace the evaporated solution) to keep your crystals growing.  Think of it as ‘watering’ (with your special solution) your crystals, which are growing in your ‘soil’ (sponge).


5. You can dot the sponge with drops of food coloring to grow different colors in your garden.


Questions to Consider…

Why do you think you needed ammonia and ‘laundry bluing’ for this experiment?  What is ‘laundry bluing’, anyway?  Why do the crystals form just on the porous object and not the glass/metal pie plate?   Let us know in the comment field below what you think:


[/am4show]


Let’s see how much you’ve picked up with these experiments and the reading – answer as best as you can. (No peeking at the answers until you’re done!) Just relax and see what jumps to mind when you read the question. You can also print these out and jot down your answers in your science notebook.
[am4show have=’p8;p9;p13;p40;’ guest_error=’Guest error message’ user_error=’User error message’ ]


Click here to download the K-8 Exercises & Answers in PDF format.


1. What is the lowest energy form of matter found naturally?


2. What is the highest energy form of matter?


3. Why do many solids form crystals?


4. If I bend a pencil so far that it breaks, what have I done to it?


5. I love to play with paper clips. However, by the time I’m done with them they are all bent out of shape. (Paper clips run when they see me coming!) How can you explain that using a term from this lesson.


6. Why do crystals tend to break along specific lines?


Need answers?


[/am4show]


Let’s see how you did! If you didn’t get a few of these, don’t let it stress you out – it just means you need to play with more experiments in this area. We’re all works in progress, and we have our entire lifetime to puzzle together the mysteries of the universe!


Answers:
[am4show have=’p8;p9;p13;p40;’ guest_error=’Guest error message’ user_error=’User error message’ ]


1. Solids. Remember BEC is only found in science labs.


2. Plasma.


3. The molecules are pulled so tightly together that they tend to fall into specific patterns.


4. I have bent it beyond its tension and/or compression point.


5. I have bent the paper clip beyond its point of elasticity so it no longer snaps back to its original shape.


6. Crystals break along cleavage lines which are there due to the way the molecules lined up when the crystal formed.


[/am4show]