This experiment is for advanced students.
In gas form, element #59 is deadly. However, when iodine is in liquid form, it helps heal cuts and scrapes. The iodine molecule occurs in pairs, not as a single atom (many halogens do this, and it’s called a diatomic molecule). It’s hard to find iodine in nature, though it’s essential for staying healthy… too little iodine in the body takes a heavy toll on how well the brain operates.
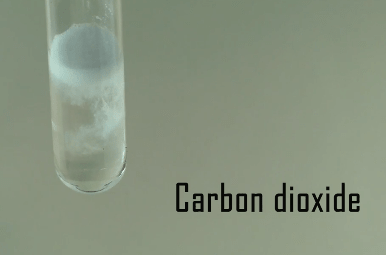
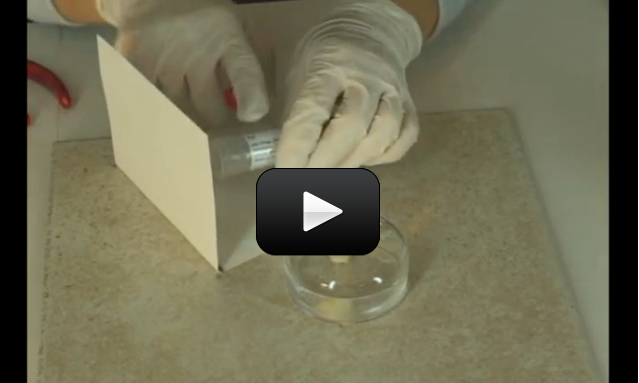
A chunk of iodine is blackish-blue, and will sublimate (go from a solid straight to a gas, as seen in the photo here). Iodine is the heaviest element needed by living things. Iodized salt is sodium chloride fortified with iodine to prevent people from not getting enough iodine in their daily diets.
Iodine is found in seaweed (kelp) and seafood as well as vegetables that are grown in dirt that has high iodine levels. People that live inland and do not eat fish often have lower iodine levels than their coastal, fish-eating neighbors. The trick is not to get too much or too little iodine in your diet, because the symptoms of deficiency and excess levels are quite similar.
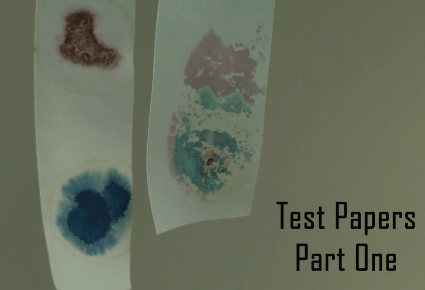
Starch (like cornstarch) are used as an indicator for detecting iodine in chemistry experiments. When combined with iodine, starch forms a blue-black color in the solution. We’re going to do this and many other activities in this lab, because this experiment is actually several labs rolled into one. First, we have to make iodine, store it, and then we get to use it in several experiments. Are you ready?
Please
login or
register to read the rest of this content.