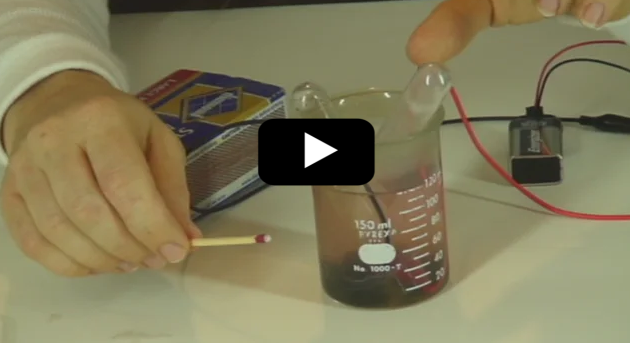
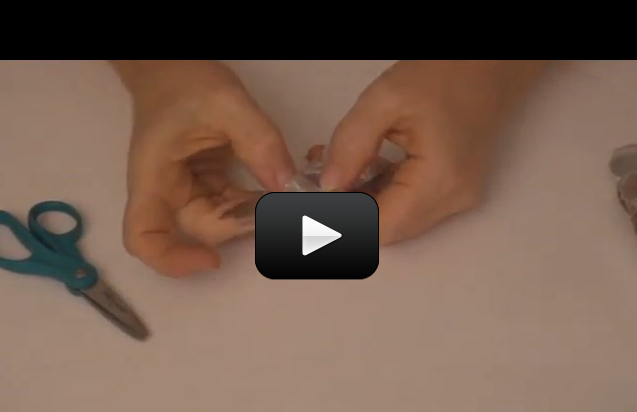
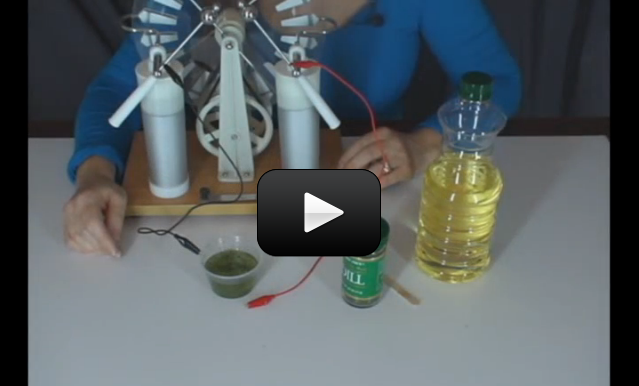
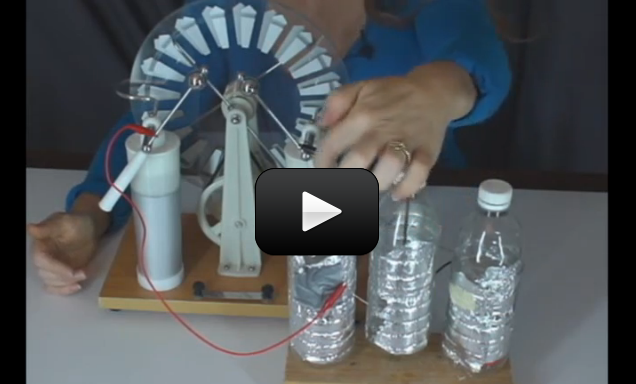
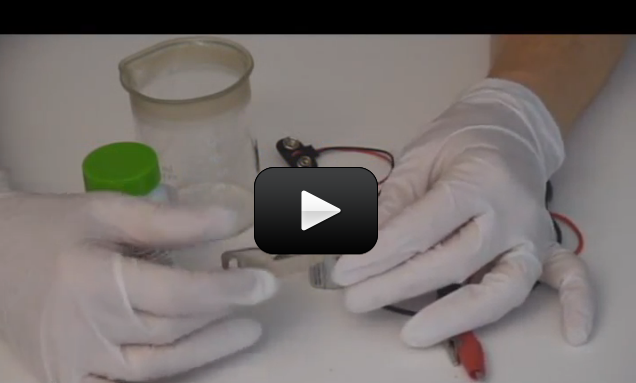
This experiment is just for advanced students. If you guessed that this has to do with electricity and chemistry, you’re right! But you might wonder how they work together. Back in 1800, William Nicholson and Johann Ritter were the first ones to split water into hydrogen and oxygen using electrolysis. (Soon afterward, Ritter went on to figure out electroplating.) They added energy in the form of an electric current into a cup of water and captured the bubbles forming into two separate cups, one for hydrogen and other for oxygen.
This experiment is not an easy one, so feel free to skip it if you need to. You don’t need to do this to get the concepts of this lesson but it’s such a neat and classical experiment (my students love it) so you can give it a try if you want to. The reason I like this is because what you are really doing in this experiment is ripping molecules apart and then later crashing them back together.
Have fun and please follow the directions carefully. This could be dangerous if you’re not careful. The image shown here is using graphite from two pencils sharpened on both ends, but the instructions below use wire. Feel free to try both to see which types of electrodes provide the best results.
Please login or register to read the rest of this content.


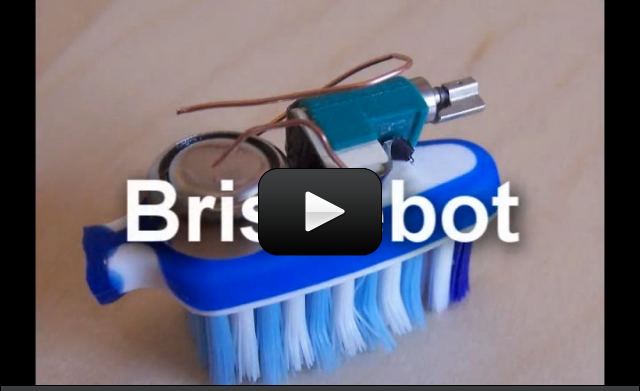
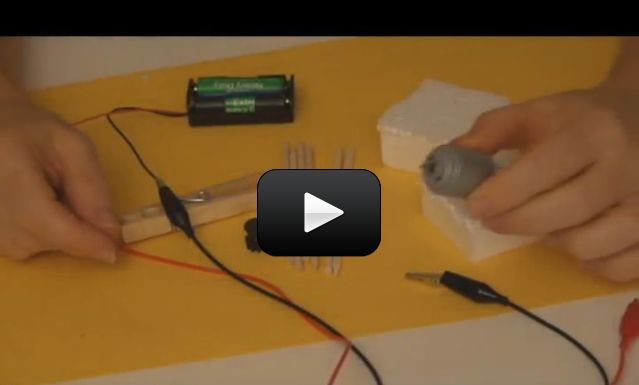
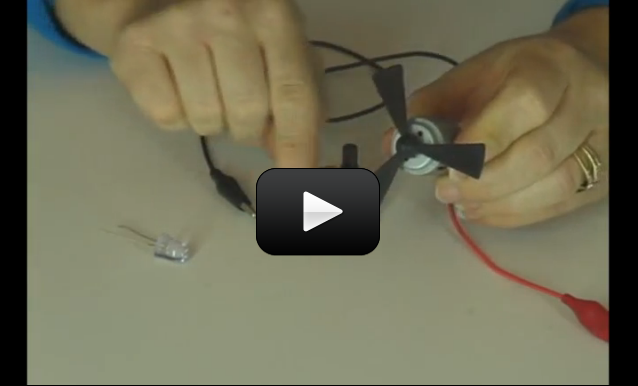
 Ever wonder how a cell phone vibrates? What mechanism could be in such a tiny space to make the entire phone jiggle around? Well, there’s a tiny motor inside with an off-center weight on the shaft, called an eccentric drive.
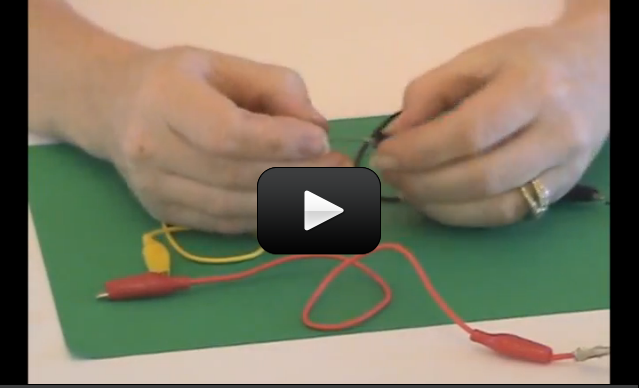
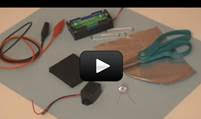
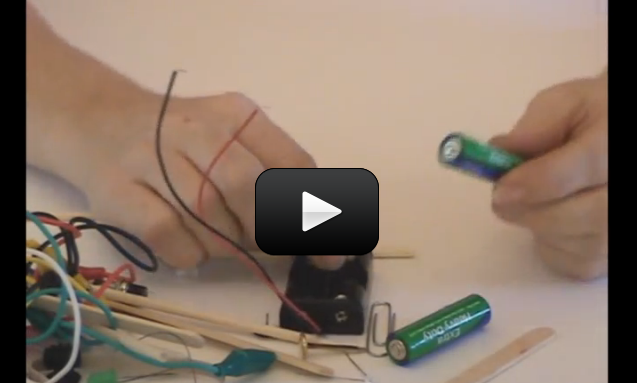
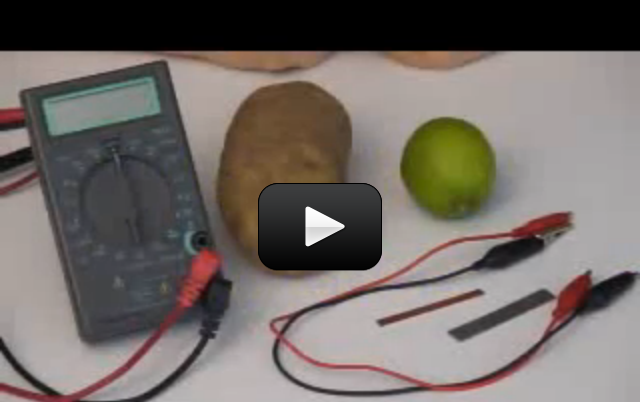
 Make yourself a grab bag of fun things to test: copper pieces (nails or pipe pieces), zinc washers, pipe cleaners, Mylar, aluminum foil, pennies, nickels, keys, film canisters, paper clips, load stones (magnetic rock), other rocks, and just about anything else in the back of your desk drawer.
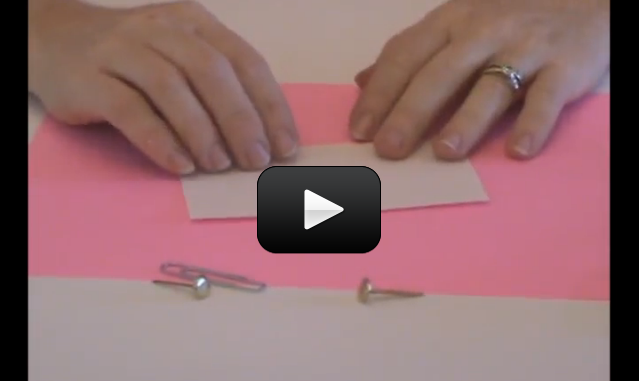
 When you turn on a switch, it’s difficult to really see what’s going on… which is why we make our own from paperclips, brass fasteners, and index cards.
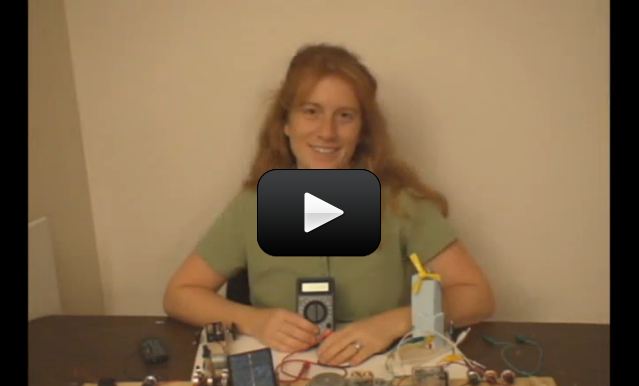
 One of the most useful tools a scientist can have! A
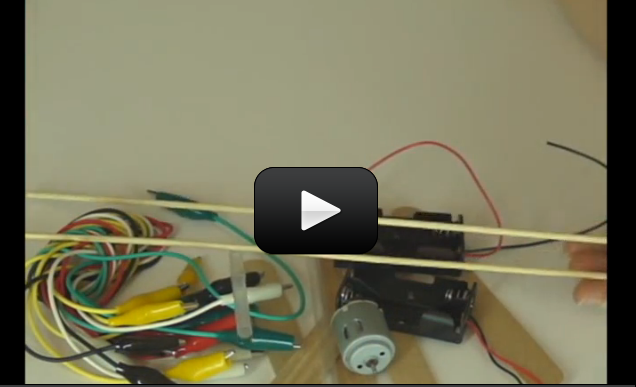
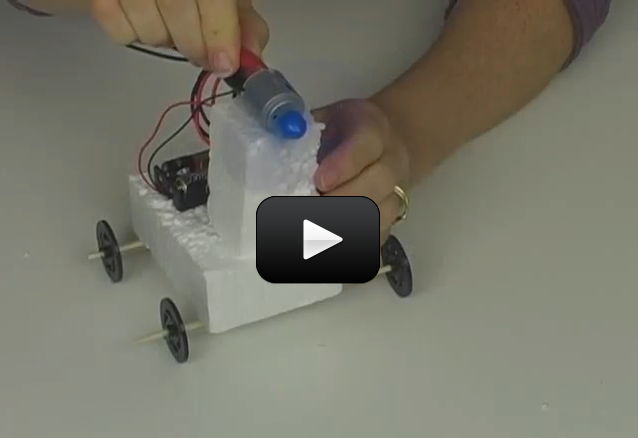
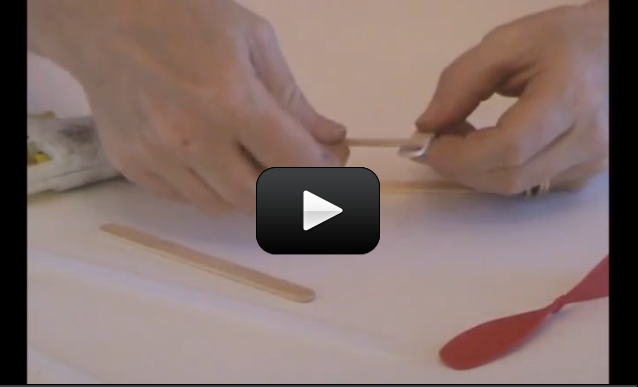
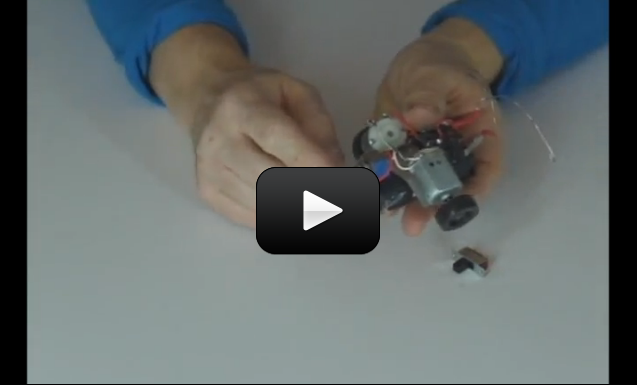
 If you have a pet, they’ll be sure to get a great workout chasing this nifty little robot. If you can, I totally encourage you to make two or more and have a contest!
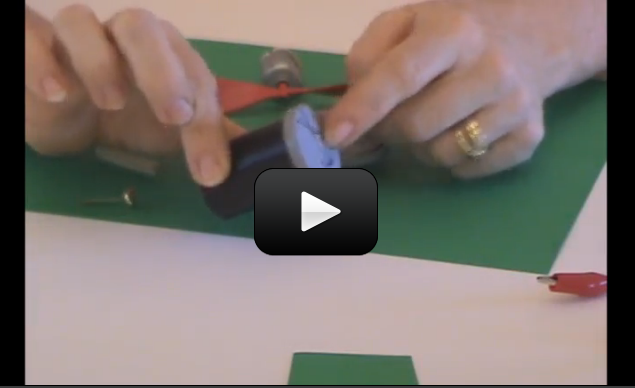
 Racerbots can steer, unlike the
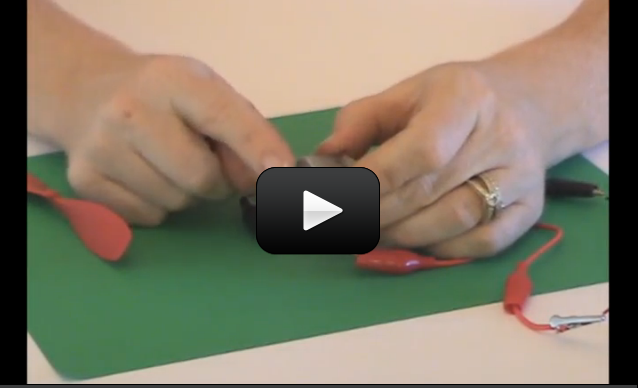
 This project is advanced students. If you like tiny robots, then this one is for you! Powered by cheap hobby motors, this fast little robot zips ’round and avoids obstacles using momentary switches and an idler wheel for a tail.
 This project is for advanced students.
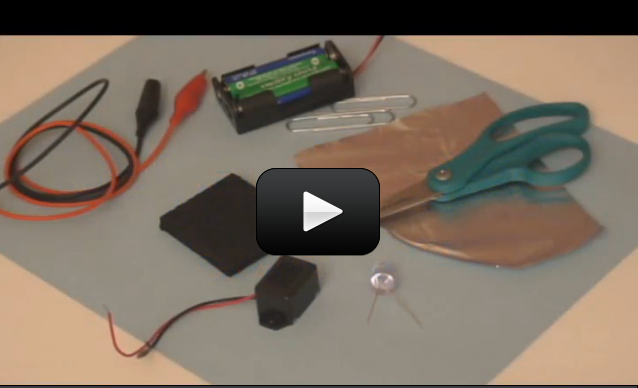

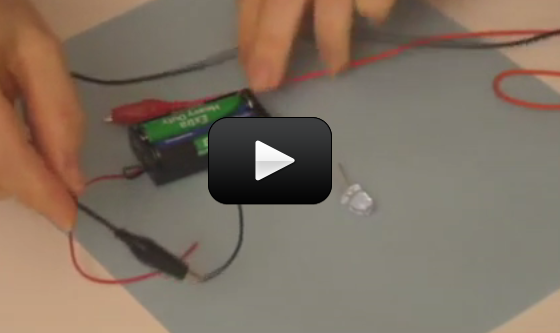
 So now you know how to hook up a
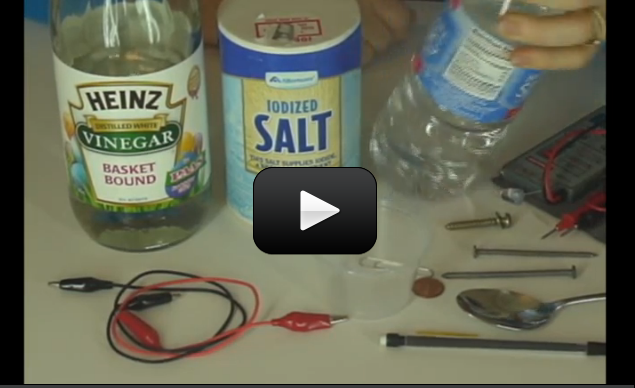
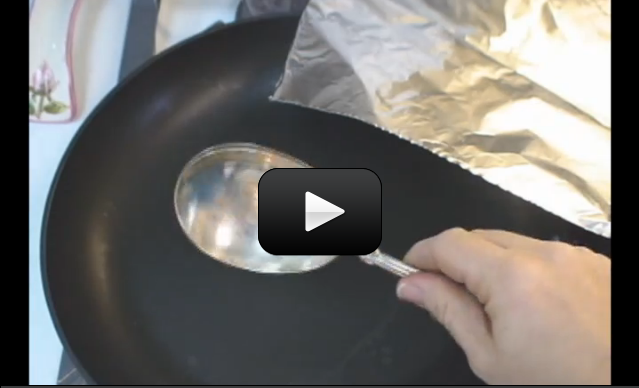
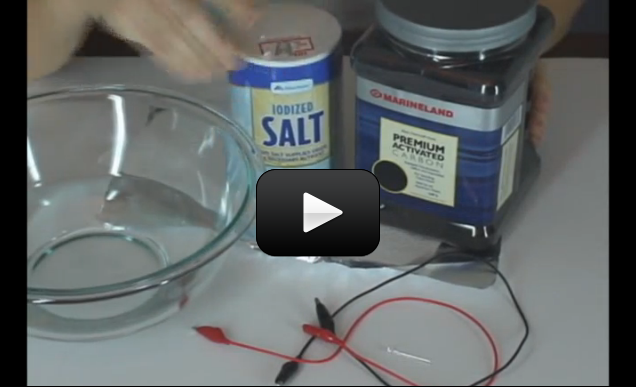
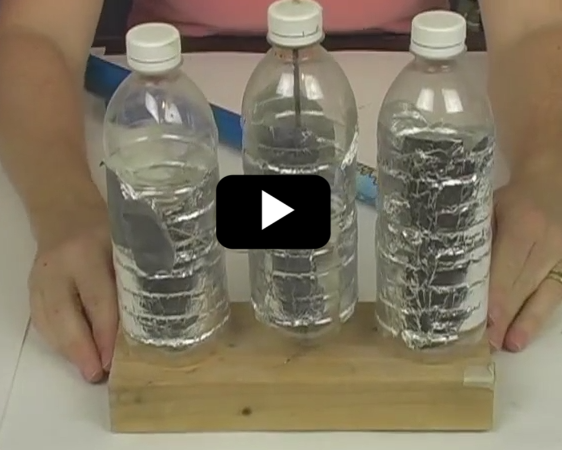
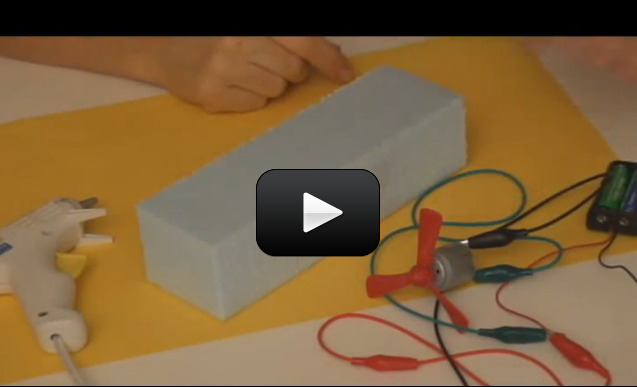
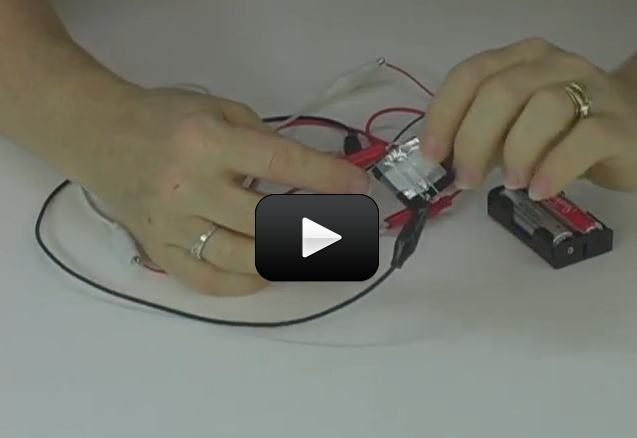
 It’s easy to use chemistry to generate electricity, once you understand the basics. With this experiment, you’ll use aluminum foil, salt, air, and a chemical from an aquarium to create an air battery. This experiment is for advanced students.
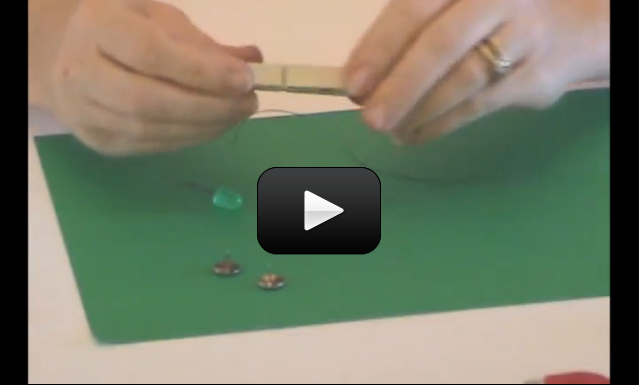
 Electrical circuits are used for all kinds of applications, from blenders to hair dryers to cars. And games! Here’s a quick and easy game using the principles of conductivity.
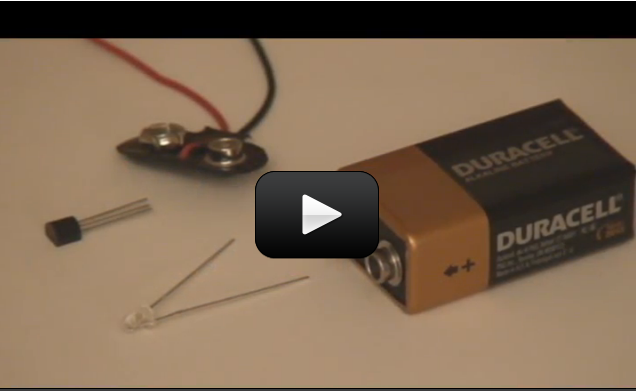
 This simple FET circuit is really an electronic version of the
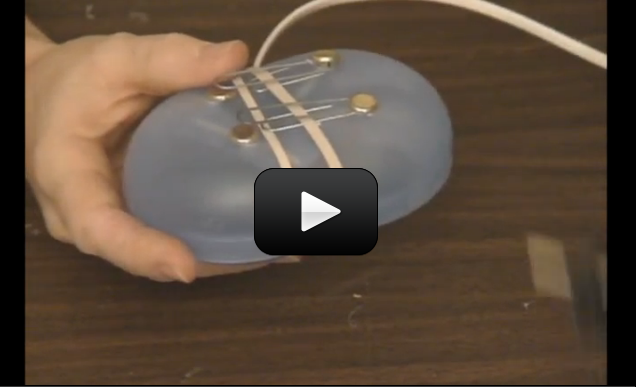
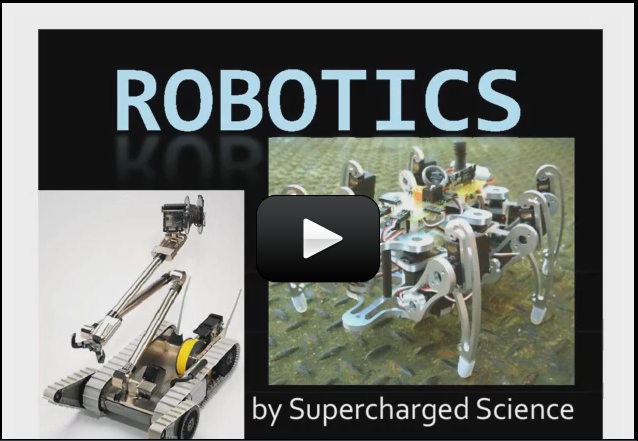
 Radio control (RC) is a 100 year-old technology. RC requires both a transmitter and a receiver. The control box sends commands to the robot the same way you change channels on the TV with the remote.
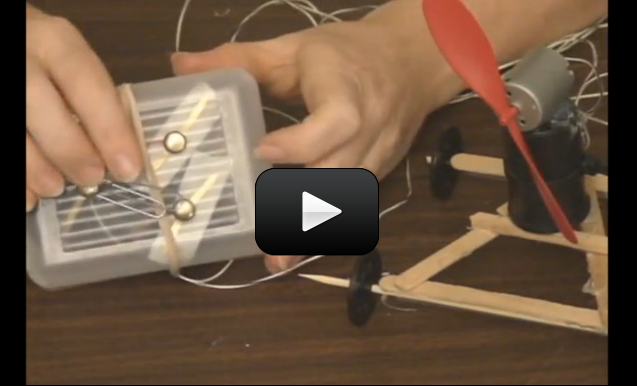

 The smallest thing around is the atom, which has three main parts – the core (nucleus) houses the protons and neutrons, and the electron zips around in a cloud around the nucleus.