There’s a couple of misconceptions that I’d like to make sure get cleared up here a bit. I don’t want to go into too much detail but I want to make sure to mention these as they may be important as you go deeper into your physics education.
First, friction is not a fundamental force. Friction is actually caused by the elemental force of electro-magnetism between two objects.
Secondly, friction isn’t “caused” by the roughness or smoothness of an object. Friction is caused by two objects, believe it or not, chemically bonding to one another. Scientists call it “
stick and slip”.
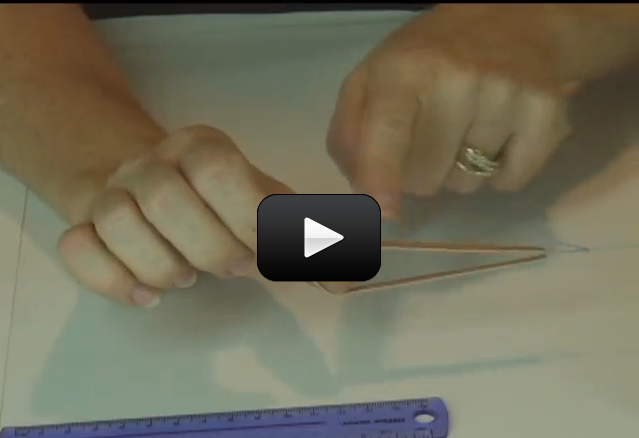
Think about it this way. When you pull the wood in this experiment, notice that the force needed to get the board moving was more then the force was to keep it moving. The surface you were pulling the board on never got any rougher or smoother, it stayed pretty much the same.
So why was it harder to get the board moving?
When the board is just sitting there, the chemical bonds between the board and the surface can be quite strong. When the board is moving however, the bonds are much weaker.
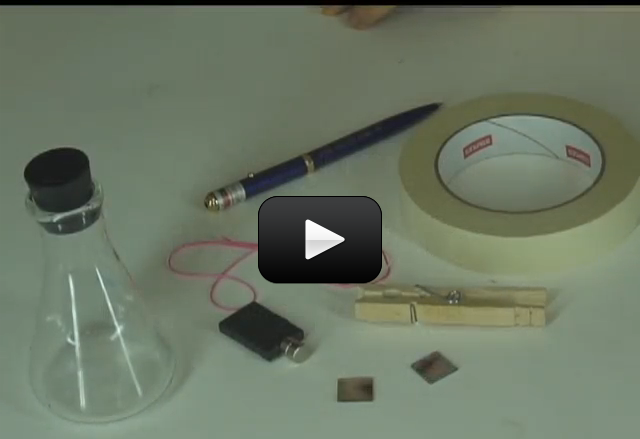
Here's what you need:
Please
login or
register to read the rest of this content.
Please
login or
register to read the rest of this content.

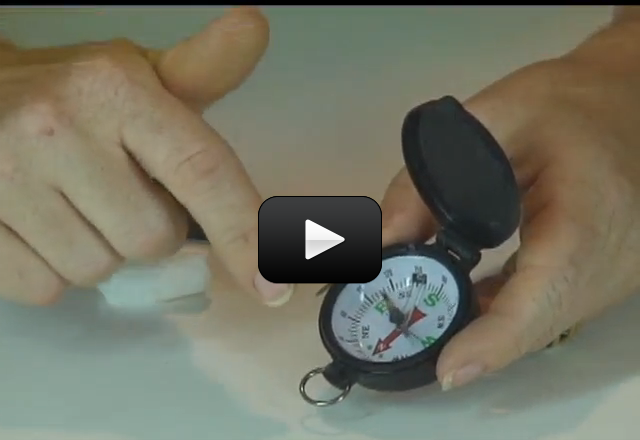
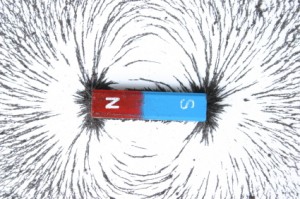 The electromagnetic field is a bit strange. It is caused by either a magnetic field or an electric field moving. If a magnetic field moves, it creates an electric field. If an electric field moves, it creates a magnetic field.
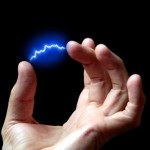 You are actually fairly familiar with electric fields too, but you may not know it. Have you ever rubbed your feet against the floor and then shocked your brother or sister? Have you ever zipped down a plastic slide and noticed that your hair is sticking straight up when you get to the bottom? Both phenomena are caused by electric fields and they are everywhere!
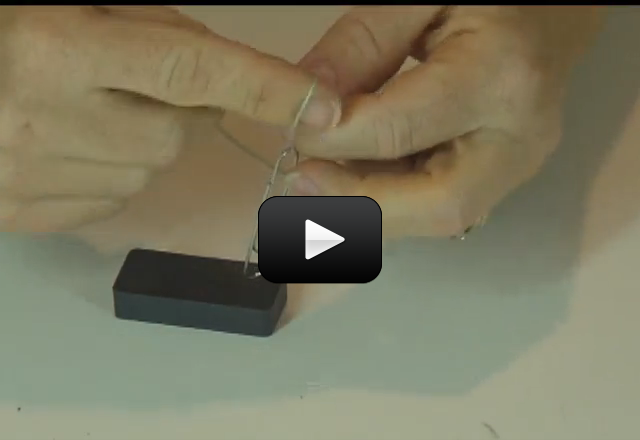

 Did you know that your cereal may be magnetic? Depending on the brand of cereal you enjoy in the morning, you’ll be able to see the magnetic effects right in your bowl. You don’t have to eat this experiment when you’re done, but you may if you want to (this is one of the ONLY times I’m going to allow you do eat what you experiment with!) For a variation, pull out all the different boxes of cereal in your cupboard and see which has the greatest magnetic attraction.
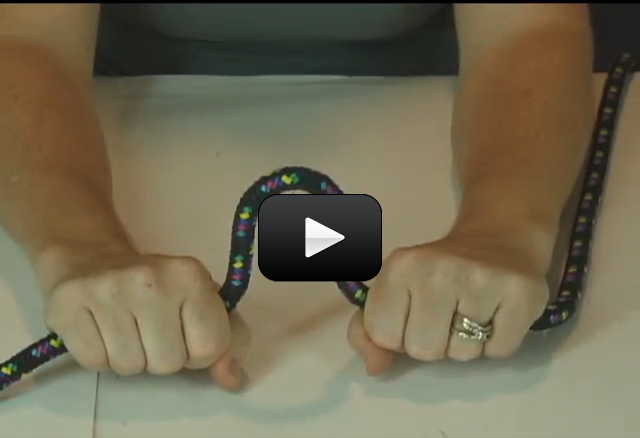


 Find a smooth, cylindrical support column, such as those used to support open-air roofs for breezeways and outdoor hallways (check your local public school or local church). Wind a length of rope one time around the column, and pull on one end while three friends pull on the other in a tug-of-war fashion.
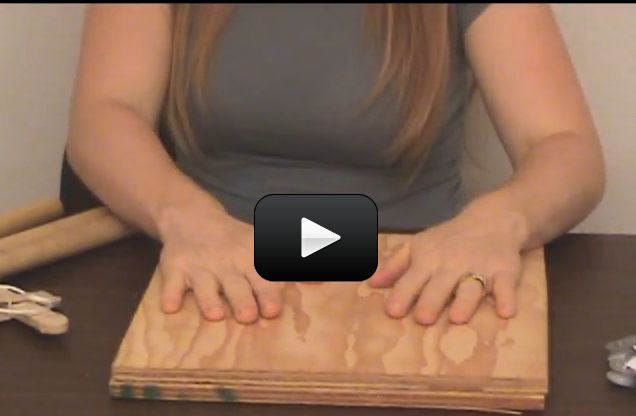
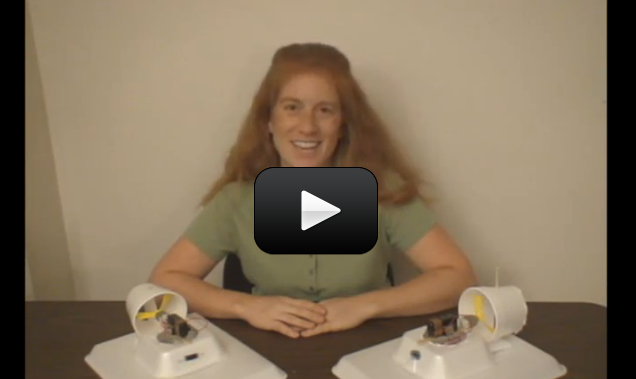
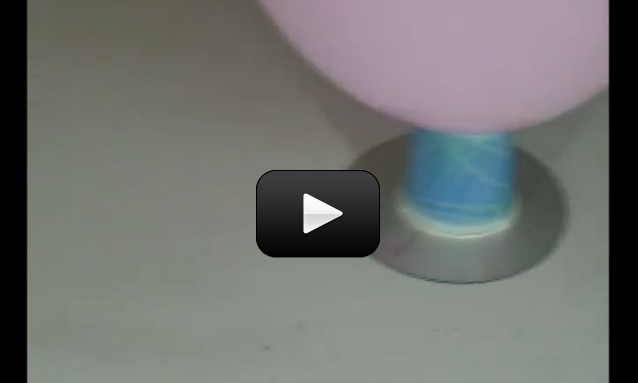
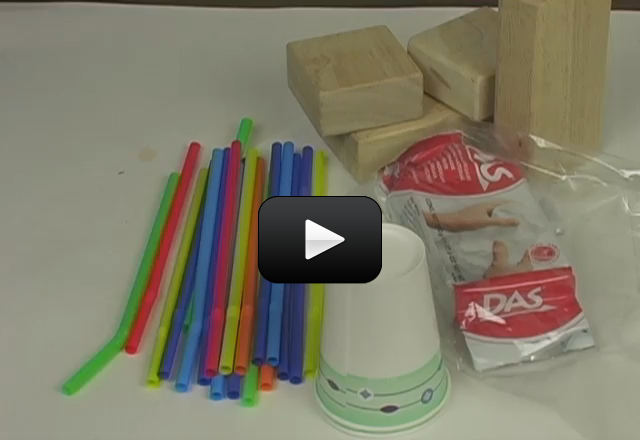
 Hovercraft transport people and their stuff across ice, grass, swamp, water, and land. Also known as the Air Cushioned Vehicle (ACV), these machines use air to greatly reduce the sliding friction between the bottom of the vehicle (the skirt) and the ground. This is a great example of how lubrication works – most people think of oil as the only way to reduce sliding friction, but gases work well if done right.