This is a recording of a recent live teleclass I did with thousands of kids from all over the world. I've included it here so you can participate and learn, too!

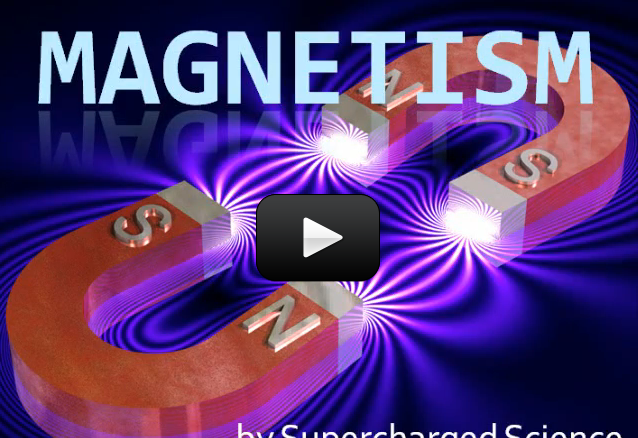
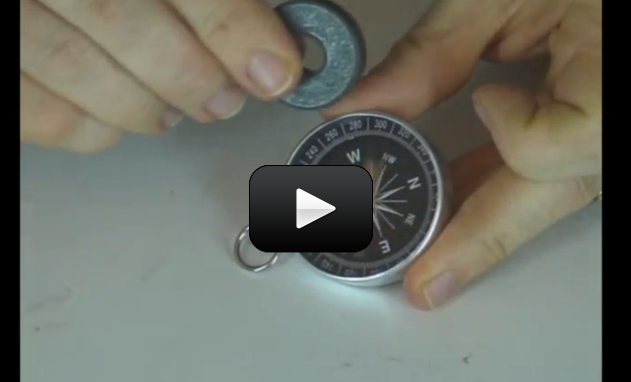
Discover how to detect magnetic fields, learn about the Earth's 8 magnetic poles, and uncover the mysterious link between electricity and magnetism that marks one of the biggest discoveries of all science…ever.

Materials:
  • Box of paperclips
  • Two magnets (make sure one of them ceramic because we're going to break it)
  • Compass
  • Hammer
  • Nail
  • Sandpaper or nail file
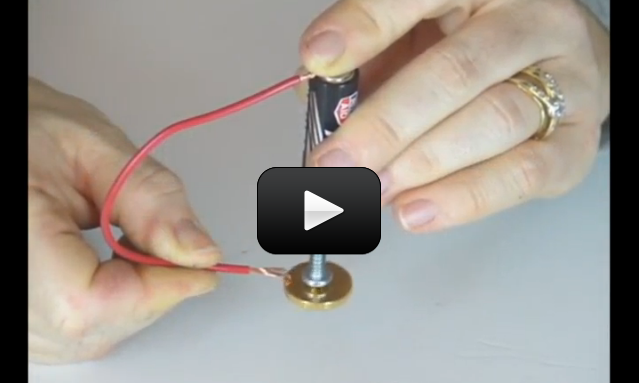
  • D cell battery
  • Rubber band
  • Magnet Wire
Optional Materials if you want to make the Magnetic Rocket Ball Launcher:Four ½” (12mm) neodymium magnets
  • Nine ½” (12 mm) ball bearings
  • Toilet paper tube or paper towel tube
  • Ruler with groove down the middle
  • Eight strong rubber bands
  • Scissors


Please login or register to read the rest of this content.


An electromagnet is a magnet you can turn on and off using electricity. By hooking up a coil of wire up to a battery, you will create an electromagnet. When you disconnect it, it turns back into a coil of wire. Since moving electrons cause a magnetic field, when connecting the two ends of your wire up to the battery, you caused the electrons in the wire to move through the wire in one direction. Since many electrons are moving in one direction, you get a magnetic field!
Please login or register to read the rest of this content.


Galvanometers are coils of wire connected to a battery. When current flows through the wire, it creates a magnetic field. Since the wire is bundled up, it multiplies this electromagnetic effect to create a simple electromagnet that you can detect with your compass.
Please login or register to read the rest of this content.


After you’ve completed the galvanometer experiment, try this one!


You can wrap wire around an iron core (like a nail), which will intensify the effect and magnetize the nail enough for you to pick up paperclips when it’s hooked up. See how many you can lift!


You can wrap the wire around your nail using a drill or by hand. In the picture to the left, there are two things wrong: you need way more wire than they have wrapped around that nail, and it does not need to be neat and tidy. So grab your spool and wrap as much as you can – the more turns you have around the nail, the stronger the magnet.


(We included this picture because there are so many like this in text books, and it’s quite misleading! This image is supposed to represent the thing you’re going to build, not be an actual photo of the finished product.)


Find these materials:


  • Batteries in a battery holder with alligator clip wires
  • A nail that can be picked up by a magnet
  • At least 3 feet of insulated wire (magnet wire works best but others will work okay)
  • Paper Clips
  • Masking Tape
  • Compass
Please login or register to read the rest of this content.

Have you noticed that stuff sticks to your motor?  If you drag your motor through a pile of paperclips, a few will get stuck to the side. What’s going on?


Inside your motor are permanent magnets (red and blue things in the photo) and an electromagnet (the copper thing wrapped around the middle). Normally, you’d hook up a battery to the two tabs (terminals) at the back of the motor, and your shaft would spin.


However, if you spin the motor shaft with your fingers, you’ll generate electricity at the terminals. But how is that possible? That’s what this experiment is all about.


Please login or register to read the rest of this content.

Find a spare magnet – one you really don’t care about. Bring it up close to another magnet to find where the north and south poles are on the spare magnet. Did you find them? Mark the spots with a pen – put a N for north, and a S for south. Now break the spare magnet in half, separating the north from the south pole. (This might take a bit of muscle!) You should have one half be a north magnet, and the other a south. Or do you?


One of the big mysteries of the universe is why we can’t separate the north from the south end of a magnet. No matter how small you break that magnet down, you’ll still get one side that’s attracted to the north and the other that’s repelled. There’s just no way around this!


If you COULD separate the north from the south pole, you could point a magnet’s south pole toward your now-separated north pole, and it would always be repelled, no matter what orientation it rotated to. (Normally, as soon as the magnet is repelled, it twists around and lines up the opposite pole and snap! There go your fingers.) But if it were always repelled, you could chase it around the room or stick a pin through it so it would constantly move and rotate.


Well, what if we sneakily use electromagnetism? Note that you can use a metal screw, ball bearing, or other metal object that easily rotates.  If your metal ball bearing is also magnetic, you can combine both the screw and the magnet together.


Famous scientist Michael Faraday built the first one of these while studying magnetic and electricity, and how they both fit together. What to see what he figured out?


Here’s what you do:


Please login or register to read the rest of this content.

relay-bigThis experiment is for advanced students. If you’ve attempted the relay and telegraph experiment, you already know it’s one of the hardest ones in this unit, as the gap needs to be *just right* in order for it to work. It’s a super-tricky experiment that can leave you frustrated and losing hope that you’ll ever get the hang of this magnetism thing.


Fear not, young scientist! Here’s a MUCH simpler relay experiment that will actually give a nice blue spark when fired up, along with a nice zap to the hand that touches it in just the right spot. You can also use this relay in your electricity experiments as a switch you can use to turn things on and off using electricity (instead of your fingers moving a switch), including how to make a latching burglar alarm circuit.


Please login or register to read the rest of this content.

shock6
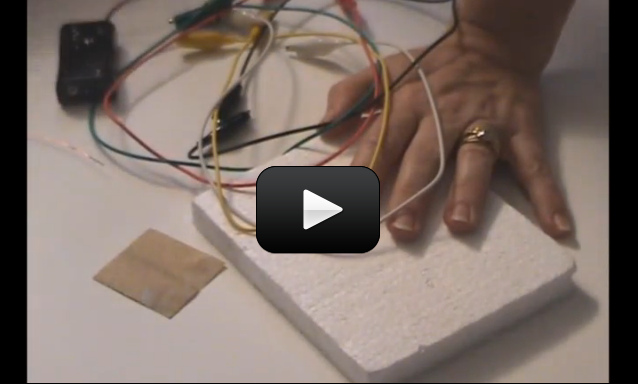
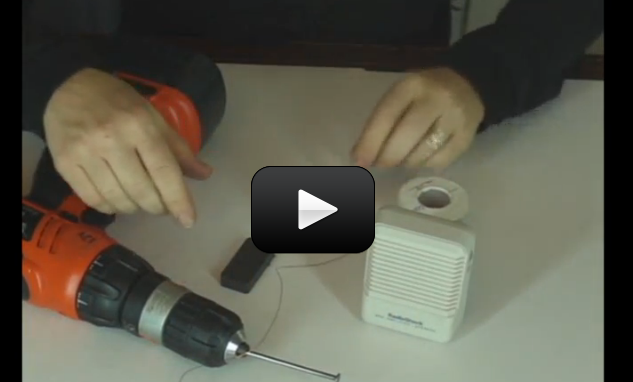
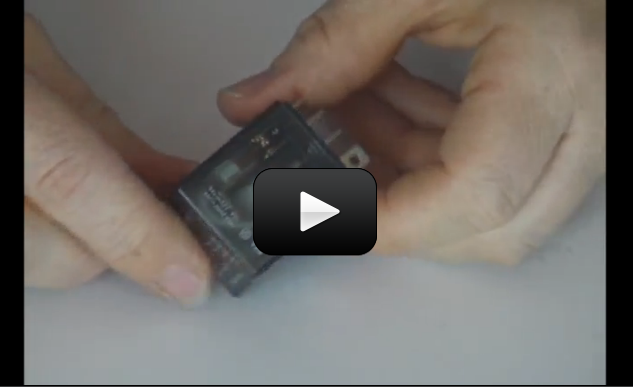
Relays are telegraphs, and they both are basically “electrical switches”. This means you can turn something on and off without touching it – you can use electricity to switch something else on or off!


We’re going to build our own relay that will attract a strip of metal to make our telegraph ‘click’ each time we energize the coil.


IMPORTANT! This experiment is very tricky to get working right. You’ll want to pair up with someone who’s handy in the workshop and has a keen eye and a feather touch for adjusting the clicker in the final step. Someone who is a patient, fix-it type of person will be able to help you get this project working well.


Note: There are bonus experiment ideas near the bottom once you’ve mastered this activity.


Please login or register to read the rest of this content.

dcmotor
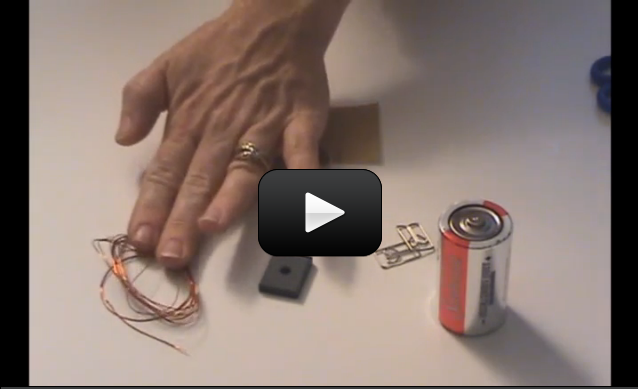
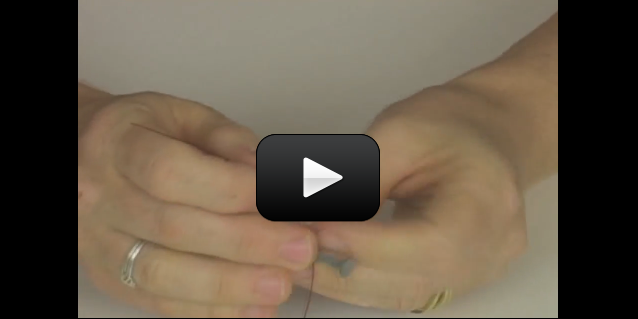
Imagine you have two magnets. Glue one magnet on an imaginary record player (or a ‘lazy susan’ turntable) and hold the other magnet in your hand. What happens when you bring your hand close to the turntable magnet and bring the north sides together?


The magnet should repel and move, and since it’s on a turntable, it will circle out of the way. Now flip your hand over so you have the south facing the turntable. Notice how the turntable magnet is attracted to yours and rotates toward your hand. Just as it reaches your hand, flip it again to reveal the north side. Now the glued turntable magnet pushes away into another circle as you flip your magnet over again to attract it back to you. Imagine if you could time this well enough to get the turntable magnet to make a complete circle over and over again… that’s how a motor works!


This next activity mystifies even the most scientifically educated! Here’s what you need:


Materials:


  • magnet
  • magnet wire (26g works well)
  • D cell battery
  • two paper clips (try to find the ones shown in the video, or else bend your own with pliers)
  • sandpaper
  • fat rubber band
Please login or register to read the rest of this content.

Want to hear your magnets? We’re going to use electromagnetism to learn how you can listen to your physics lesson, and you’ll be surprised at how common this principle is in your everyday life. This project is for advanced students.


We’re going to invert the ideas used when we created our homemade speakers into a basic microphone. Although you won’t be able to record with this microphone, it will show you how the basics of a microphone and amplifier work, and how to turn sound waves back into electrical signals. You’ll be using the amplifier and your spare audio plug from the Laser Communicator for this project.


Please login or register to read the rest of this content.

We’re going to build on the quick ‘n’ easy DC motor to make a tiny rail accelerator (any larger, and you’ll need a power plant and a firing range and a healthy dose of ethics.) So let’s stick to the physics of what’s going on in this super-cool electromagnetism project. This project is for advanced students.


Here’s what we’re going to do:


We’re going to create two magnetic fields at right angles (perpendicular) to each other. When this happens, it causes things to move, spin, rotate, and roll out of the way. We’re going to focus this down to making a tiny set of wheel zip down a track powered only by magnetism. Ready?


Please login or register to read the rest of this content.