This project is for advanced students.This Stirling Engine project is a very advanced project that requires skill, patience, and troubleshooting persistence in order to work right. Find yourself a seasoned Do-It-Yourself type of adult (someone who loves to fix things or tinker in the garage) before you start working on this project, or you’ll go crazy with nit-picky things that will keep the engine from operating correctly. This makes an excellent project for a weekend.
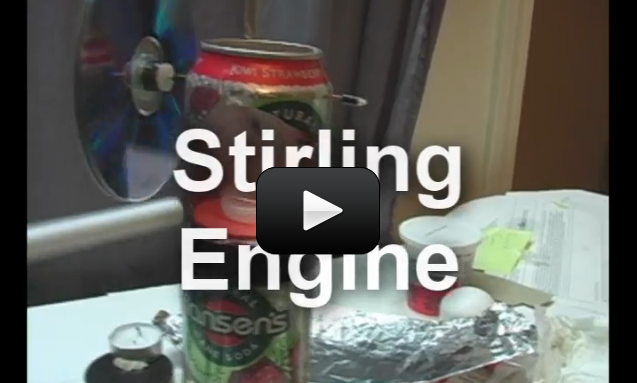
Developed in 1810s, this engine was widely used because it was quiet and could use almost anything as a heat source. This kind of heat engine squishes and expands air to do mechanical work. There’s a heat source (the candle) that adds energy to your system, and the result is your shaft spins (CD).
This engine converts the expansion and compression of gases into something that moves (the piston) and rotates (the crankshaft). Your car engine uses internal combustion to generate the expansion and compression cycles, whereas this heat engine has an external heat source.
This experiment is great for chemistry students learning about Charles’s Law, which is also known as the Law of Volumes, which describes how gases tend to expand when they are heated and can be mathematically written like this:

where V = volume, and T = temperature. So as temperature increases, volume also increases. In the experiment you’re about to do, you will see how heating the air causes the diaphragm to expand which turns the crank.
[am4show have=’p9;p49;p85;p88;p103;’ guest_error=’Guest error message’ user_error=’User error message’ ]
Here’s what you need:
- three soda cans
- old inner tube from a bike wheel
- super glue and instrant dry
- electrical wire (3- conductor solid wire)
- 3 old CDs
- one balloon
- penny
- nylon bushing (from hardware store)
- alcohol burner (you can build one out of soda cans or Sterno canned heat)
- fishing line (15lb. test or similar)
- pack of steel wool
- drill with 1/16″ bit
- pliers
- scissors
- razor
- wire cutters
- electrical tape
- push pin
- permanent marker
- Swiss army knife (with can opener option)
- template
- HINT: The “circle template” mentioned at 21:57 is actually just a circle traced from the bottom of the soda can onto a sheet of paper
The Stirling heat engine is very different from the engine in your car. When Robert Stirling invented the first Stirling engine in 1816, he thought it would be much more efficient than a gasoline or diesel engine. However, these heat engines are used only where quiet engines are required, such as in submarines or in generators for sailboats.
Download Student Worksheet & Exercises
Here’s how a Stirling engine is different from the internal-combustion engine inside your car. For example, the gases inside a Stirling engine never leave the engine because it’s an external combustion engine. This heat engine does not have exhaust valves as there are no explosions taking place, which is why Stirling engines are quieter. They use heat sources that are outside the engine, which opens up a wide range of possibilities from candles to solar energy to gasoline to the heat from your hand.
There are lots of different styles of Stirling engines. In this project, we’ll learn about the Stirling cycle and see how to build a simple heat engine out of soda cans. The main idea behind the Stirling engine is that a certain volume of gas remains inside the engine and gets heated and cooled, causing the crankshaft to turn. The gases never leave the container (remember – no exhaust valves!), so the gas is constantly changing temperature and pressure to do useful work. When the pressure increases, the temperature also increases. And when the temperature of the gases decreases, the pressure also goes down. (How pressure and temperature are linked together is called the “Ideal Gas Law”.)
Some Stirling engines have two pistons where one is heated by an external heat source like a candle and the other is cooled by external cooling like ice. Other displacer-type Stirling engines has one piston and a displacer. The displacer controls when the gas is heated and cooled.
In order to work, the heat engine needs a temperature difference between the top and bottom of the cylinder. Some Stirling engines are so sensitive that you can simply use the temperature difference between the air around you and the heat from your hand. Our Stirling engine uses temperature difference between the heat from a candle and ice water.
The balloon at the top of the soda can is actually the ‘power piston’ and is sealed to the can. It bulges up as the gas expands. The displacer is the steel wool in the engine which controls the temperature of the air and allows air to move between the heated and cooled sections of the engine.
When the displacer is near the top of the cylinder, most of the gas inside the engine is heated by the heat source and gas expands (the pressure builds inside the engine, forcing the balloon piston up). When the displacer is near the bottom of the cylinder, most of the gas inside the engine cools and contracts. (the pressure decreases and the balloon piston is allowed to contract).
Since the heat engine only makes power during the first part of the cycle, there’s only two ways to increase the power output: you can either increase the temperature of the gas (by using a hotter heat source), or by cooling the gases further by removing more heat (using something colder than ice).
Since the heat source is outside the cylinder, there’s a delay for the engine to respond to an increase or decrease in the heat or cooling source. If you use only water to cool your heat engine and suddenly pop an ice cube in the water, you’ll notice that it takes five to fifteen seconds to increase speed. The reason is because it takes time for the additional heat (or removal of heat by cooling) to make it through the cylinder walls and into the gas inside the engine. So Stirling engines can’t change the power output quickly. This would be a problem when getting on the freeway!
In recent years, scientists have looked to this engine again as a possibility, as gas and oil prices rise, and exhaust and pollutants are a concern for the environment. Since you can use nearly any heat source, it’s easy to pick one that has a low-fume output to power this engine. Scientists and engineers are working on a model that uses a Stirling engine in conjunction with an internal-combustion engine in a hybrid vehicle… maybe we’ll see these on the road someday!
Exercises
- What is the primary input of energy for the Stirling engine?
- As Pressure increases in a gas, what happens to temperature?
- It increases
- Nothing
- It decreases
- It increases, then decreases
- What is the primary output of the Stirling engine?
[/am4show]
 Does it really matter what angle the solar cell makes with the incoming sunlight? If so, does it matter much? When the sun moves across the sky, solar cells on a house receive different amounts of sunlight. You’re going to find out exactly how much this varies by building your own solar boat.
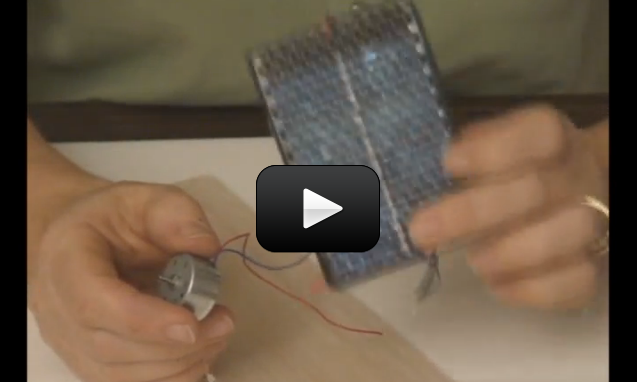
 Solar energy (power) refers to collecting this energy and storing it for another use, like driving a car. The sun blasts 174 x 1015 watts (which is 174,000,000,000,000,000 watts) of energy through radiation to the earth, but only 70% of that amount actually makes it to the surface. And since the surface of the earth is mostly water, both in ocean and cloud form, only a small fraction of the total amount makes it to land.

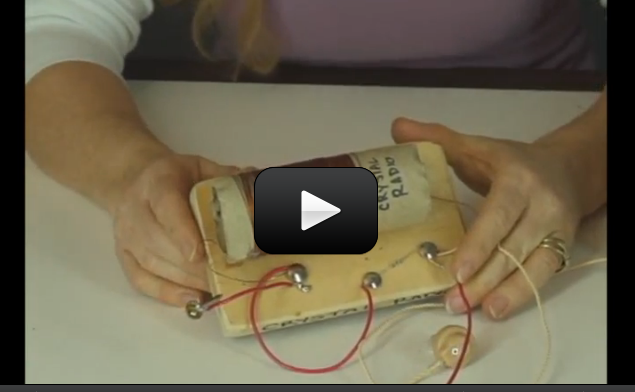
 This project is for advanced students. A crystal radio is among the simplest of radio receivers – there’s no battery or power source, and nearly no moving parts. The source of power comes directly from the radio waves themselves.
 This project is for advanced students. We’re going to build a car that runs entirely on sunlight and water. Use energy from the sun, we’ll first use a solar cell to convert sunlight into electricity.