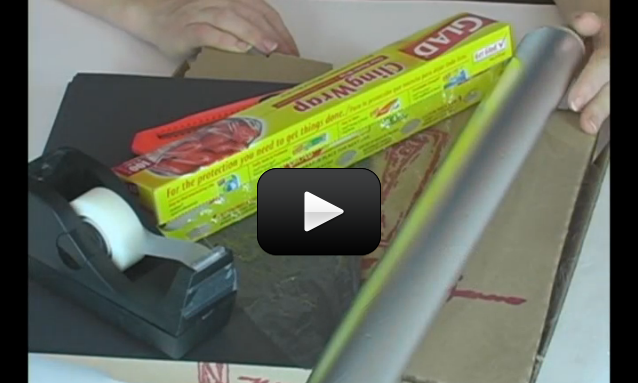
Can you use the power of the sun without using solar cells? You bet! We’re going to focus the incoming light down into a heat-absorbing box that will actually cook your food for you.


Remember from Unit 9 how we learned about photons (packets of light)?  Sunlight at the Earth’s surface is mostly in the visible and near-infrared (IR) part of the spectrum, with a small part in the near-ultraviolet (UV). The UV light has more energy than the IR, although it’s the IR that you feel as heat.


We’re going to use both to bake cookies in our homemade solar oven. There are two different designs – one uses a pizza box and the other is more like a light funnel. Which one works best for you?


  • Two large sheets of poster board (black is best)
  • Aluminum foil
  • Plastic wrap
  • Black construction paper
  • Cardboard box
  • Pizza box (clean!)
  • Tape & scissors
  • Reusable plastic baggies
  • Cookie dough (your favorite)
Please login or register to read the rest of this content.

expansionpacks_clip_image004_0000Does it really matter what angle the solar cell makes with the incoming sunlight? If so, does it matter much? When the sun moves across the sky, solar cells on a house receive different amounts of sunlight. You’re going to find out exactly how much this varies by building your own solar boat.


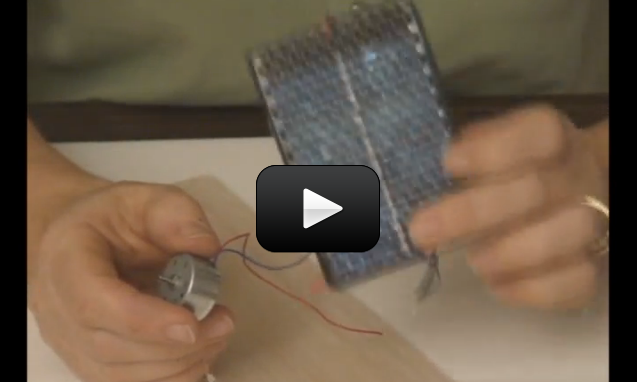
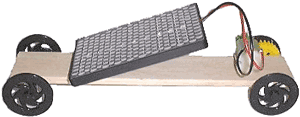
We’re going to use solar cells and the basic ideas from Unit 10 (Electricity & Robotics) to build a solar-powered race car.  You’ll need to find these items below.  Note – if you have trouble locating parts, check the shopping list for information on how to order it straight from us.


  • Solar motor
  • Solar cell
  • Foam block (about 6” long)
  • Alligator clip leads
  • Propeller (you can rip one off an old small personal fan or old toy, or find them at hobby stores)

Here’s what you do:


Please login or register to read the rest of this content.

solarboatSolar energy (power) refers to collecting this energy and storing it for another use, like driving a car. The sun blasts 174 x 1015 watts (which is 174,000,000,000,000,000 watts) of energy through radiation to the earth, but only 70% of that amount actually makes it to the surface. And since the surface of the earth is mostly water, both in ocean and cloud form, only a small fraction of the total amount makes it to land.


A solar cell converts sunlight straight into electricity. Most satellites are powered by large solar panel arrays in space, as sunlight is cheap and readily available out there. While solar cells seem ‘new’ and modern today, the first ones were created in the 1880s, but were a mere 1% efficient. (Today, they get as high as 35%.) A solar cell’s efficiency is a measure of how much sunlight the cell converts into electrical energy.


We’re going to use solar cells and the basic ideas from Unit 10 (Electricity & Robotics) to build a solar-powered race car.  You’ll need to find these items below.  Note – if you have trouble locating parts, check the shopping list for information on how to order it straight from us.


  • Solar cell
  • Solar motor
  • Foam block (about 6” long)
  • Alligator clip leads
  • 2 straws (optional)
  • 2 wooden skewers (optional)
  • 4 milk jug lids or film can tops
  • Set of gears, one of which fits onto your motor shaft (most solar motor kits come with a set), or rip a set out of an old toy

Here’s what you do:


Please login or register to read the rest of this content.

841958


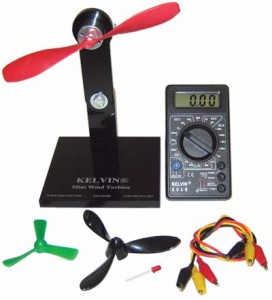
Believe it or not, most of the electricity you use comes from moving magnets around coils of wire! Wind turbines spin big coils of wire around very powerful magnets (or very powerful magnets around big coils of wire) by capturing the flow.


Here’s how it works: when a propeller is placed in a moving fluid (like the water from your sink or wind from your hair dryer), the propeller turns. If you attach the propeller to a motor shaft, the motor will rotate, which has coils of wire and magnets inside. The faster the shaft turns, the more the magnets create an electrical current.


The electricity to power your computer, your lights, your air conditioning, your radio or whatever, comes from spinning magnets or wires! Refer to Unit 11 for more detail about how moving magnets create electricity.


We’re going to build a wind turbine that will actually give you different amounts of electricity depending on which way your propeller is facing. Ready?


You’ll need to find these items below.  Note – if you have trouble locating parts, check the shopping list for information on how to order it straight from us.


  • A digital Multimeter
  • Alligator clip leads
  • 1.5-3V DC Motor
  • 9-18VDC Motor
  • Bi-polar LED
  • Foam block (about 6” long)
  • Propeller from old toy or cheap fan, or balsa wood airplane

Here’s what you do:


Please login or register to read the rest of this content.

Do you like marshmallows cooked over a campfire? What if you don’t have a campfire, though? We’ll solve that problem by building our own food roaster – you can roast hot dogs, marshmallows, anything you want. And it’s battery-free, as this device is powered by the sun.


NOTE: This roaster is powerful enough to start fires! Use with adult supervision and a fire extinguisher handy.


If you’re roasting marshmallows, remember that they are white – the most reflective color you can get.  If you coat your marshmallows with something darker (chocolate, perhaps?), your marshmallow will absorb the incoming light instead of reflecting it.


Here’s what you need to get:


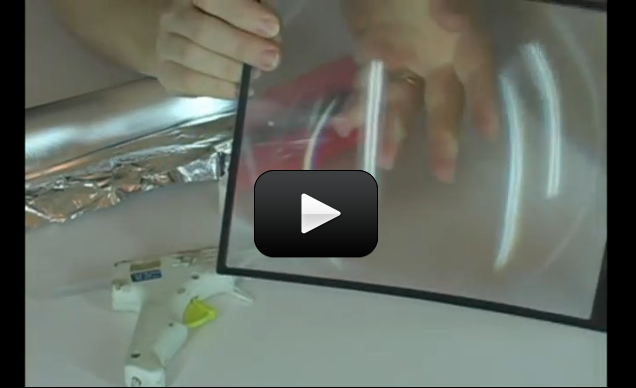
  • 7×10” page magnifier (Fresnel lens)
  • Cardboard box, about a 10” cube
  • Aluminum foil
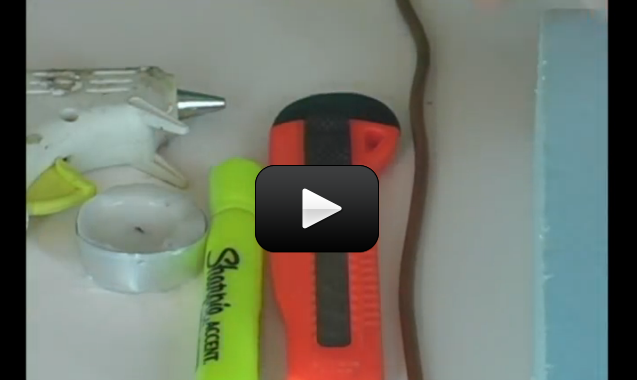
  • Hot glue, razor, scissors, tape
  • Wooden skewers (BBQ-style)
  • Chocolate, marshmallows, & graham crackers

Here’s what you do:


Download Student Worksheet & Exercises


How does it do that? The Fresnel lens is a lot like a magnifying glass.  In Unit 9, we learned how convex lenses are thicker in the middle (you can feel it with your fingers).  A Fresnel lens (first used in the 1800s to focus the beam in a lighthouse) has lots of ridges you can feel with your fingers.  It’s basically a series of magnifying lenses stacked together in rings (like in a tree trunk) to magnify an image.


The best thing about Fresnel lenses is that they are lightweight, so they can be very large (which is why light houses used these designs). Fresnel lenses curve to keep the focus at the same point, no matter close your light source is.


The Fresnel lens in this project is focusing the incoming sunlight much more powerfully than a regular hand held magnifier. But focusing the light is only part of the story with your roaster.  The other part is how your food cooks as the light hits it.  If your food is light-colored, it’s going to cook slower than darker (or charred) food. Notice how the burnt spots on your food heat up more quickly!


Scientifically Dissecting a Marshmallow

Plants take in energy (from the sun), water, and carbon dioxide (which is carbon and oxygen) and create sugar, giving off the oxygen. In other words: carbon + water + energy = sugar


  1. In this experiment, we will reverse this equation, by roasting a marshmallow, which is mostly sugar.
  2. When you roast your marshmallow, first notice the black color. This is the carbon.
  3. Next notice the heat and light given off. These are two forms of energy.
  4. Finally, put the roasting marshmallow if a mason jar. Notice that condensation forms on the sides. This is the water.

So, by roasting the marshmallow, we showed: sugar = carbon + water + energy!


Please login or register to read the rest of this content.

In 1920’s, these were a big hit. They were originally called “Putt Putt Steam Boats”, and were fascinating toys for adults and kids alike. We’ll be making our own version that will chug along for hours. This is a classic demonstration for learning about heat, energy, and how to get your kids to take a bath.


Here’s what you need to build your own:


  • Copper tubing (1/8”-1/4” dia x 12” long)
  • Votive candle
  • Foam block
  • Scissors or razor (with adult help)
  • Bathtub

Here’s what you need to do:


Download Student Worksheet & Exercises


  1. Wrap the copper tubing 2-3 times around a thick marker. You want to create a ‘coil’ with the tubing. Do this slowly so you don’t kink the tubing. End with two 3” parallel tails. (This is easier if you start in the middle of the tubing and work outwards in both directions.)
  2. Stick each tail through a block of foam. Bend the wires to they run along the length of the bottom of the boat, slightly pointed upwards. (You can also use a plastic bottle cut in half.)
  3. Position a votive candle on the topside of the boat and angle the coil so it sits right where the flame will be.
  4. To start your boat, fill the bathtub with water. While your tub fills, hold the tubing in the running water and completely fill the coil with water.
  5. Have your adult helper light the candle. In a moment, you should hear the ‘putt putt’ sounds of the boat working!
  6. Troubleshooting: if your boat doesn’t work, it could be a few things:
    1. The tubing has an air bubble. In this case, suck on one of the ends like a straw to draw in more water. Heating an air bubble will not make the boat move – it needs to be completely filled with water.
    2. Your coil is not hot enough. You need the water to turn into steam, and in order for this to happen, you have to heat the coil as hot as you can. Move the coil into a better position to get heat from the flame.
    3. The exhaust pipes are angled down. You want the stem to move up and out of your pipes, not get sucked back in. Adjust the exit tubing tails so they point slightly upwards.

How Do They Work? Your steam boat uses a votive candle as a heat source to heat the water inside the copper tubing (which is your boiling chamber). When the water is heated to steam, the steam pushes out the tube at the back with a small burst of energy, which pushes the boat forward.


Since your chamber is small, you only get a short ‘puff’ of energy. After the steam zips out, it creates a low pressure where it once was inside the tube, and this draws in fresh, cool water from the tub. The candle then heats this new water until steam and POP! it goes out the back, which in turn draws in more cool water to be heated… and on it goes. The ‘clicking’ or ‘putt putt’ noise you hear is the steam shooting out the back. This is go on until you either run out of water or heat.


Bonus! Here’s a video from a member that colored the water inside the pipe so they could see when it got pushed out! Note that the boat usually runs as fast as the first video on this page. The boats here are getting warmed up, ready to go, so they only do one or two puffs before they really start up.


Exercises Answer the questions below:


  1. Name three sources of renewable or alternative energy:
  2. Why is it important to look for renewable sources of energy?
  3. What is one example of a fossil fuel?
Please login or register to read the rest of this content.
This is the kind of energy most people think of when you mention ‘alternative energy’, and for good reason! Without the sun, none of anything you see around you could be here. Plants have known forever how to take the energy and turn it into usable stuff… so why can’t we?


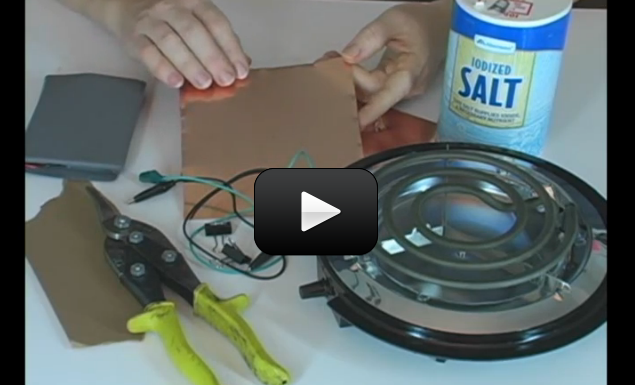
The truth is that we can. While normally it takes factories the size of a city block to make a silicon solar cell, we’ll be making a copper solar cell after a quick trip to the hardware store. We’re going to modify the copper into a form that will allow it to react with sunlight the same way silicon does. The image shown here is the type of copper we’re going to make on the stovetop.


This solar cell is a real battery, and you’ll find that even in a dark room, you’ll be able to measure a tiny amount of current. However, even in bright sunlight, you’d need 80 million of these to light a regular incandescent bulb.


Please login or register to read the rest of this content.
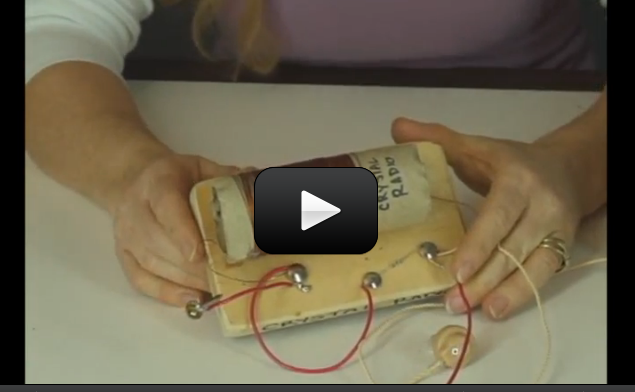
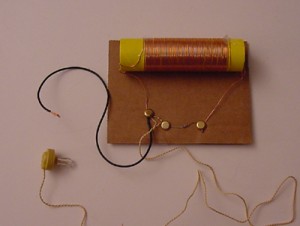
xtal3This project is for advanced students. A crystal radio is among the simplest of radio receivers – there’s no battery or power source, and nearly no moving parts. The source of power comes directly from the radio waves themselves.


The crystal radio turns the radio signal directly into a signal that the human ear can detect. Your crystal radio detects in the AM band that have been traveling from stations (transmitters) thousands of miles away. After working with the electromagnetic spectrum in Unit 9 where we played with frequency and wavelengths of light, you’ll find that you’ve got all the basics for picking up AM radio stations using simple equipment from an electronics store.


The radio is made up of a tuning coil (magnet wire wrapped around a toilet paper tube), a detector (germanium diode) and crystal earphones, and an antenna wire.


One of the biggest challenges with detecting low-power radio waves is that there is no amplifier on the radio to boost the signal strength. You’ll soon figure out that you need to find the quietest spot in your house away from any transmitters (and loud noises) that might interfere with the reception when you build one of these.


One of things you’ll have is to figure out the best antenna length to produce the clearest, strongest radio signal in your crystal radio. I’m going to walk you through making three different crystal radio designs.


Materials:


  • Toilet paper tube
  • Magnet wire
  • Germanium diode: 1N34A
  • 4.7k-ohm resistor
  • Alligator clip test leads
  • 100’ stranded insulated wire (for the antenna)
  • Scrap of cardboard
  • Brass fasteners (3-4)
  • Telephone handset or get a crystal earphone

Here’s what you do:


Please login or register to read the rest of this content.

This project is for advanced students.This Stirling Engine project is a very advanced project that requires skill, patience, and troubleshooting persistence in order to work right.  Find yourself a seasoned Do-It-Yourself type of adult (someone who loves to fix things or tinker in the garage) before you start working on this project,  or you’ll go crazy with nit-picky things that will keep the engine from operating correctly.  This makes an excellent project for a weekend.


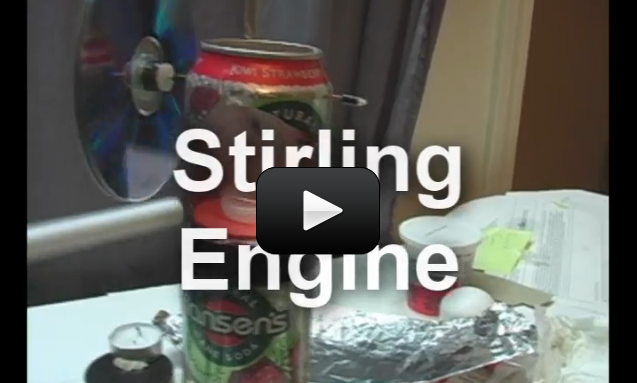
Developed in 1810s, this engine was widely used because it was quiet and could use almost anything as a heat source. This kind of heat engine squishes and expands air to do mechanical work. There’s a heat source (the candle) that adds energy to your system, and the result is your shaft spins (CD).


This engine converts the expansion and compression of gases into something that moves (the piston) and rotates (the crankshaft). Your car engine uses internal combustion to generate the expansion and compression cycles, whereas this heat engine has an external heat source.


This experiment is great for chemistry students learning about Charles’s Law, which is also known as the Law of Volumes, which describes how gases tend to expand when they are heated and can be mathematically written like this:


where V = volume, and T = temperature. So as temperature increases, volume also increases. In the experiment you’re about to do, you will see how heating the air causes the diaphragm to expand which turns the crank.


Please login or register to read the rest of this content.

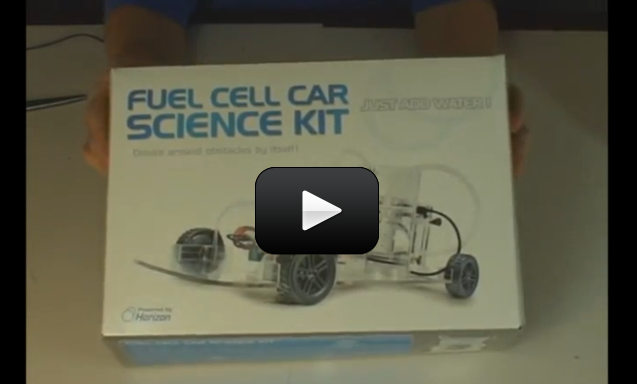
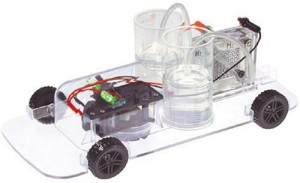
41wpr5+y2qLThis project is for advanced students. We’re going to build a car that runs entirely on sunlight and water.  Use energy from the sun, we’ll first use a solar cell to convert sunlight into electricity.

Then we’ll use that electricity to split the water molecule (H2O) into hydrogen and oxygen atoms and store them in separate tanks.


Lastly, we’ll flip the system around to allow the hydrogen and oxygen gases to mix, which will produce the power to run the car and create an exhaust product that’s just plain water.


How does that sound?
Please login or register to read the rest of this content.


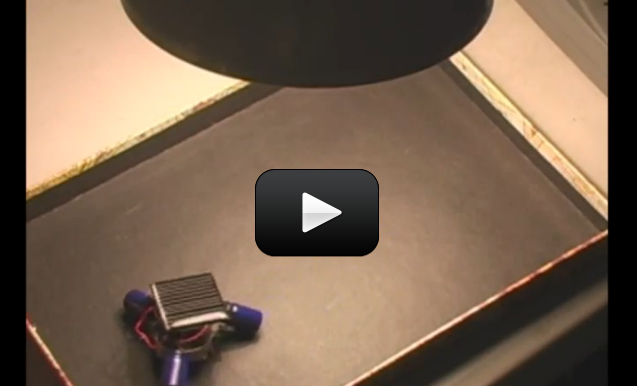
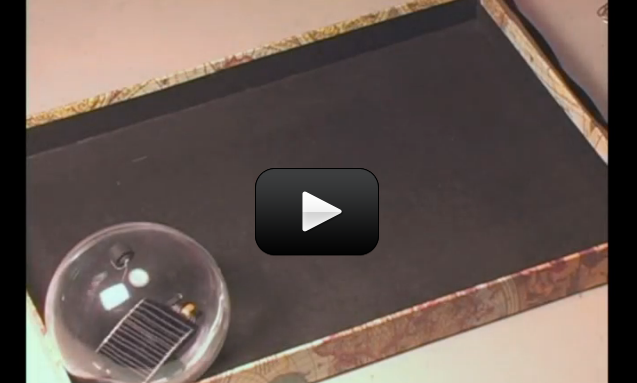
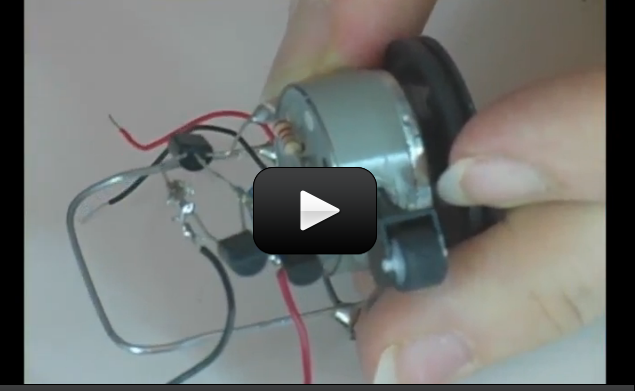
This project is for advanced students.This is one of the coolest applications of renewable energy to come about in recent years. BEAM stands for Biology, Electronics, Aesthetics, and Mechanics. It basically refers to a class of robots that instead of having complicated brains, rely on nervous-system type of sensors to interact with their world.


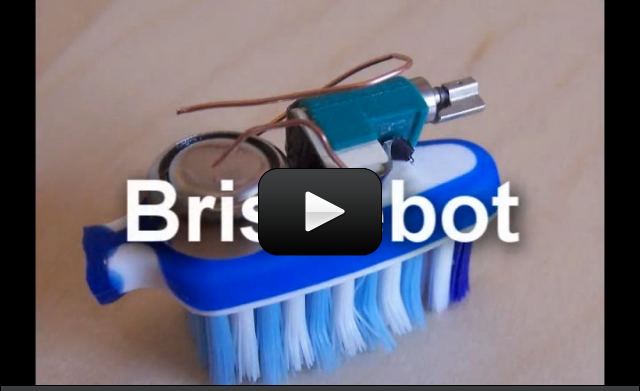
Some BEAM robots skitter, dance, flash, jump, roll, or walk, and most are solar powered. The result is a fast responding robot made of old cell phone parts that can fit inside your hand. We’ll be making a few different types so you can get a good handle on this type of programming-free, battery-free robotics.


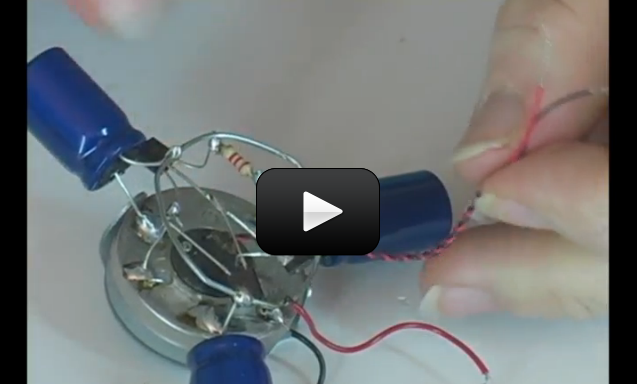
Most BEAM robots use the same solar ‘engine’. The solar cell will convert sunlight into electricity, which will then be stored in our capacitors (think ‘electricity tanks’) until a certain threshold is reached… when the tanks are full, the robot begins to move. This means that you can leave them out all day, and they will sit and collect energy, then turn on by themselves until they run out of juice, then turn off, sit and recharge until they have enough energy to go again… and off they go!


Let’s walk through how to make a BEAM robot. Once you’ve got the hang of it, make a second solar engine from the rest of your parts and add any kind of body you want!


Please login or register to read the rest of this content.

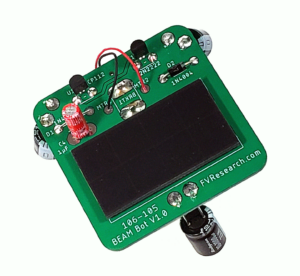
Note: Brian Cox has created a BEAM Bot kit as an alternative BEAM project.

Brian's BEAM BOT is modeled after small BEAM projects where parts are soldered to each other, but such projects can be difficult to solder.

BEAM Bot uses a standard Printed Circuit Board (PCB) as the frame thus making it easier to assemble.

You can order Brian's BEAM Bot Kit here: fvresearch.com/product/beam-bot .

Click here for Brian's BEAM Bot instructional video (which can be found under Unit 25).

This project is for advanced students.This is one of the coolest applications of renewable energy to come about in recent years. BEAM stands for Biology, Electronics, Aesthetics, and Mechanics. It basically refers to a class of robots that instead of having complicated brains, rely on nervous-system type of sensors to interact with their world.

Some BEAM robots skitter, dance, flash, jump, roll, or walk, and most are solar powered. The result is a fast responding robot made of old cell phone parts that can fit inside your hand. We'll be making a few different types so you can get a good handle on this type of programming-free, battery-free robotics.

Please login or register to read the rest of this content.


Note: Brian Cox has created a BEAM Bot kit as an alternative to the Trimet project.

Brian's BEAM BOT is modeled after small BEAM projects where parts are soldered to each other, but such projects can be difficult to solder.

BEAM Bot uses a standard Printed Circuit Board (PCB) as the frame thus making it easier to assemble.

You can order Brian's BEAM Bot Kit here: fvresearch.com/product/beam-bot .

Click here for Brian's BEAM Bot instructional video (which can be found under Unit 25).

This project is for advanced students. This is one of the coolest applications of renewable energy to come about in recent years. BEAM stands for Biology, Electronics, Aesthetics, and Mechanics. It basically refers to a class of robots that instead of having complicated brains, rely on nervous-system type of sensors to interact with their world.

Some BEAM robots skitter, dance, flash, jump, roll, or walk, and most are solar powered. The result is a fast responding robot made of old cell phone parts that can fit inside your hand. We'll be making a few different types so you can get a good handle on this type of programming-free, battery-free robotics.

You'll need to get the Trimet Kit from Solarbotics. It has everything you need except the tools for the job (soldering iron, pliers, wire strippers, razor) and paperclips.

Here's what you do:

Please login or register to read the rest of this content.


This project is for advanced students.This is one of the coolest applications of renewable energy to come about in recent years. BEAM stands for Biology, Electronics, Aesthetics, and Mechanics. It basically refers to a class of robots that instead of having complicated brains, rely on nervous-system type of sensors to interact with their world.


Some BEAM robots skitter, dance, flash, jump, roll, or walk, and most are solar powered. The result is a fast responding robot made of old cell phone parts that can fit inside your hand. We’ll be making a few different types so you can get a good handle on this type of programming-free, battery-free robotics.


Please login or register to read the rest of this content.