This project is for advanced students.
Up until 200 years ago, people thought the oceans were bottomless. The diving bell was one of the first recorded attempts at undersea exploration, and was simply a five-foot inverted cup with viewing holes on a platform that lowered into the water, which allowed people to breathe the trapped air inside… until they ran out of air. Leonardo da Vinci draw several sketches of underwater submersibles, and in the 1700s, John Lethbridge invented a long wooden cylinder with glass ends as one of the first diving units to reach 60 feet.
In 1930, two explorers used the bathysphere (a giant ball with windows) reached 1,428 feet below the surface, which was later followed by the bathyscape (deep diving vessel) that reached the deepest part of the Pacific Ocean, the Marianas Trench, at 35,800 feet in 1960.
The ROVs first made their appearance in the late 1960s, when military and offshore drilling required deeper dives. In the late 1980s, scientists needed a way to explore the remains of the Titanic, and a lower-cost, lighter weight version design was developed. ROVs are designed to be remote extensions of the operator.
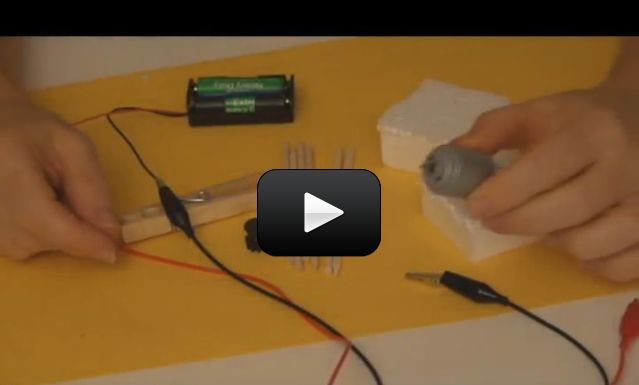
One of the biggest challenges with deep-diving underwater vessels is keeping the tremendous pressure from crumpling the frame. The project we’re going to design is meant for swimming pools and smaller lakes. When designing your underwater vehicle, you’ll need to pay close attention to the finer details such as waterproofing the electrical motors and maintaining proper balance so that your robot doesn’t flip over or swim in circles.
Learn about thruster motors, create the chassis, and build the controller for these super-popular underwater robots that really swim in water! A fantastic project for parents and kids to work together on. Your underwater robot will move in all six directions and utilizes a 12V power source.
Please
login or
register to read the rest of this content.


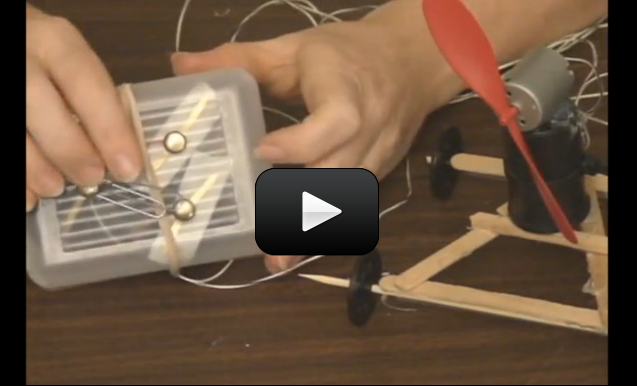
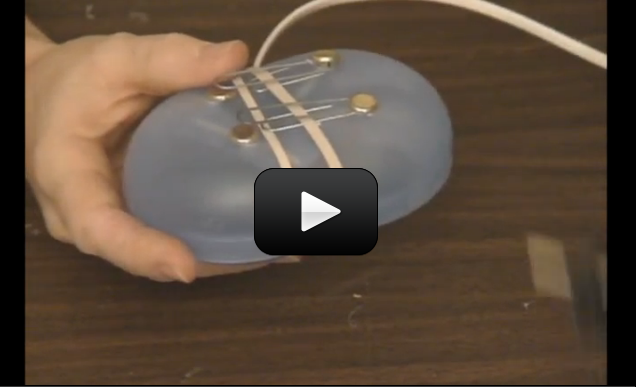
 Ever wonder how a cell phone vibrates? What mechanism could be in such a tiny space to make the entire phone jiggle around? Well, there’s a tiny motor inside with an off-center weight on the shaft, called an eccentric drive.
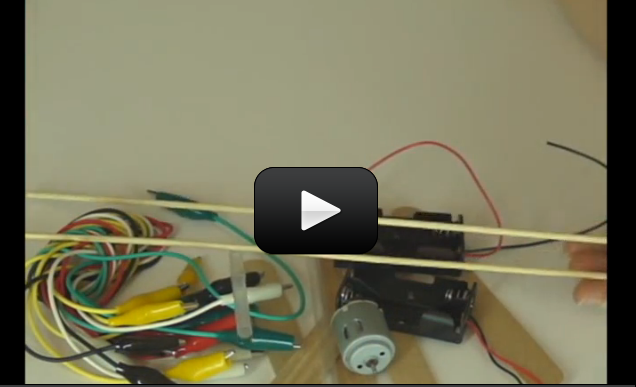
 If you have a pet, they’ll be sure to get a great workout chasing this nifty little robot. If you can, I totally encourage you to make two or more and have a contest!
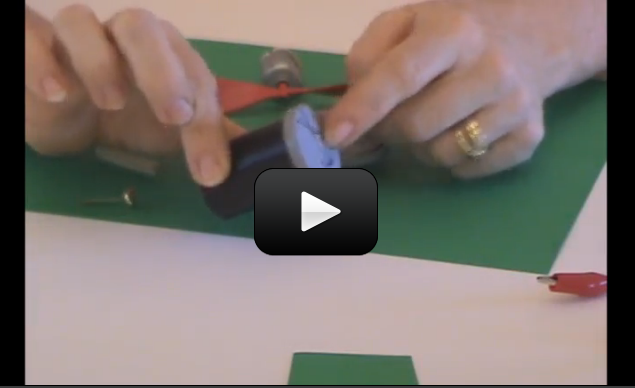
 Racerbots can steer, unlike the
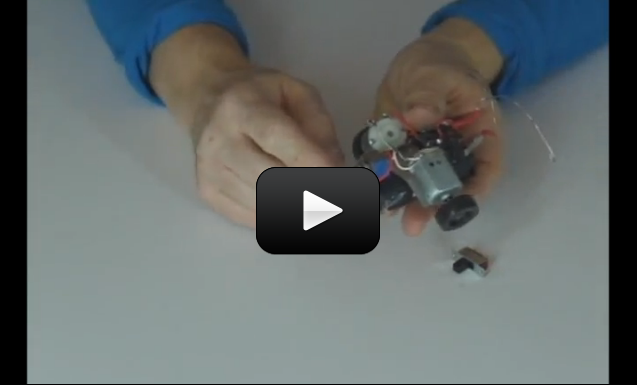
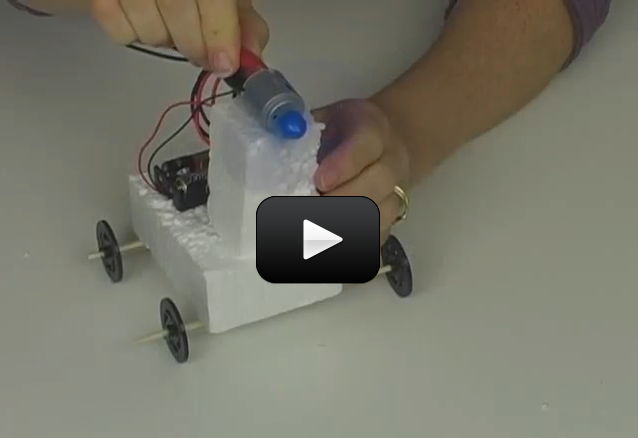
 This project is advanced students. If you like tiny robots, then this one is for you! Powered by cheap hobby motors, this fast little robot zips ’round and avoids obstacles using momentary switches and an idler wheel for a tail.
 Radio control (RC) is a 100 year-old technology. RC requires both a transmitter and a receiver. The control box sends commands to the robot the same way you change channels on the TV with the remote.