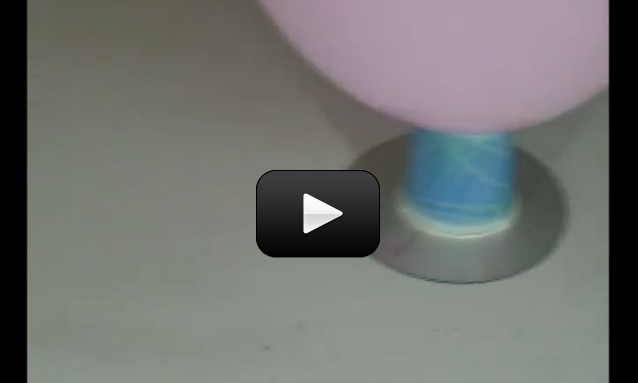
Hovercraft transport people and their stuff across ice, grass, swamp, water, and land. Also known as the Air Cushioned Vehicle (ACV), these machines use air to greatly reduce the sliding friction between the bottom of the vehicle (the skirt) and the ground. This is a great example of how lubrication works – most people think of oil as the only way to reduce sliding friction, but gases work well if done right.
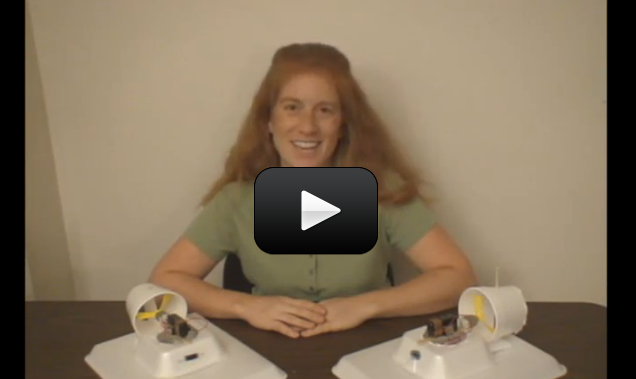
In this case, the readily-available air is shoved downward by the pressure inside of balloon. This air flows down through the nozzle and out the bottom, under the CD, lifting it slightly as it goes and creating a thin layer for the CD to float on.
Although this particular hovercraft only has a 'hovering' option, I'm sure you can quickly figure out how to add a 'thruster' to make it zoom down the table! (Hint - you will need to add a second balloon!)
Here's what you need:
Please login or register to read the rest of this content.
Please login or register to read the rest of this content.
 Find a smooth, cylindrical support column, such as those used to support open-air roofs for breezeways and outdoor hallways (check your local public school or local church). Wind a length of rope one time around the column, and pull on one end while three friends pull on the other in a tug-of-war fashion.
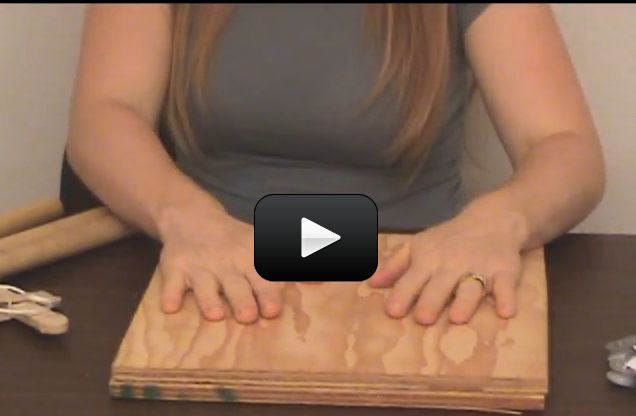
 Hovercraft transport people and their stuff across ice, grass, swamp, water, and land. Also known as the Air Cushioned Vehicle (ACV), these machines use air to greatly reduce the sliding friction between the bottom of the vehicle (the skirt) and the ground. This is a great example of how lubrication works – most people think of oil as the only way to reduce sliding friction, but gases work well if done right.