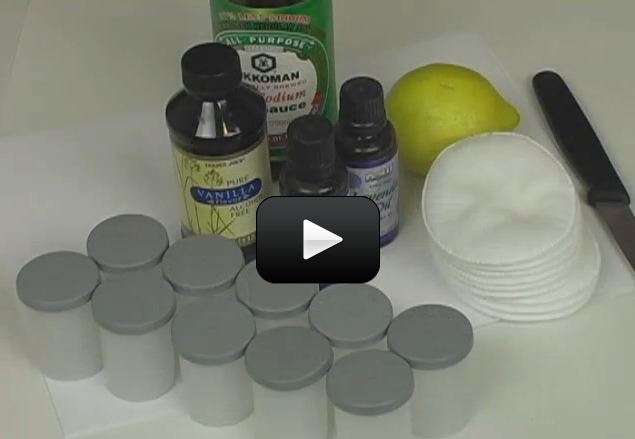
What is happening when we feel hungry? Or when we feel thirsty?
What we are feeling are hormones signaling our brain that we need food or water.
Hormones play a large role in our digestion process. They help maintain homeostasis by stimulating appetite, thirst, as well as many, many other bodily functions.
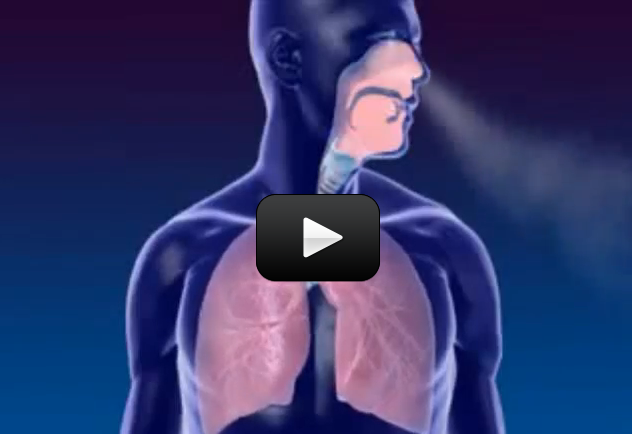
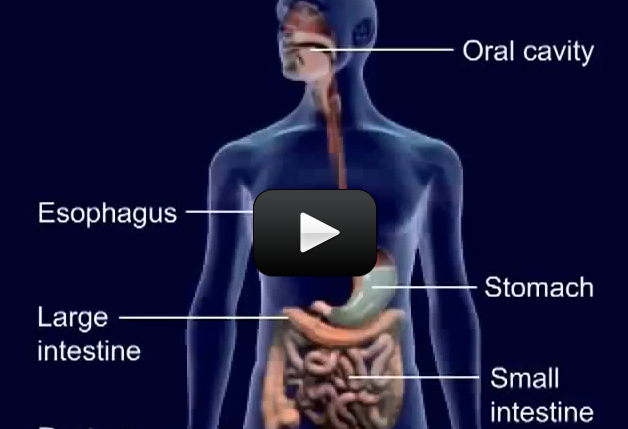
Digestion is the process of food (and drink) being broken down and absorbed. The mouth begins the digestion by breaking down food mechanically and chemically. Protein is digested in the stomach. The small intestine finishes the chemical digestion and absorption of food. The large intestine absorbs excess water from the waste and finally passes it through the anus.
What happens to those meals when they enter our mouths? There are the main things that happen:
- Digestion: Digestion involves the breakdown of what we consume into nutrients. The first step is mechanical digestion—chewing. After we mechanically break down the food with our teeth, we begin chemical digestion. Chemical digestion breaks down what we eat and drink chemically. Chemical digestion is mostly accomplished by proteins called enzymes.
- Absorption: After we’ve broken down the nutrients we need, we absorb them into our body. This step is called absorption.
- Elimination: Lastly, we excrete solid and liquid waste.
Digestion begins in the mouth. In the mouth, the teeth digest food mechanically, and the saliva digests starches chemically. Enzymes are catalysts that make chemical reactions go faster. They are found at every important step of digestion.
Amylase is found in our saliva, and it helps breaks down bread-like things (starches) into smaller sugar molecules.
Pepsin helps us digest protein in our stomachs.
Pancreatic lipase breaks down fats.
After the mouth, the food travels to the stomach through a narrow tube called the
esophagus. The esophagus moves the ball of chewed and partially digested food into the stomach. Food is moved through the tube via muscle contractions. The muscle contractions start in the esophagus and end in the anus, moving in a wave called
peristalsis. Peristalsis is the name of the movement of the muscle contractions moving the food through the tube.
Once in the stomach, the food is further chemically digested. The protein is digested with the enzyme
pepsin. Pepsin, along with other chemicals such as hydrochloric acid (HCl) chemically digest the food. Water, salts, and simple sugars are absorbed through the walls of the stomach. The rest of the nutrients are absorbed after exiting the stomach.
The small intestine, about 7 ft long, has three parts. The large intestine takes the liquid waste from the small intestine, absorbs the excess water, and excretes the solid was through the anus. The large intestine is home to trillions of helpful bacteria. Although we often think of bacteria as harmful, most bacteria is helpful. The bacteria in our small intestines helps us digest food, and we provide the bacteria a place to live. Among other functions, the bacteria in our large intestines produce vitamins B12 and K, as well as break down poisons.
The liver is essential to digestion, and life. The liver detoxifies the blood, maintains the glucose balance, synthesizes proteins, and produces many chemicals needed for digestion.
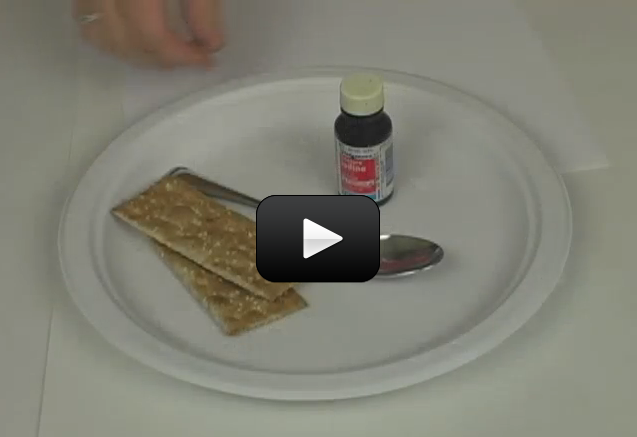
Getting the right nutrients and getting fiber in your diet is extremely important. The nutrients keep your system running well, while fiber helps to move waste through your digestive system. If you do not get enough fiber you may become constipated; unable to pass waste.
Maintaining a healthy digestive system means a.) maintaining a healthy diet, and b.) taking care of any illnesses, allergies, or intolerances which arise.
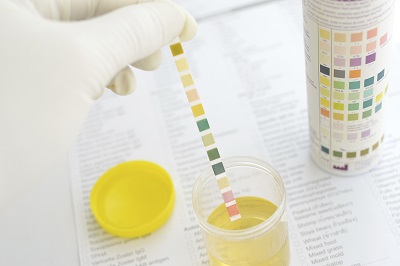
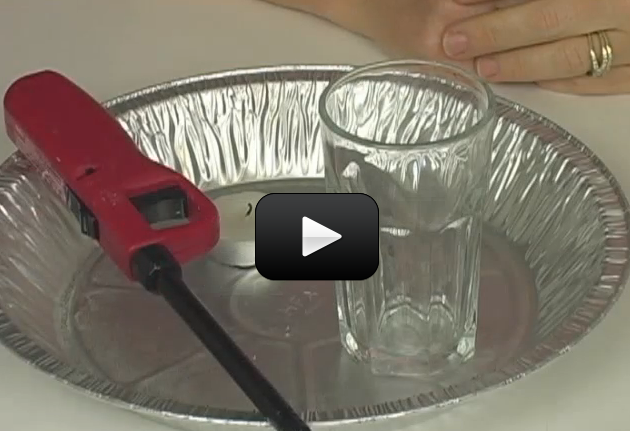
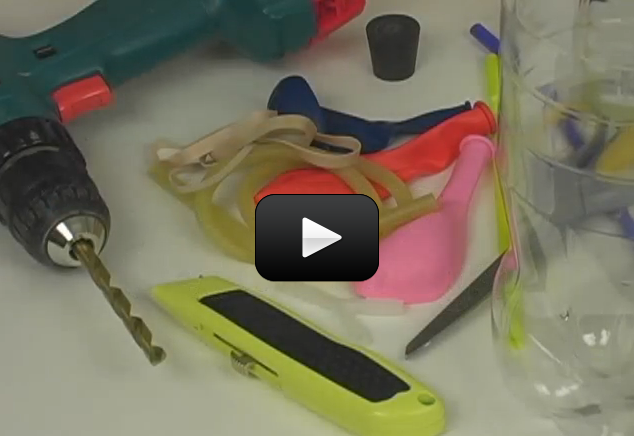
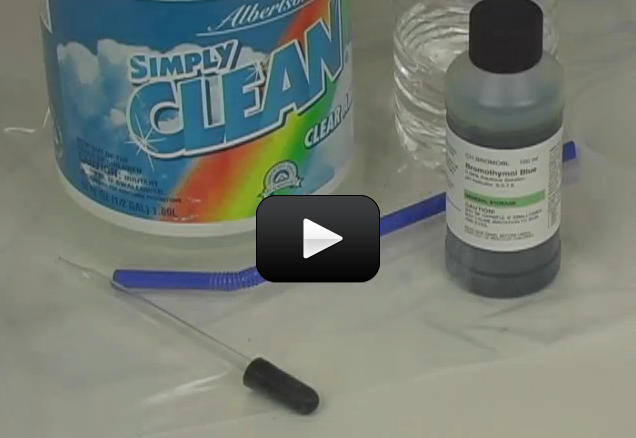
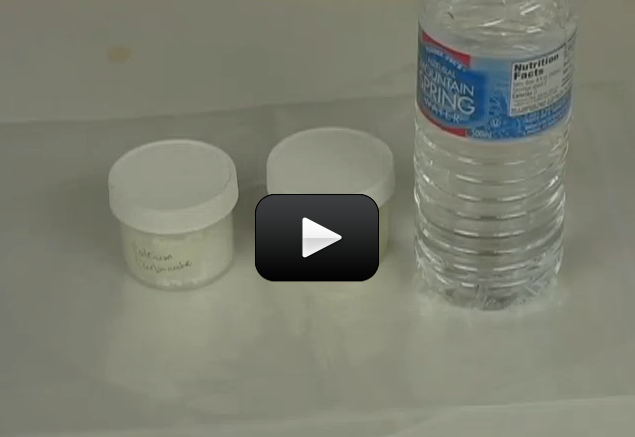
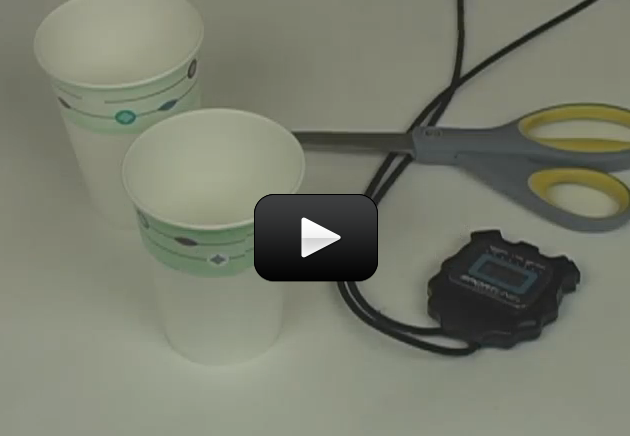
 Although urine is sterile, it has hundreds of different kinds of wastes from the body. All sorts of things affect what is in your urine, including last night’s dinner, how much water you drink, what you do for exercise, and how well your kidneys work in the first place. This experiment will show you how the kidneys work to keep your body in top shape.
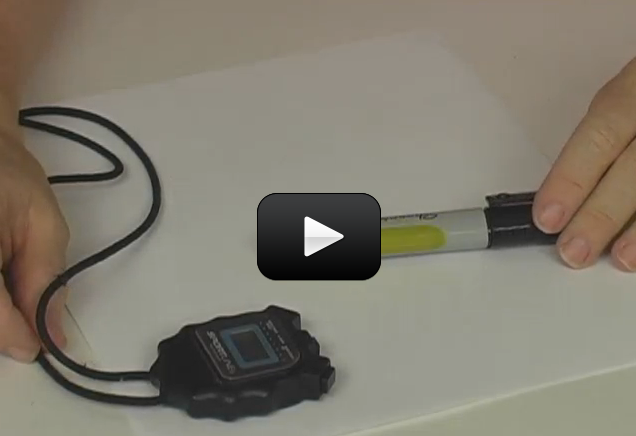

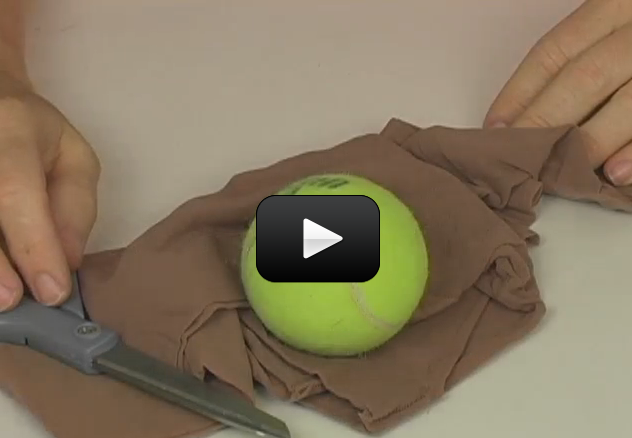


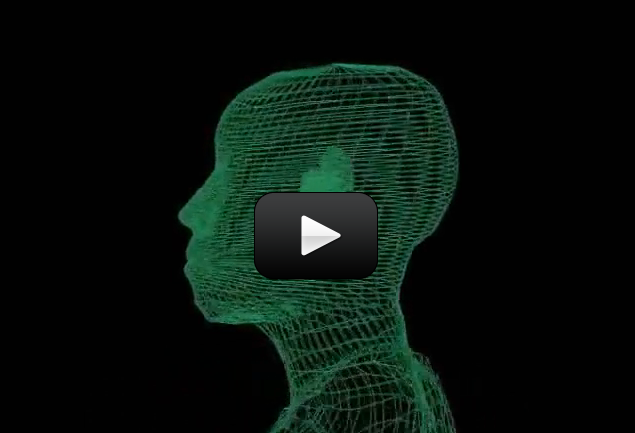
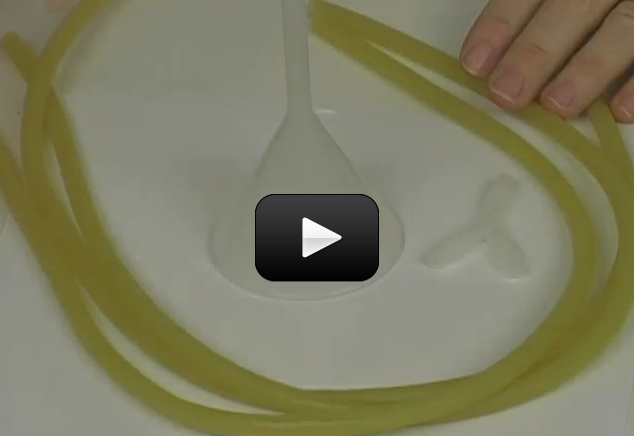
 The muscles in your body allow you to move. In this lab we will do two quick experiments to explore how your muscles work.
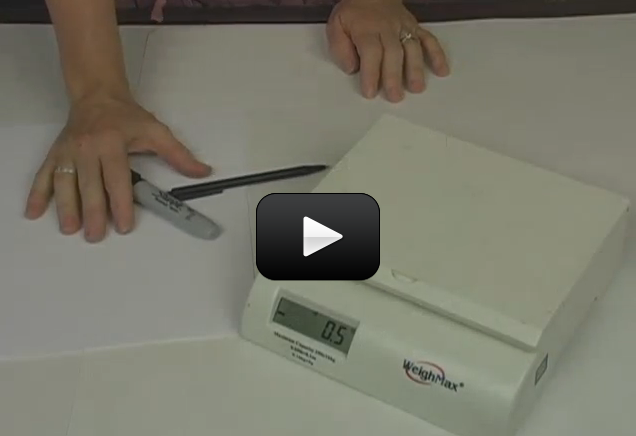

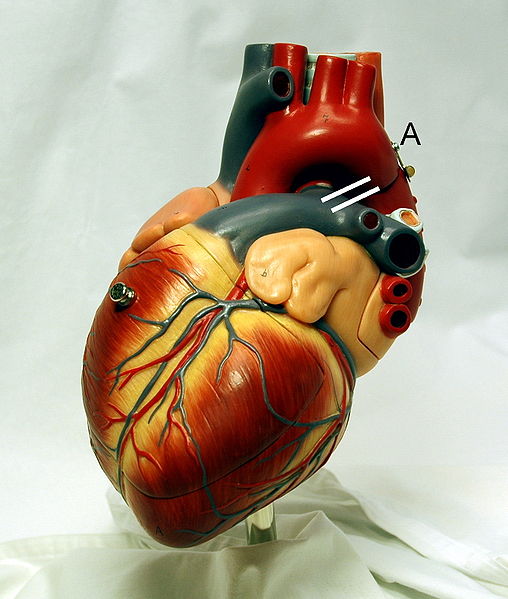
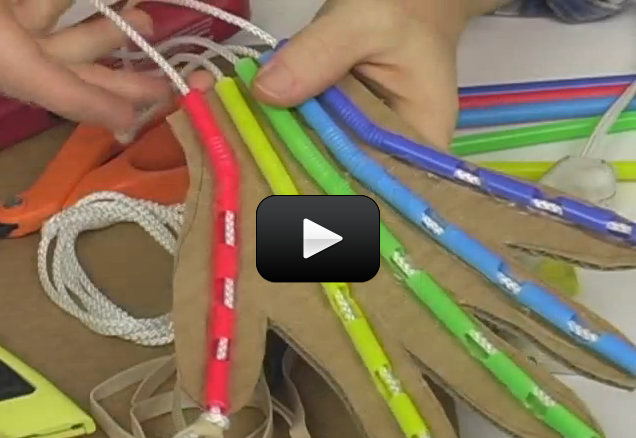
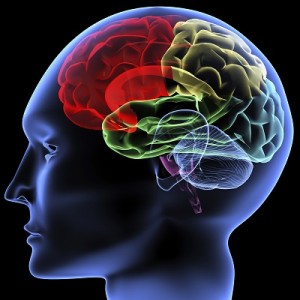 Your body is made of organs, like your heart, lungs or stomach. These organs work together to allow you to breathe, eat, move, and do just about everything else you need to do. Organs working together are called organ systems. Although all organ systems are important, and necessary for us to survive, the most important system might be the nervous system, the system that controls all the others. This system not only controls all the systems of your body but also allows you to learn and use language, senses conditions inside and outside your body and prepares you to fight or flee if you are in a dangerous situation.
 Look at the shape of the neuron. These cells are the perfect shape for their job of sending messages all over the body. The small extensions on the end of the cell are called dendrites and get nerve impulses from other cells. The longer extension at the other end of the cell is called an axon and sends nerve impulses to other cells. The central part of the cell, between the dendrites and axon, is called the cell body. This part of the cell contains the nucleus and all the organelles, which are small structures inside the cell. The place where the axon of a nerve cell meets the dendrites of another nerve cell or another type of cell is called a synapse.