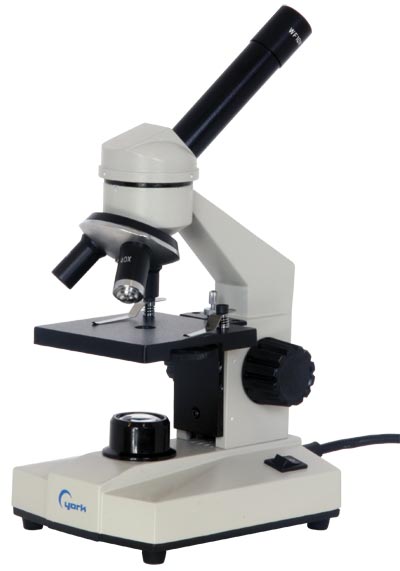
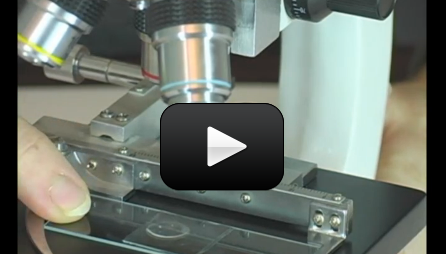
Nose? Objective? Stage? What kind of class is this? Well, some of the names may sound a bit odd, but this video will show you what they are and how they are used. As you watch the video, touch the corresponding part of your microscope to get a feel for how it works.
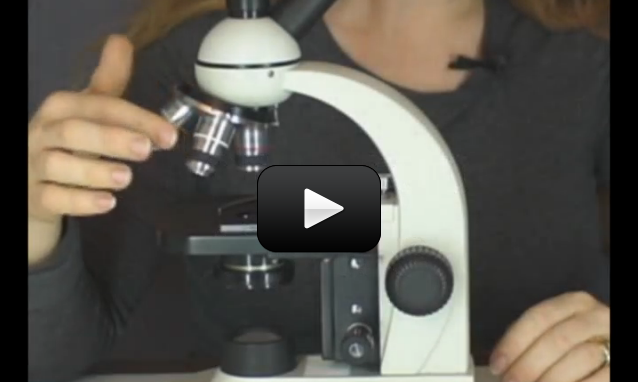
NOTE: Be very careful NOT to raise the stage too high or you’ll crack the objective lens! Always leave a space between the stage and the lens!! Anytime you use the coarse adjustment knob, always look at the stage itself, NOT through the eyepiece (for this very reason). When you use the fine adjustment knob, that’s when you look through the eyepiece.
More questions to ask:
1. After you’ve learned the different parts of the microscope, swing around and teach it to a nearby grown-up to test your knowledge. See if you can find all these parts: eyepiece, base (legs), objective lens, eyepiece, diaphragm (or iris), stage, fine and coarse adjustment knobs, mirror/lamp, nose.
2. Show your grown-up which parts never to touch with your fingers.
3. What’s the proper way to use the coarse adjustment knob so you don’t crack the objective lens?
Care and Cleaning
1. Pick up the microscope with two hands. Always grab the arm with one hand and the legs (base) with the other.
2. Don’t touch the lenses with your fingers. The oil on your fingers will smudge and etch the lenses. Use an optical wipe if you must clean the lenses. Steer clear of toilet paper and paper towels – they will scratch your lenses.
3. When you’re done with your scope for the day, reset it so that it’s on the lowest power of magnification and lower the stage to the lowest position. Cover it with your dust cover or place it in its case.


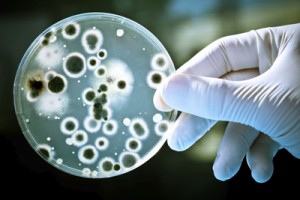 Some organisms, like bacteria, consist of only one cell. Other organisms, like humans, consist of trillions of specialized cells working together. Even if organisms look very different from each other, if you look close enough you’ll see that their cells have much in common.
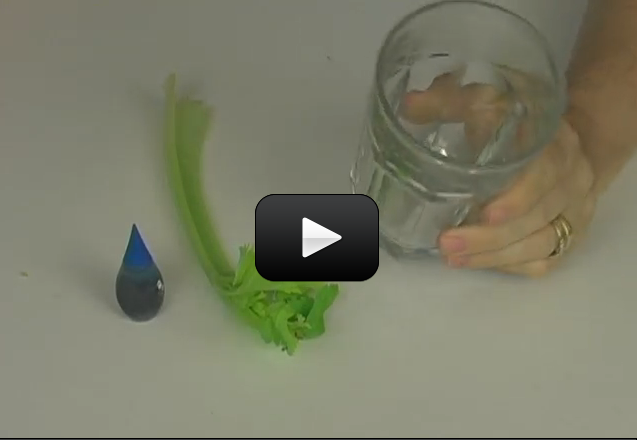
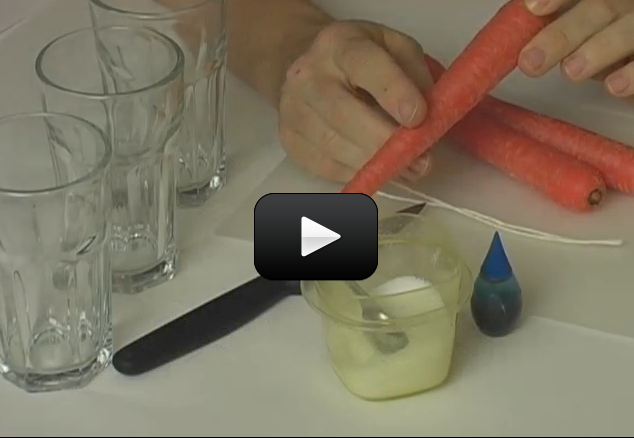
 When plants are watered, the water travels up the roots of the plant, and to all of the plant’s parts. So, with sunlight and time, the colored water eventually made to the plant’s flowers, creating the color change you observed.
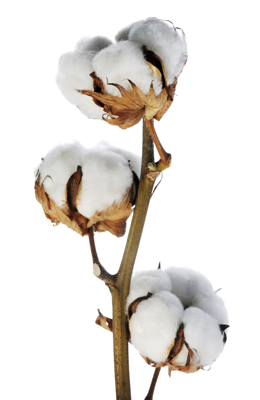

 Photosynthesis is a process where light energy is changed into chemical energy. As we said in the last section, this process happens in the chloroplast of plant cells. Photosynthesis is one of the most important things that happen in cells.

 Walk around your house. In each room, make an observation by using your senses (sight, sound, smell, touch and taste). Based on this observation, ask a question.
 Think of an organism (bacteria, fish, reptiles…) that interests you. With adult help, search the Internet to find five web pages about this organism.
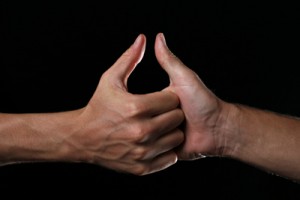 Different people have different sized thumbs and wrists. Do you think this will affect people’s success at winning a thumb war?
 You’ll need a couple of volunteers for this experiment, but it’s totally worth it. Make sure you’ve got your
 Grab a handful of buttons. Make sure there are all different kinds and colors.
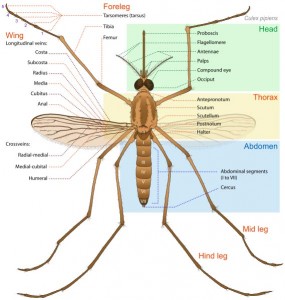
 We're going to access another website (Seaworld) that has a HUGE catalog of living organisms and their scientific names. Here's how you do it:
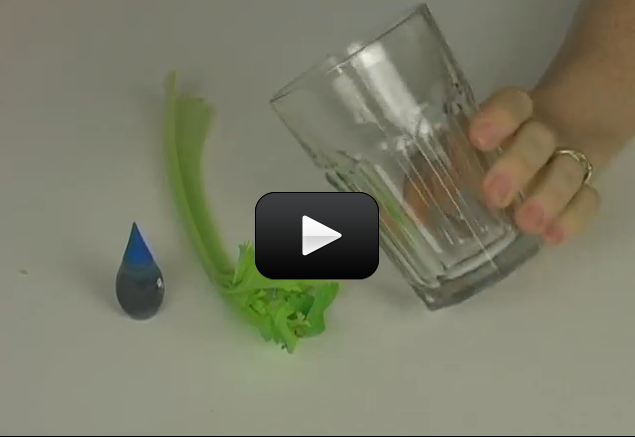


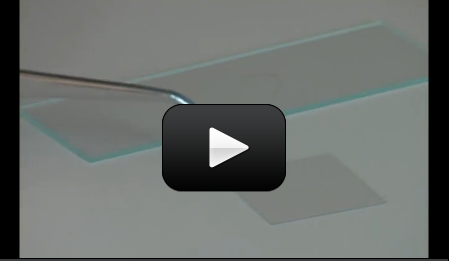
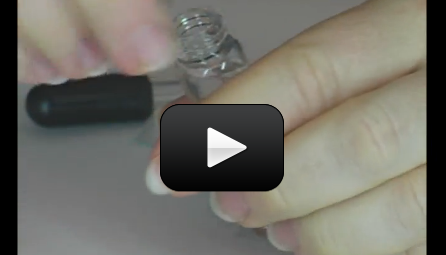
 In addition to a microscope, you'll also need additional items like slides, cover slips, tweezers, and other basic equipment. Here's what you need to complete the labs in this section:


 Make sure you’ve completed the